Splunk Enterprise - Part 1

Why should I learn to use Splunk?
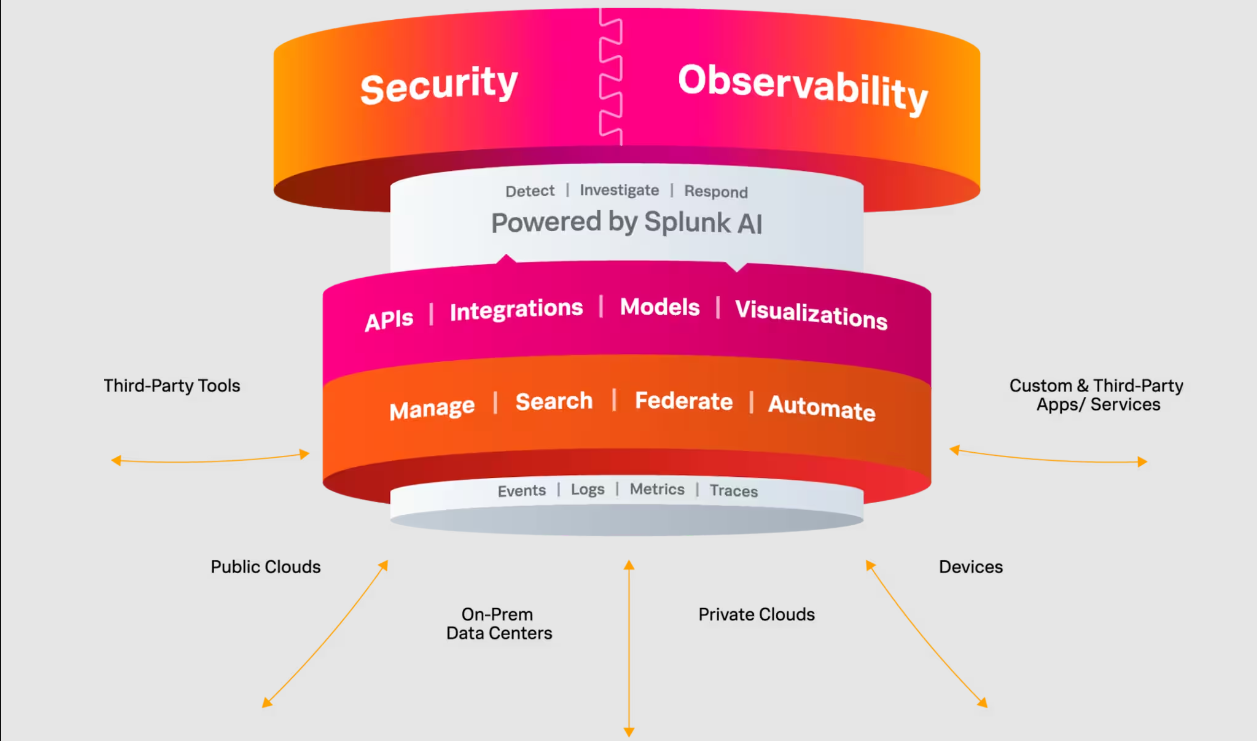
Splunk is an essential tool used by network defenders in enterprise environments. It's used for real-time threat detection, incident investigation, log management, compliance reporting, and vulnerability management. Splunk can integrate with threat intelligence, analyze user behavior, and provide customizable dashboards for monitoring network security. It's a central hub for collecting, analyzing, and responding to security data, providing defenders with the ability to quickly respond to various threats.
Splunk is an important platform for network defenders, providing them with the tools needed to effectively secure and monitor their networks and devices (both on prem and cloud) against a constantly evolving threat landscape.
By creating custom alerts and rules for the massive amount of data Splunk can collect, defenders can identify potential security threats, such as unauthorized access attempts, malware infections, or other anomalous behavior. For this reason, it's an important to learn how to use this tool and understand how the data is stored and how to search through it.
My plan
Splunk offers many products, of which I will be covering the installation and configuration of Splunk Enterprise, to index the data produced by devices, applications, and services running in my homelab.
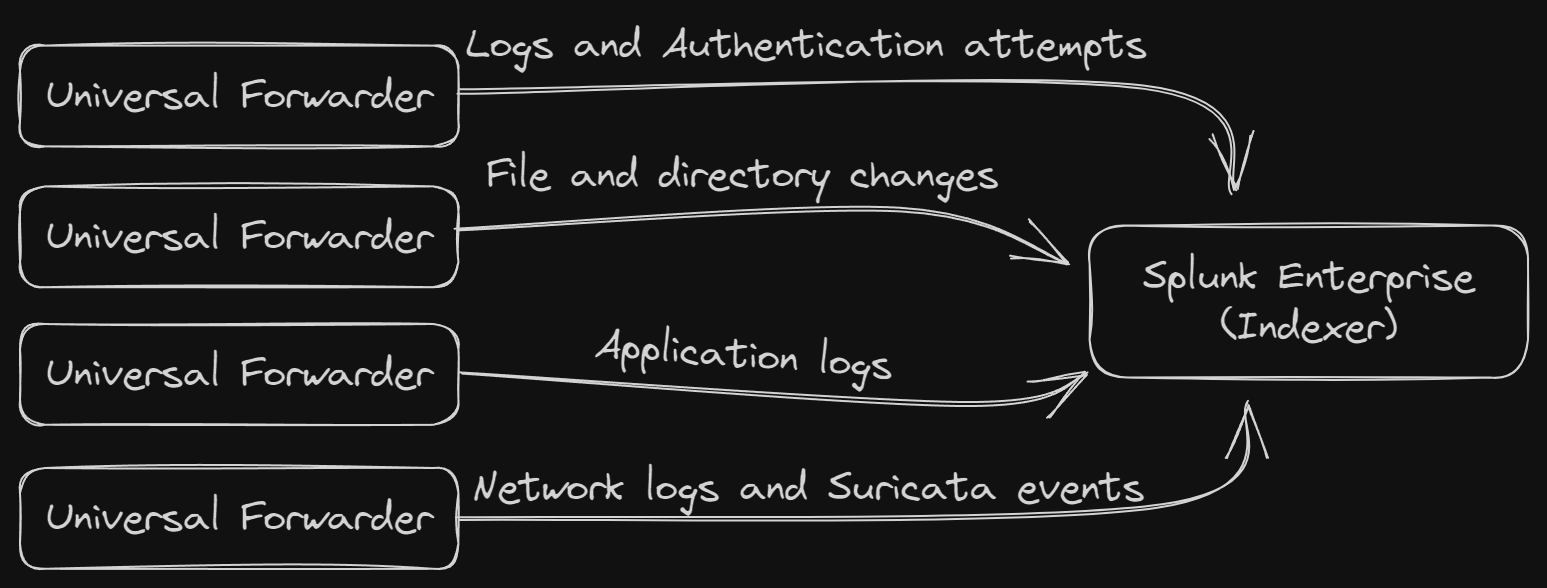
In this post I will only cover this installation which I will use as the indexer. In upcoming posts I will cover the installation and configuration of Universal Forwarders which will collect the data from my servers, applications, and devices I want to collect data from to be forwarded to the indexer. I will talk more about the different data sources I am wanting to capture on my network such as my different Docker stacks and Suricata events. See the last section of this post where I elaborate on my goals.
By the end of this series of posts I will have a working instance of Splunk and forwarders working together as a SIEM in my homelab network. The Splunk documentation is very comprehensive and invaluable to understanding the different components of Splunk as well as different deployment options.
How to install
Now that we know a little more about Splunk, read through some of the documentation, and know how we want to use it, we can move forward with the installation.
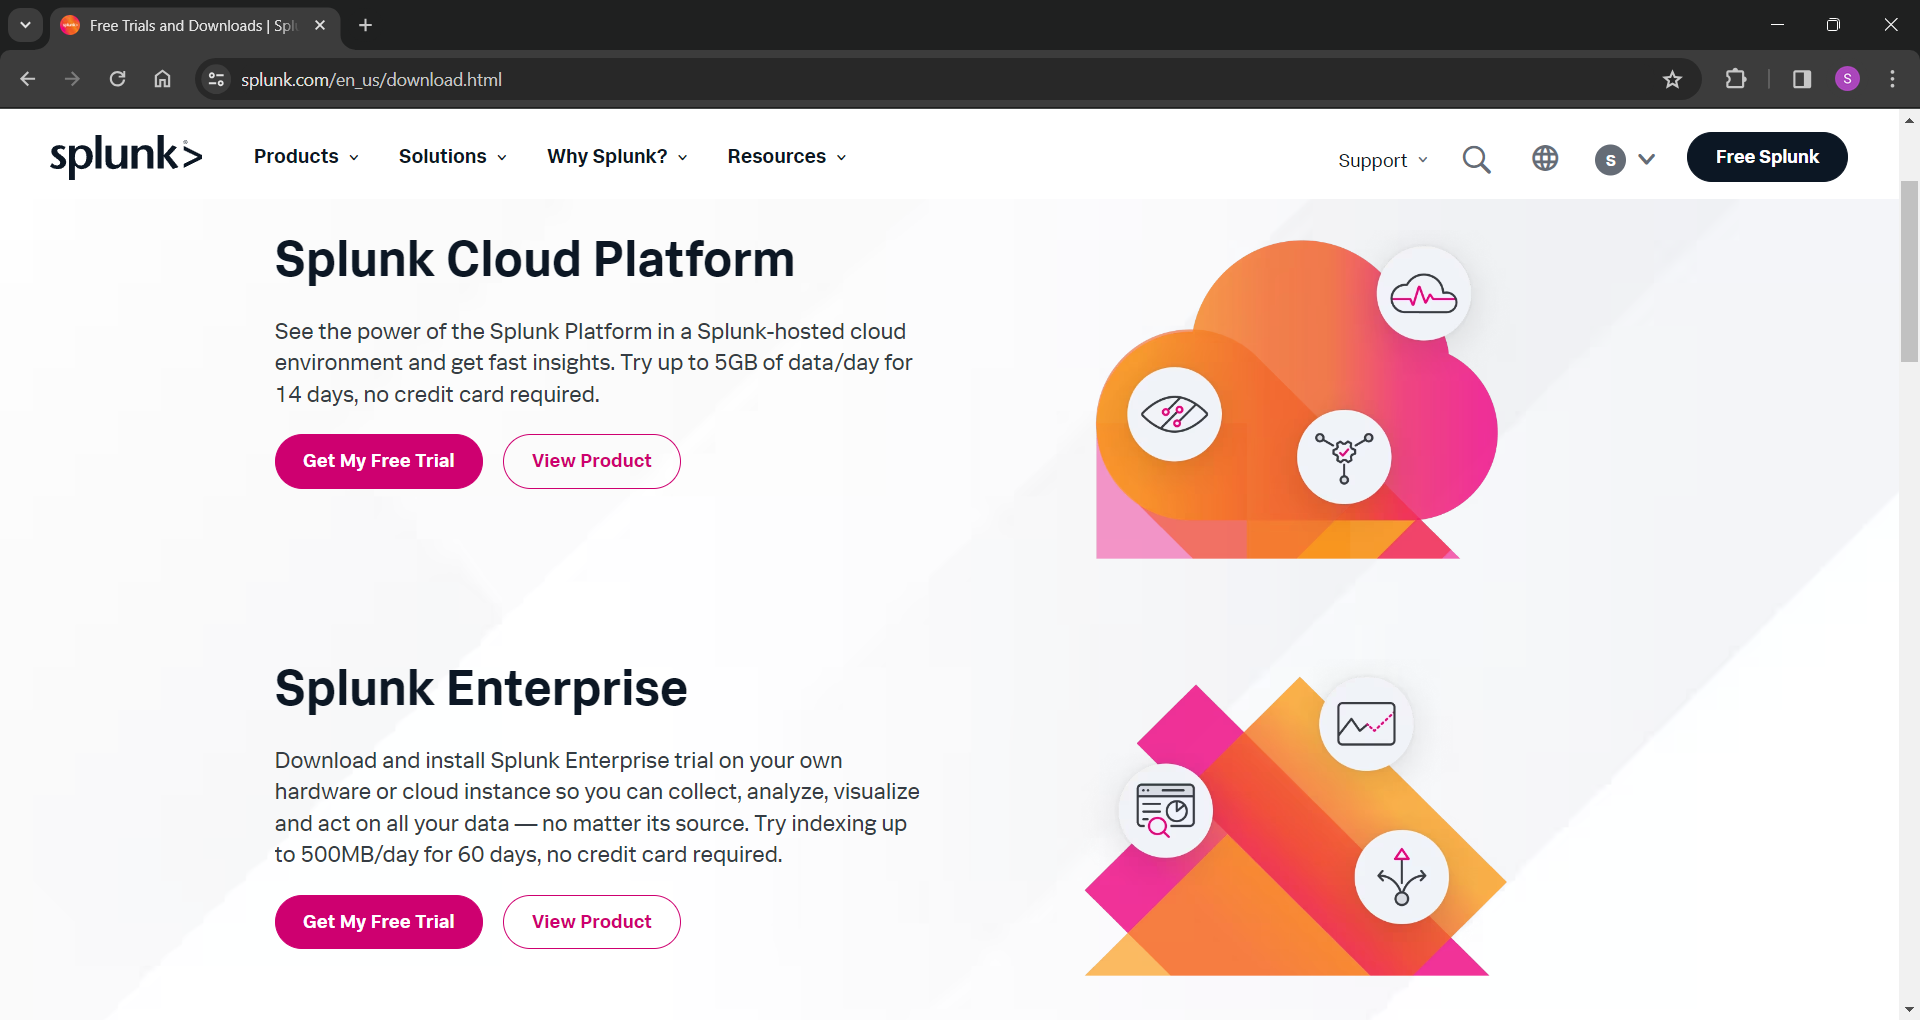
First you'll need to create a free account with Splunk here so you can take advantage of the free trials. Once you are signed in you can access the download link for Splunk Enterprise.
The Splunk Cloud Platform is another option but with my homelab environment I decided to install the Splunk Enterprise version on an Ubuntu Server VM I created for this project. After creating the VM, I followed the hardening steps I've mentioned in a previous post then using the terminal app on my main laptop, I used SSH to remote into the server to begin the install.
Once signed in to the Splunk website, hover over “Products” in the top left and click on “Free Trials & Downloads” then on “Get My Free Trials” under Splunk Enterprise.
As mentioned I am installing this on the Ubuntu Server VM I created so I will be needing the .tgz package under the Linux tab. You can also install on Windows or Mac OS.
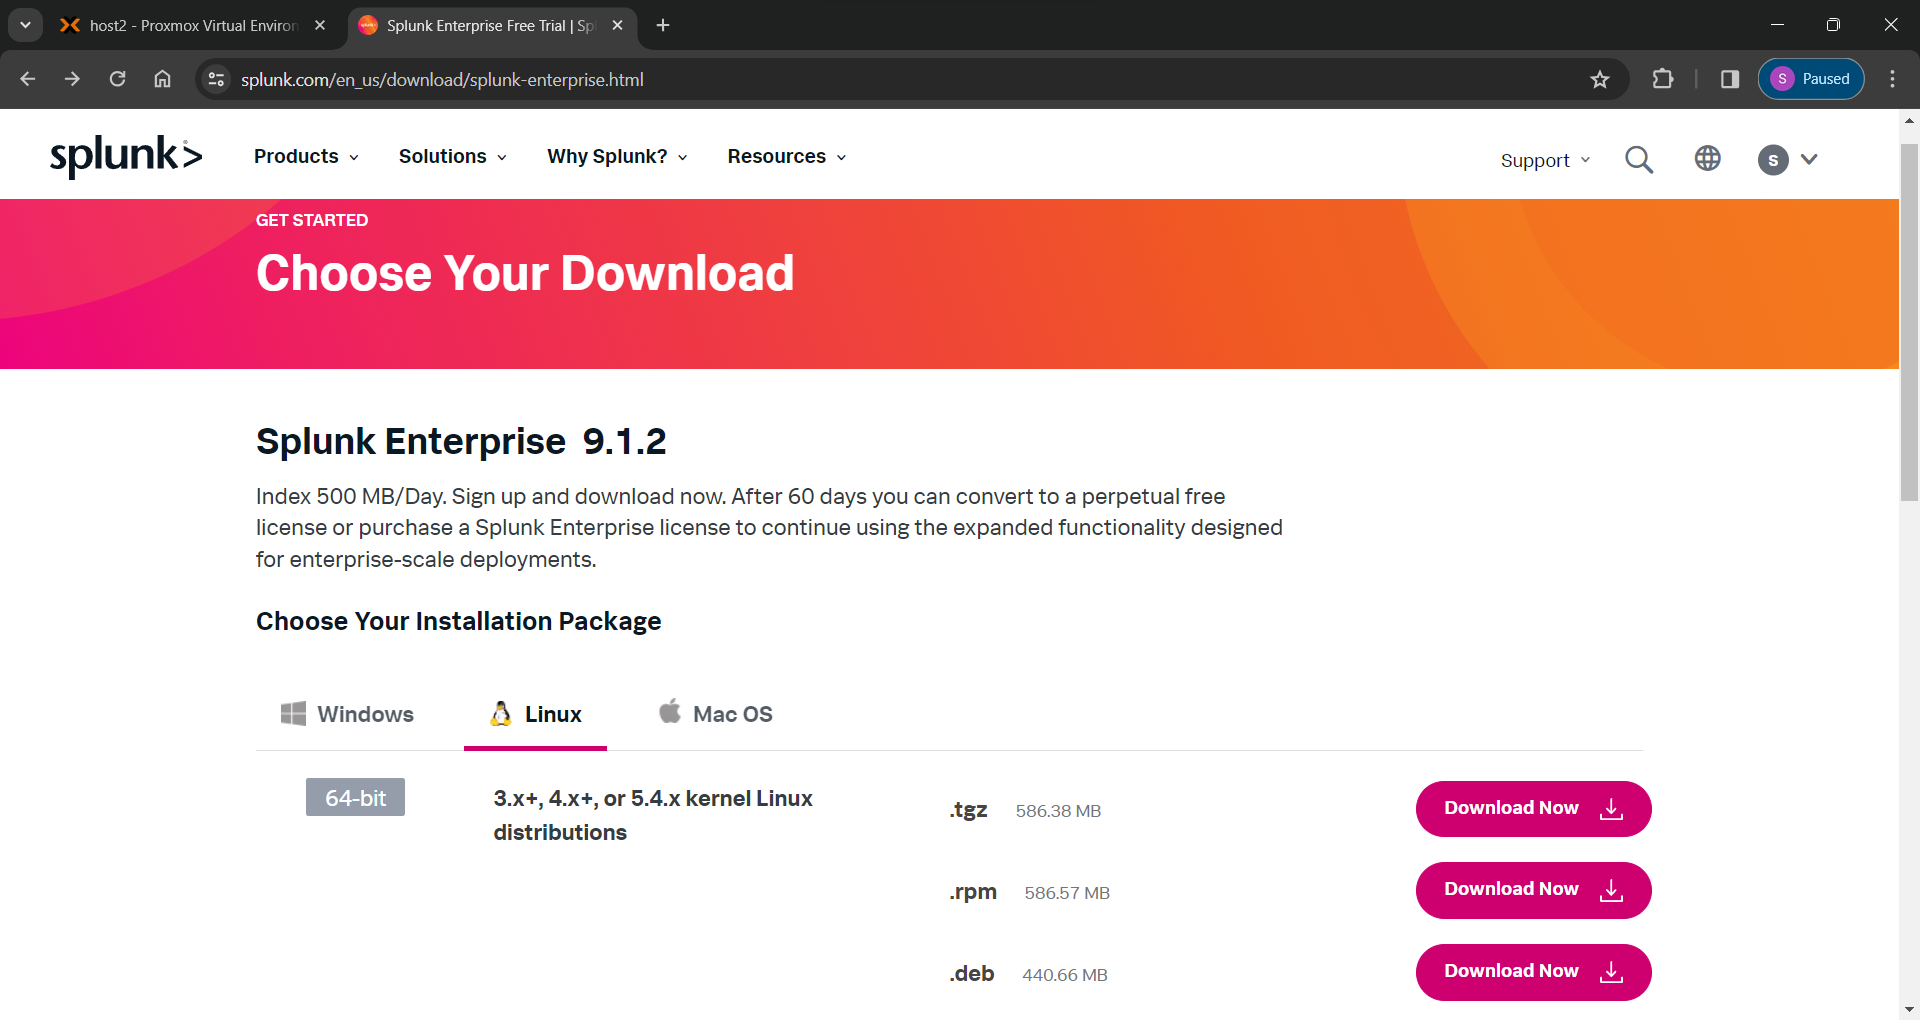
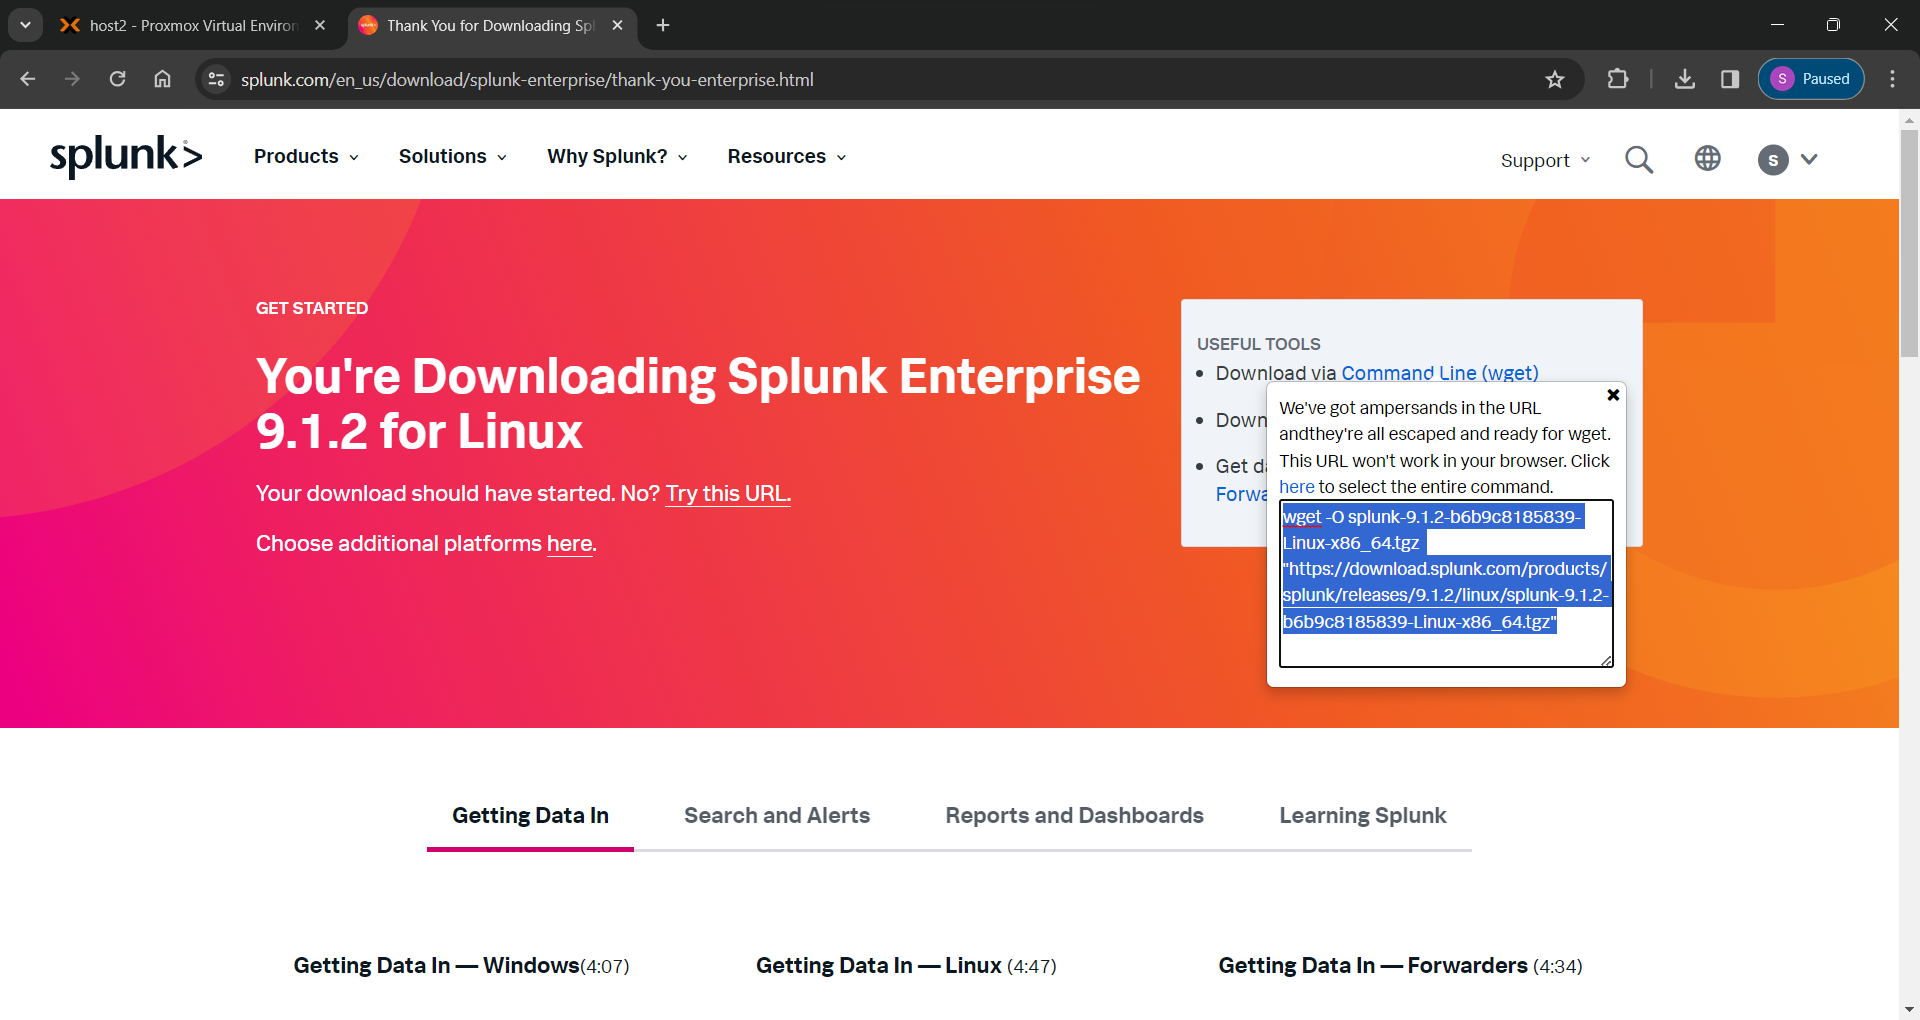
After clicking on the “Download Now” button for the .tgz package, you will be redirected to another page where the download starts automatically. I chose to cancel the download since I'm on my Windows laptop and instead clicked on the “Download via Command Line (wget)” option under the "Useful Tools" section. This presented me with a wget command I could copy and paste into the terminal of my SplunkServer VM.
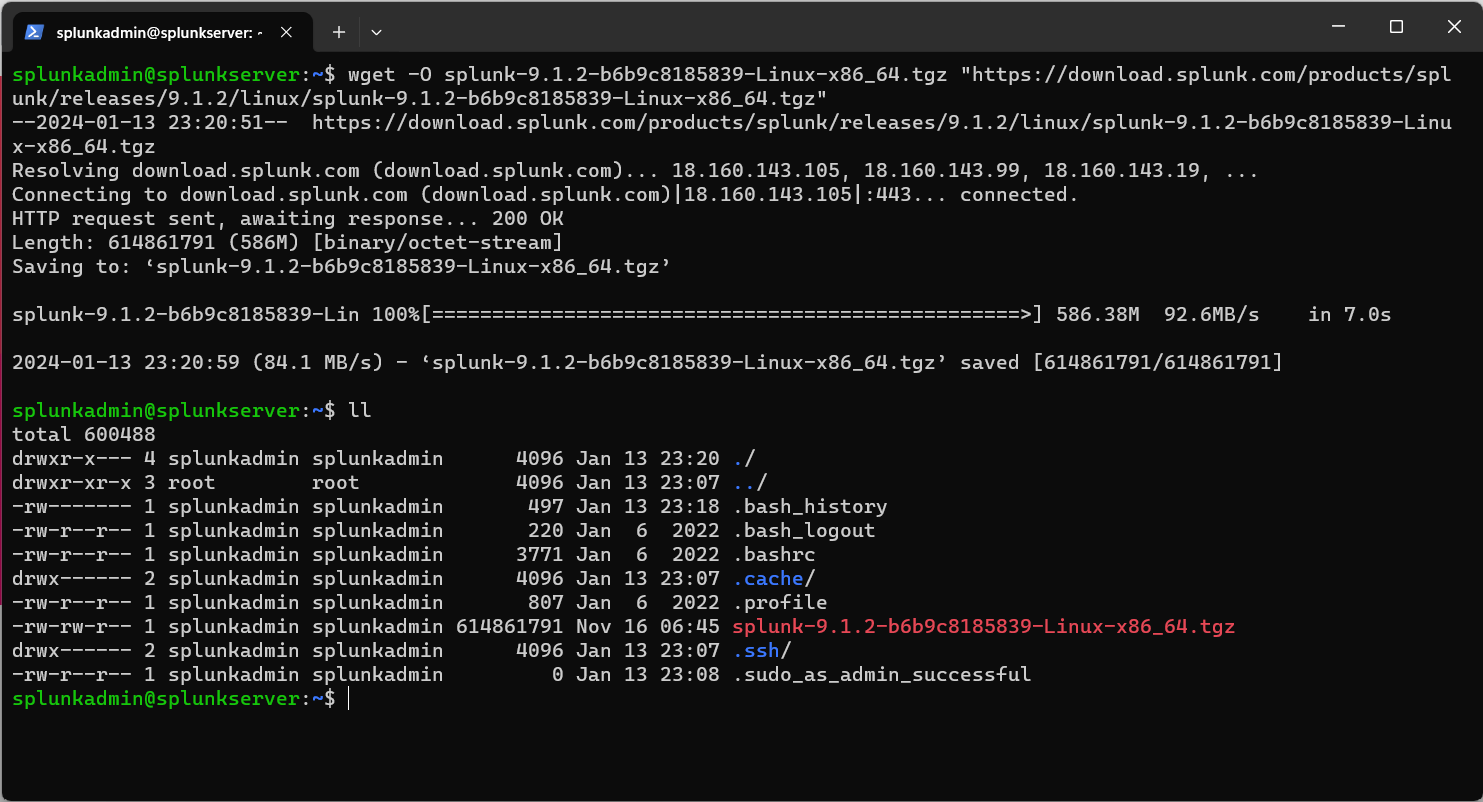
Once the package has been downloaded, decompress the file using the following tar command:
tar -xvzf downloaded_splunk_file.tgzOnce complete, you will have a folder called Splunk in the current directory which you will want to move to your /opt directory (or wherever you want to keep it) using the mv command
sudo mv splunk /optYou then want to move into the /opt/splunk/bin directory using cd
cd /opt/splunk/binOnce here, go ahead and run Splunk with the following command
./splunk startFrom here, you will be greeted by the license agreement. Once you accept, you will be prompted to create the administrator account for Splunk.
Once this has completed, you will be returned to the shell with Splunk running and the Splunk Web console now accessible from a web browser by typing in your servers IP address at port 8000
http://splunkserver_ip_address:8000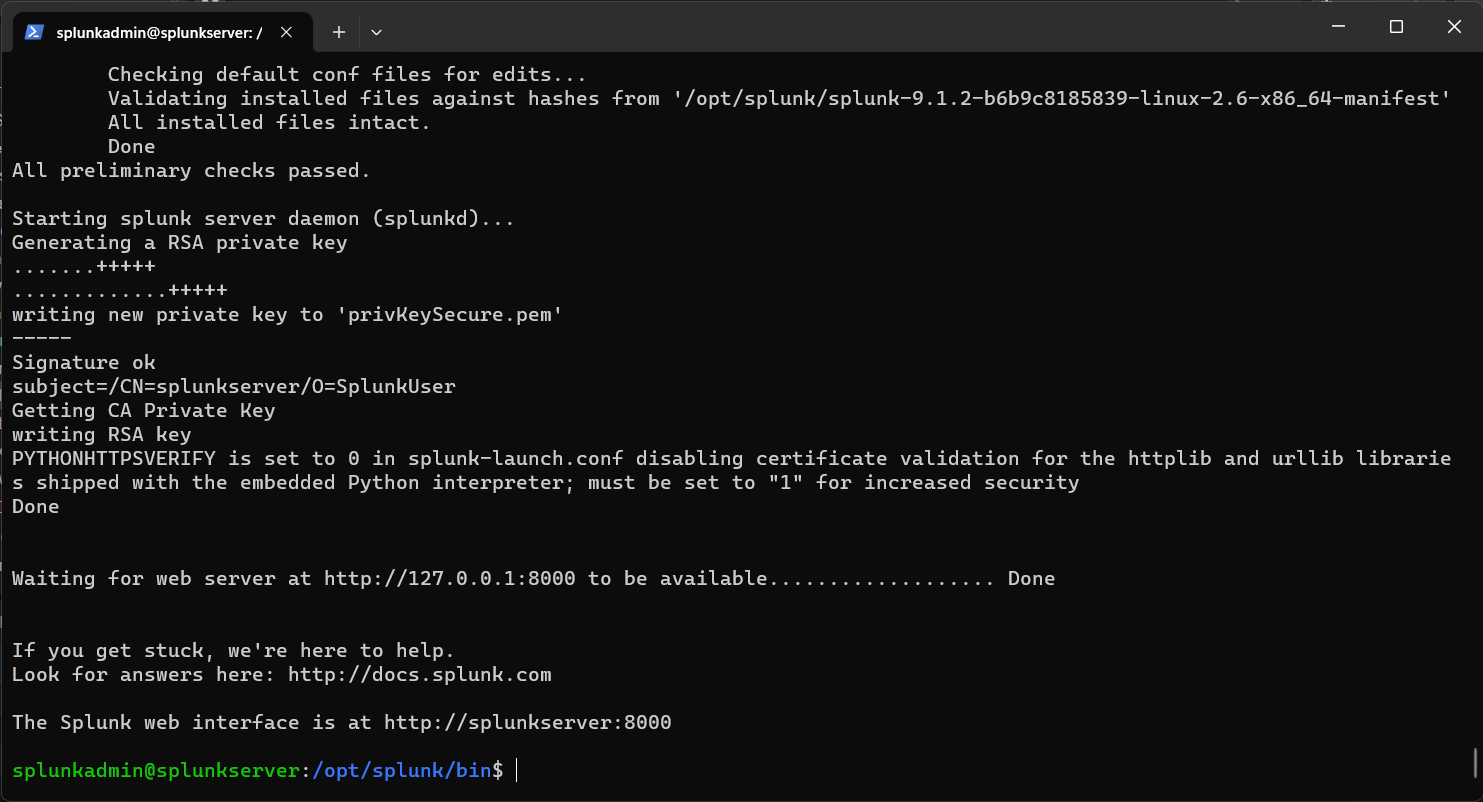
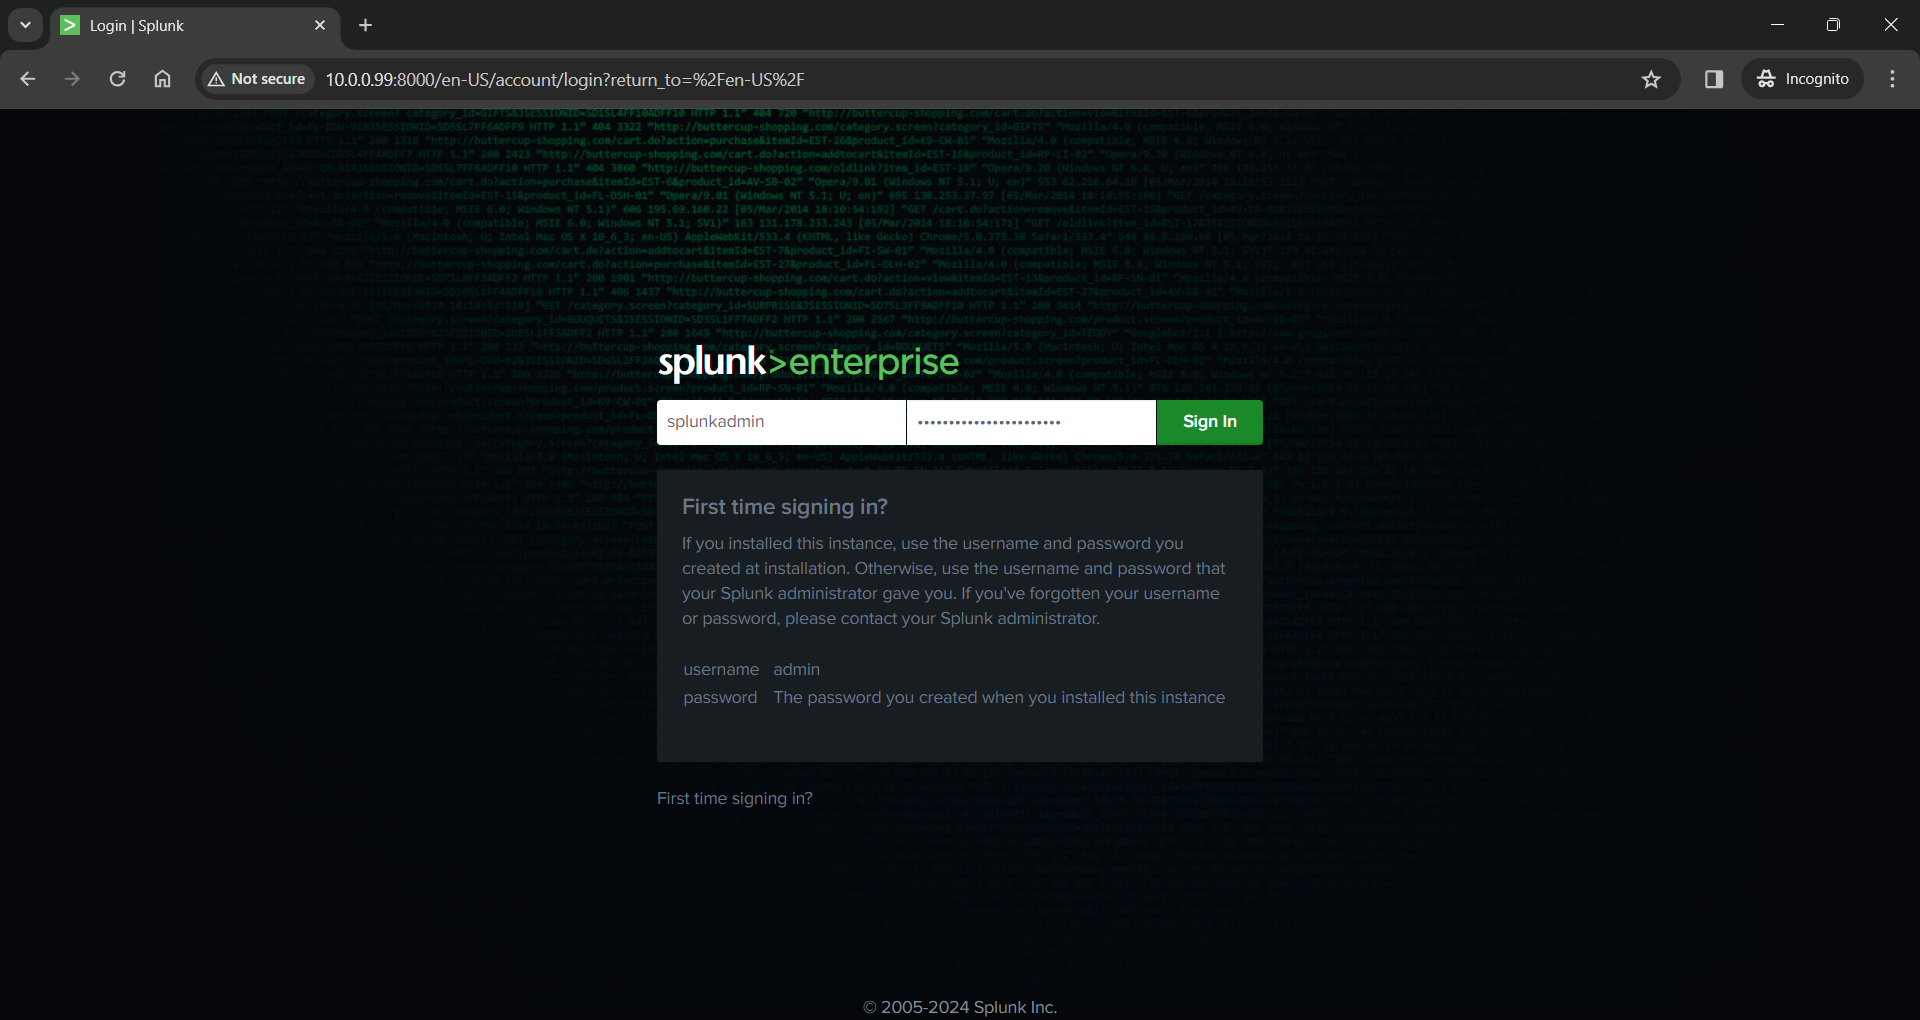
You will most likely be prompted that the connection is insecure, which is expected as you are accessing over http. You do have the option to change this over to https in the settings although the certificate is not a publicly trusted cert handed out by a certificate authority (CA) as is normal for self hosted applications.
You can now log in and reach the Splunk Web console where we have a lot of options to learn about later.
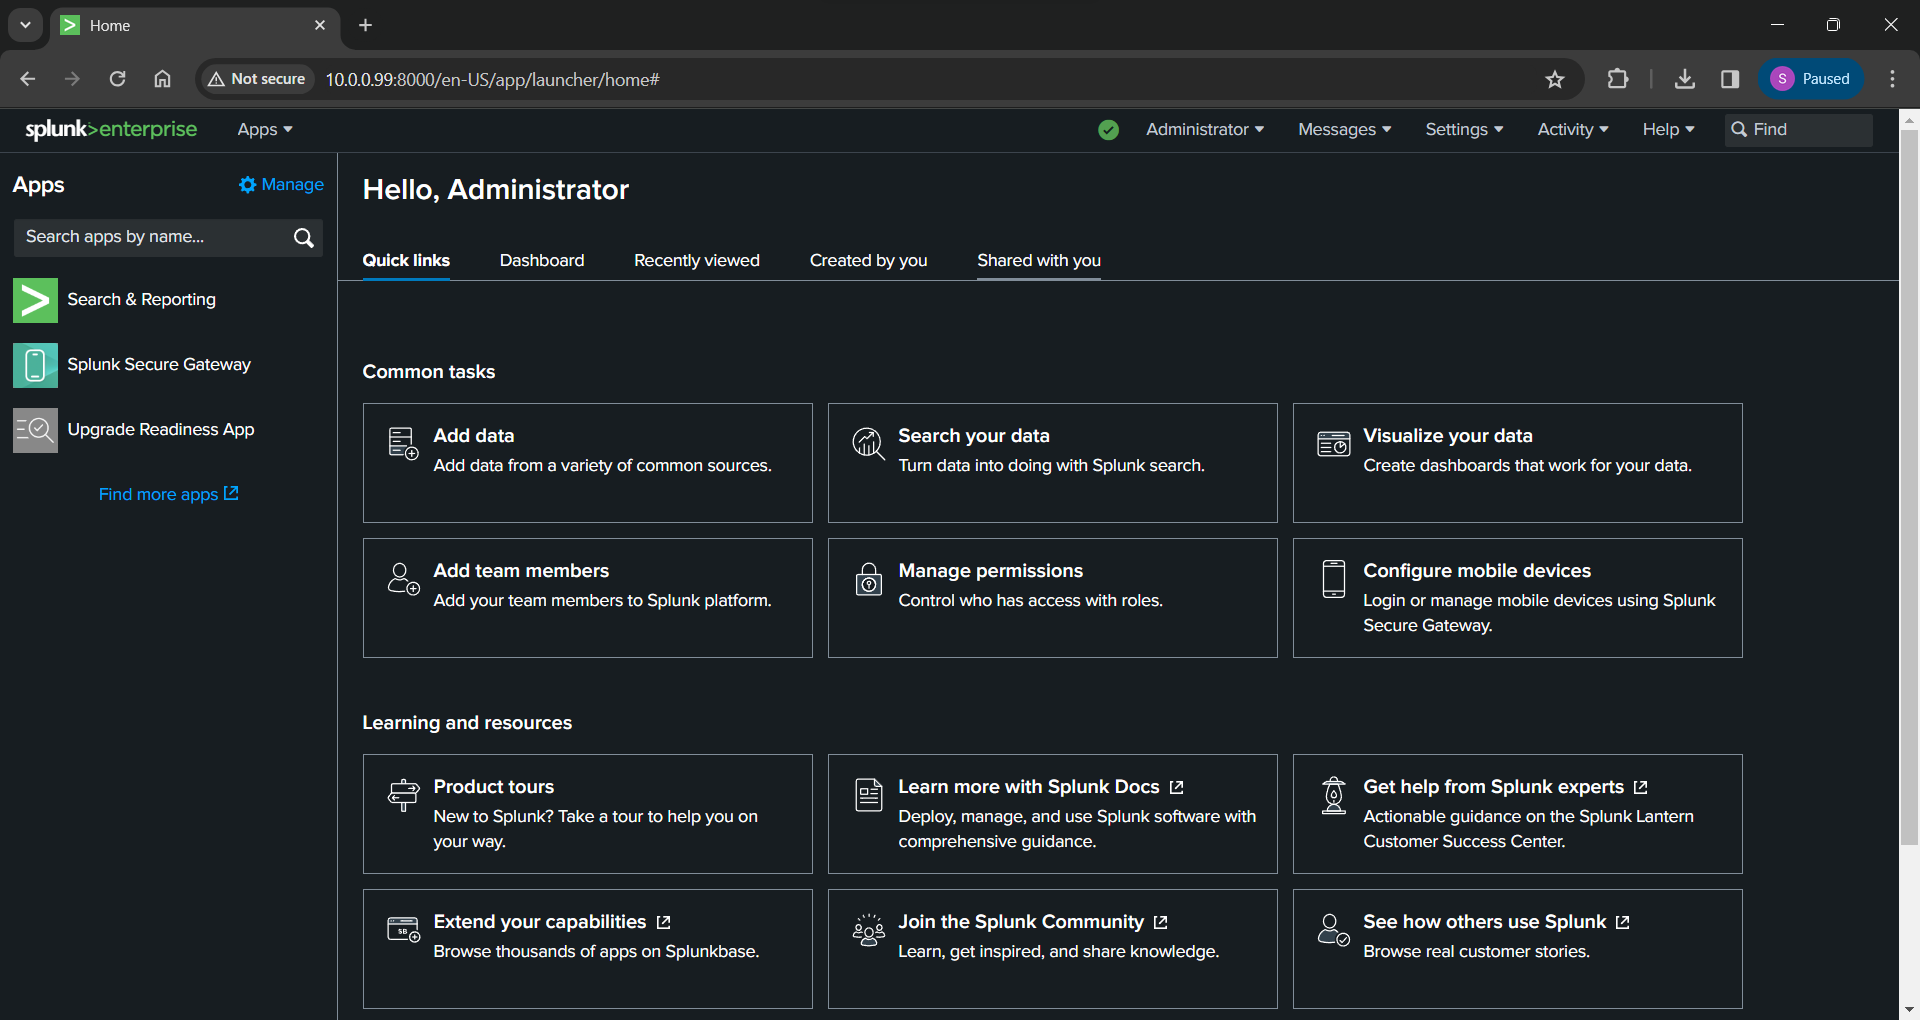
I initially wanted to go over some of the configuration items but a lot of it will be specific to setting up Universal Forwarders and specific types of data from different sources so I will go over that in the next post.
What's next?
I am still reading up on the forwarders and how to accomplish the data collection specific to my network and goals, as there are many options to accomplish these. For sure I want to keep track of authentication attempts, software package changes, and system events at the OS level to begin with. I will most likely accomplish this using standard installations of the Universal Forwarder on each host. Once I get the hang of that, I want to collect logs from my different services I'm running so I can have a good overview of what's going on in my homelab.
Containerized Apps
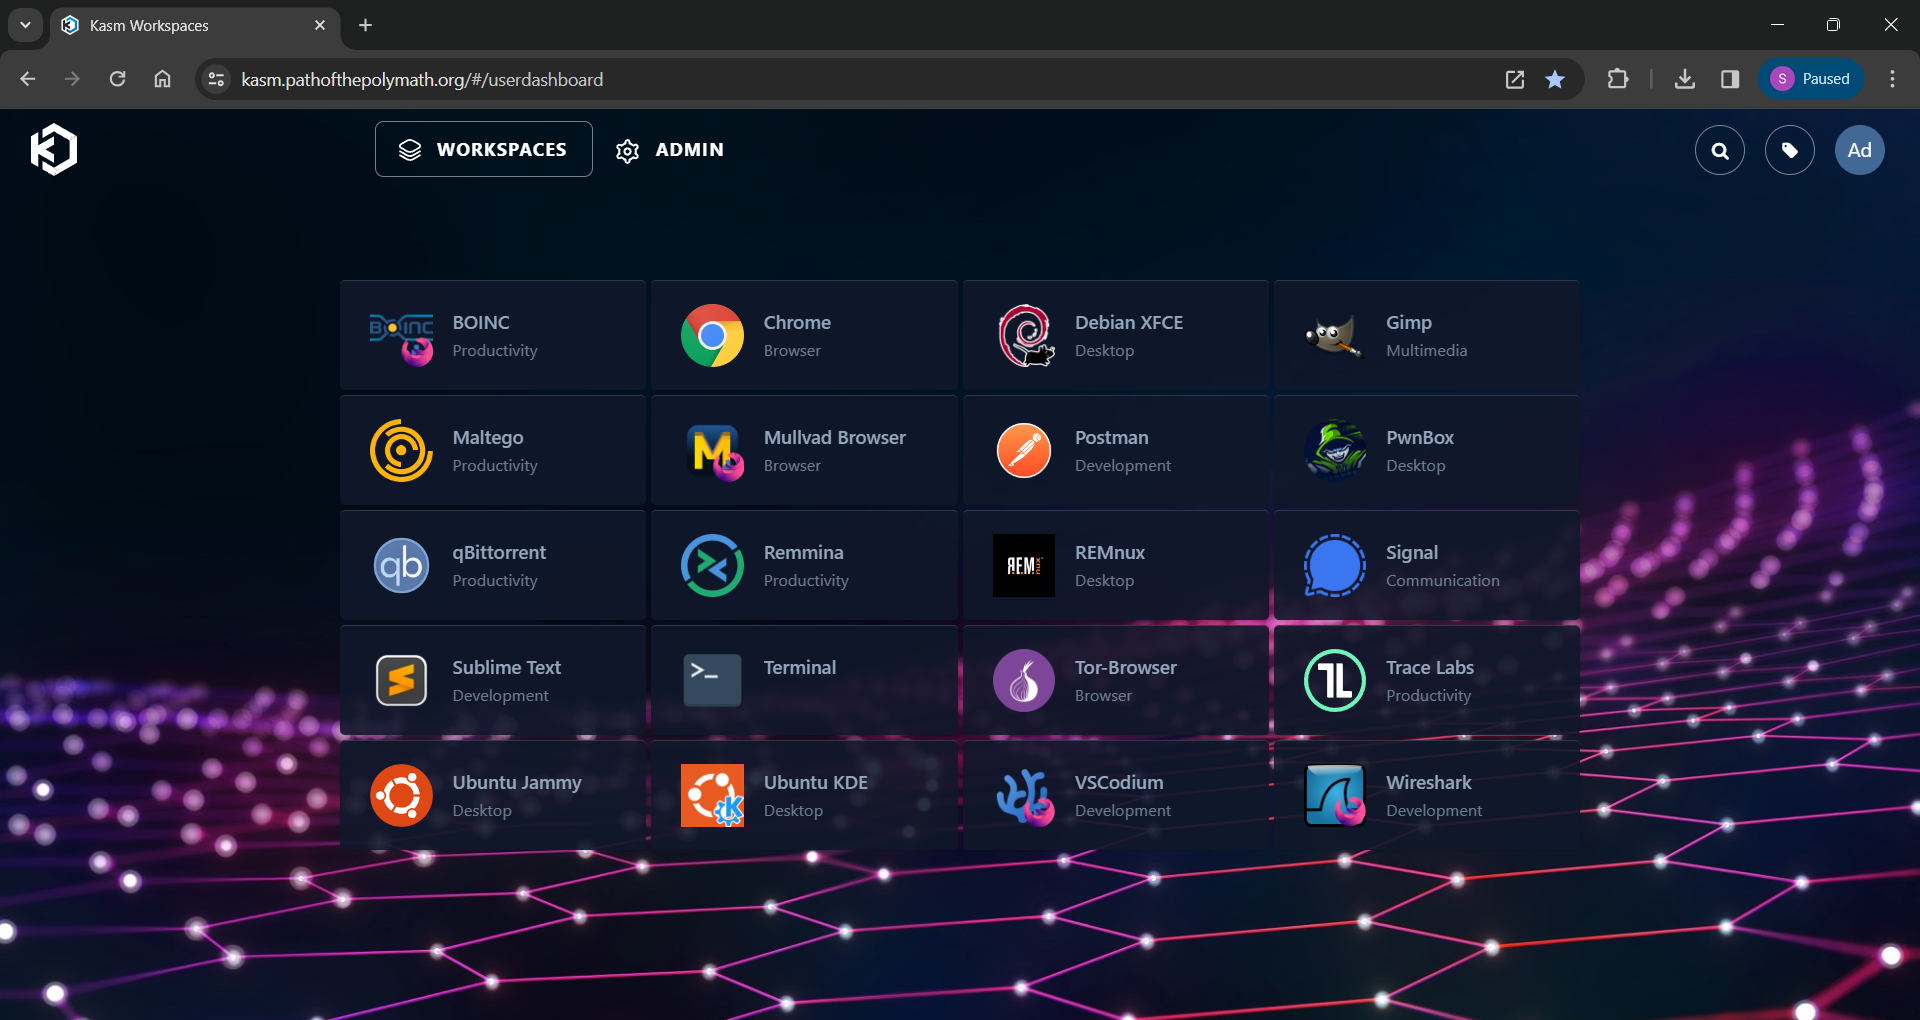
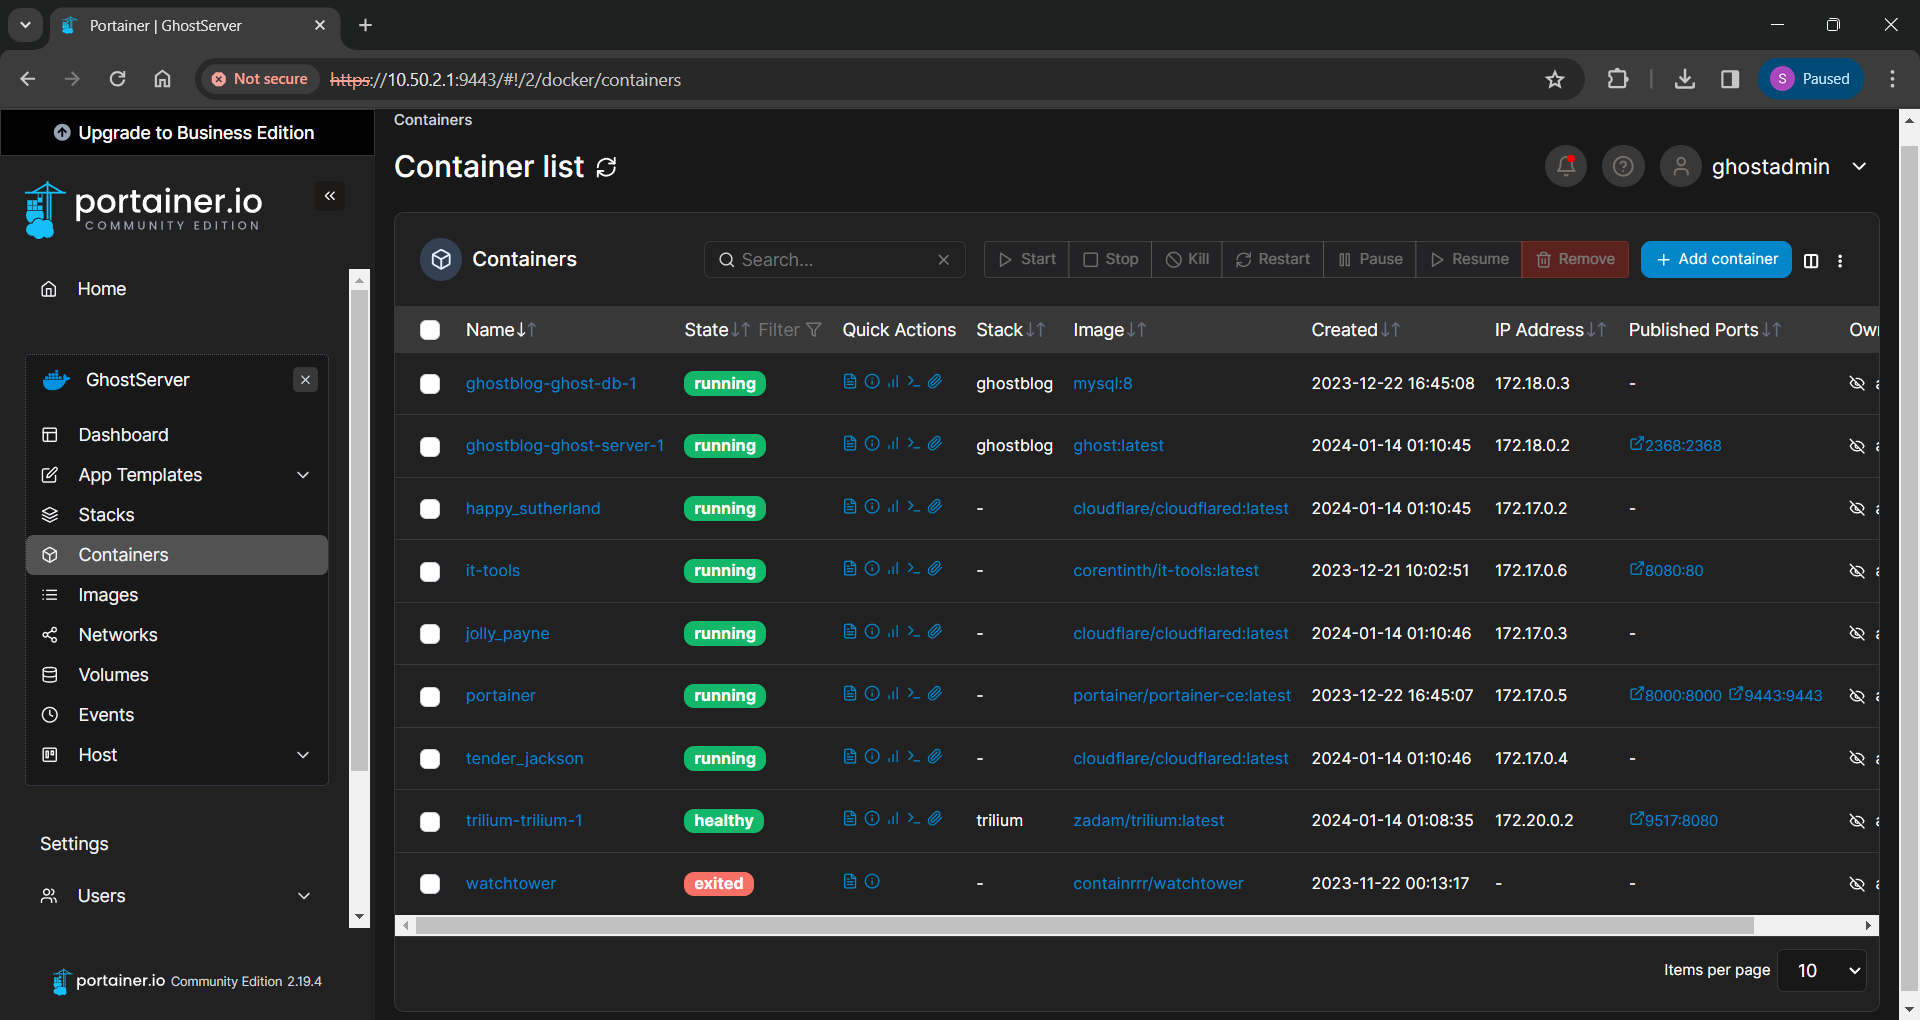
I currently have more than a few servers running Docker containers performing different tasks. In the spirit of learning a wide variety of containerization deployment options in my homelab, I have an instance of Kasm Workspaces with containerized apps I use on a daily basis, a couple Portainer stacks (including this blog and my notes application), a custom Docker compose stack serving my media, and a few test servers where I run Docker containers individually.
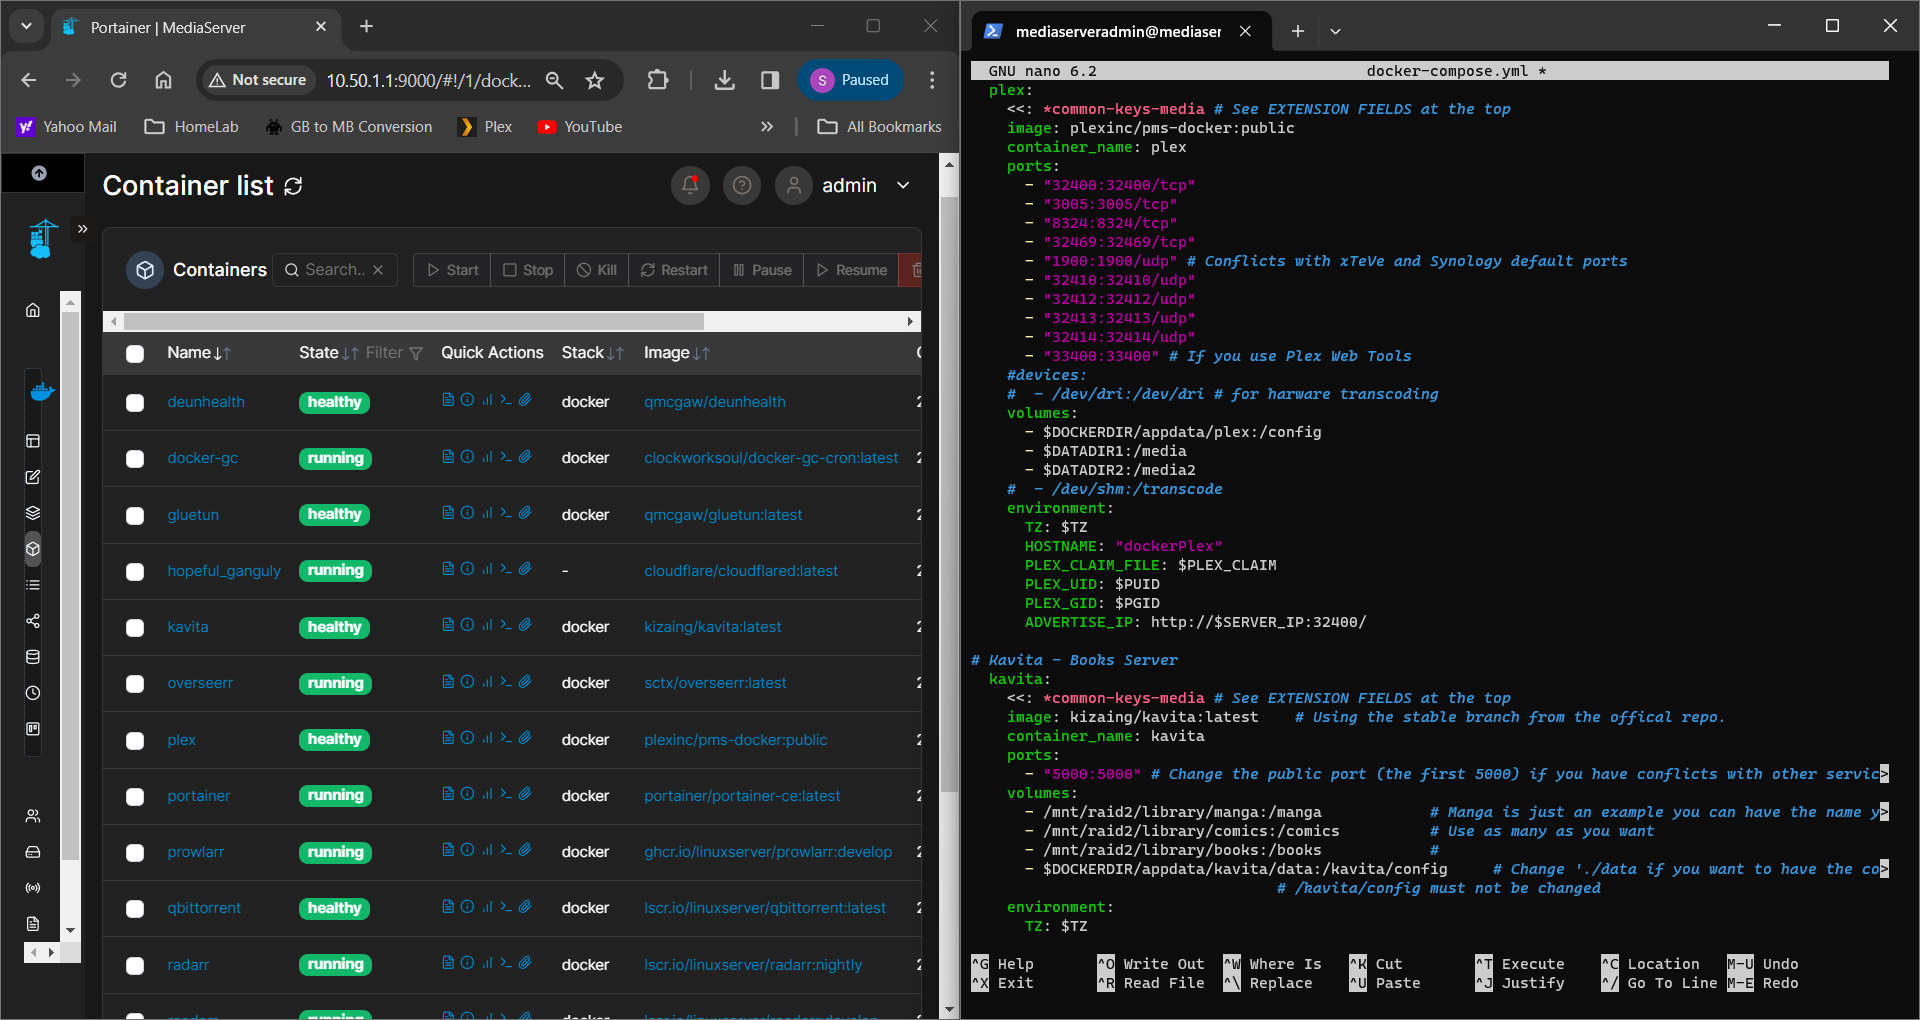
All of these containers generate a lot of data and I need to get a better idea of what I want to monitor and why, so I can forward only what I want Splunk to index for me. These goals need to be clear in my mind so I can setup the forwarders without wasting resources.
Once I get to this point I want to take a look at different deployment options. I've read some documentation and a couple of blog posts on collecting data from Docker containers and there are even options for running Splunk forwarders as docker containers themselves which I am interested in. Splunk once again has some amazing documentation on how to run Splunk as a Docker container. There are also these docs as well.
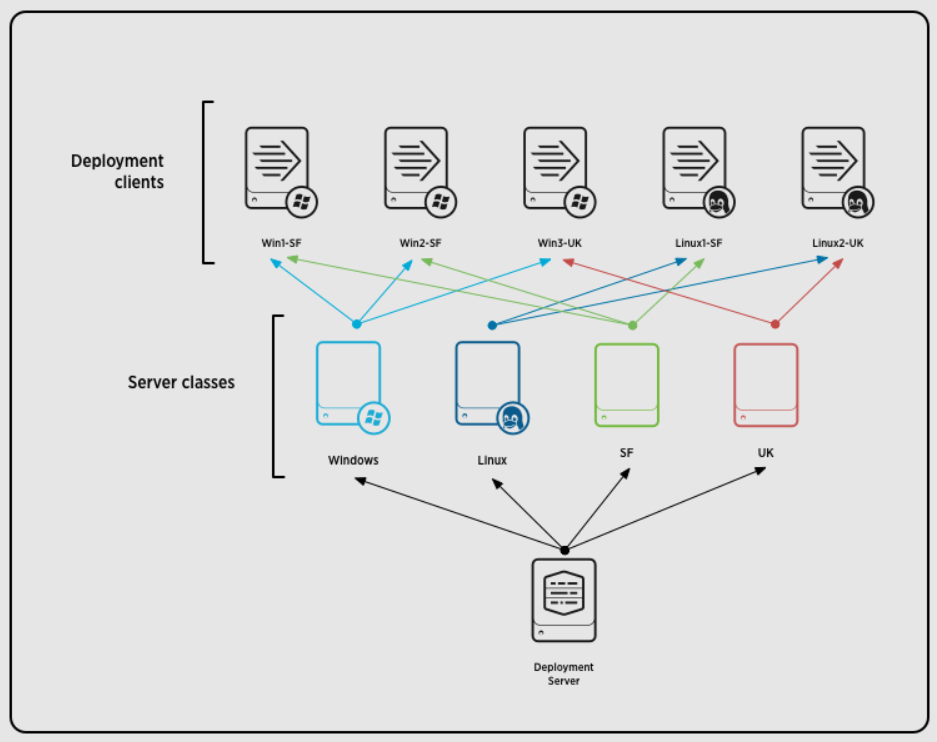
This also led me to some documentation about a deployment server setup which sound like an amazing solution to centralize the configurations for different OS's, applications, and container deployment types. And I will be looking into this as well.
That is where I am currently with looking ahead. I hope the installation steps helped you get started with Splunk!
Check out the other posts in this series where I'll install and setup the Universal Forwarders, configure log forwarding, and then look into applying all this to my containerized apps and possibly setup a deployment server. Once everything is setup I will hopefully write another post on how to search through this data which is going to be a lot of information to go over. Thank you for reading my post and I hope you have a great day!