Security Robot Rebuild - Phase 1

Intro
Hey everyone! It's been a while since I last posted but I've got a really fun one to share that I couldn't wait to get further into. Before we get to the main project, let's catch up on what I've been working on since my last post.
A Quick Rundown on Current Projects:
- Relay Attack Device: Both devices are fully built and working great so far! The real challenge now is building out the battery packs. Because the components I'm using require different voltages, I can't just slap a single battery on there; I need to build a custom solution for each device to ensure everything runs smoothly and reliably.
- CAN Bus Sniffer & Injection Tool: I've actually built two versions of this, one using a Raspberry Pi Zero and an RS485 CAN HAT, and another with an Arduino and a MCP2515 CAN Bus Module. The reason for the two builds is to have options and compare the pros and cons of each platform. I also have the Security Gateway Module (SGM) bypass cable ready to use on my vehicle. Now all that's left is to hook them up and put them to the test.
- ComboVault Database: I've spent the past few weeks deep in the data trenches, ingesting the Alien TXTBase stealer logs and a ton of new data from Telegram and other forums. To handle the massive volume, I've been enhancing my scripts to be more aggressive at removing junk data and optimizing the deduplication process. I even ran a few reports to see how many government email addresses I found in these breaches, and the numbers are pretty eye-opening. I'll be sharing a dedicated post on that once I've finished ingesting a few more large combolists and can re-run the reports with a more complete data set.
- Reverse Engineering Elcom A80ER-II/III-HE Encoder/Decoder: I got this old magnetic strip reader/writer off Craigslist for a steal. It's built on the Z80 architecture, which is super cool from a historical and technical perspective. I was able to successfully extract the firmware using my XGecu T48 programmer. My next step is to start reverse engineering the code to see if I can understand how it works and, more importantly, if I can make my own modifications.
- Bachelor's Degree: I just started my Cybersecurity degree at WGU last week and I'm really enjoying it so far. It's been a great way to formalize some of my knowledge and fill in the gaps.
Finding a Robot
Alright, enough with the updates. Let's get to the main subject of todays post.
I've always had a problem with finding random projects at thrift stores and on Craigslist, but recently, I discovered the world of public surplus auctions. It's a whole new level of "I don't need this, but I want to see what I can build with it." And that's exactly where I found this absolute beauty.
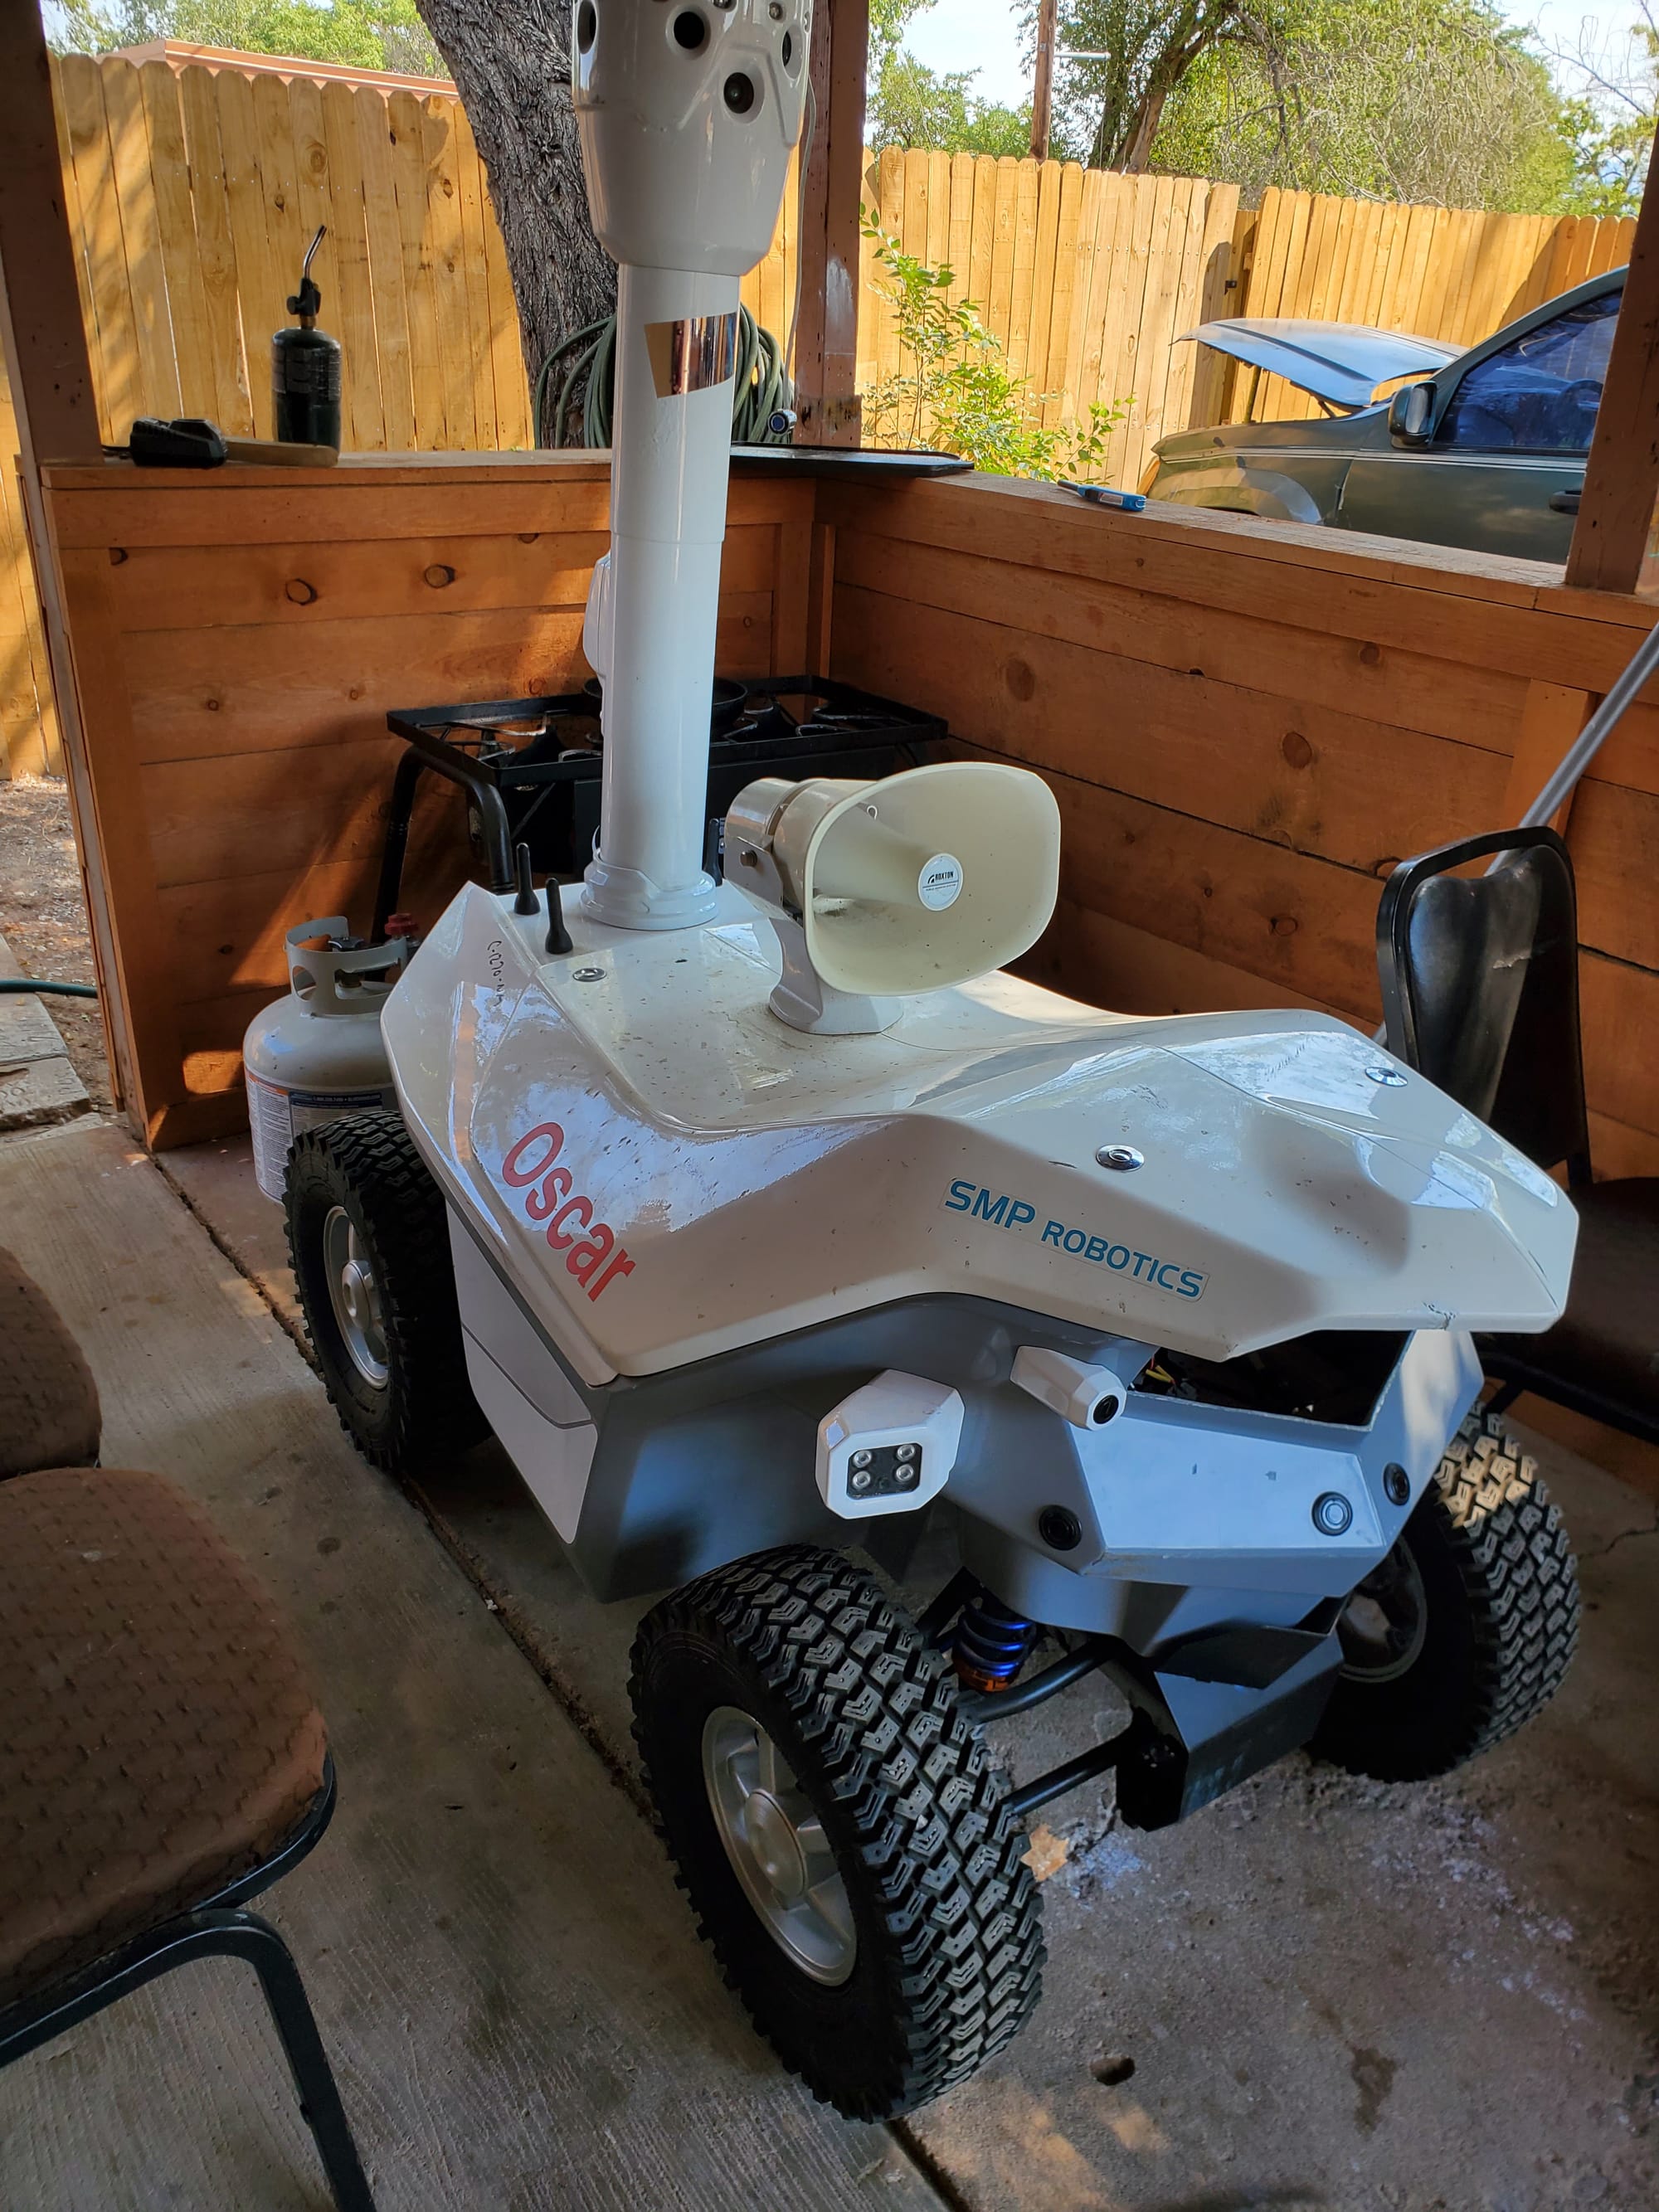
The second I saw this thing, I knew I had to win it. There were a total of five of these up for sale, all in various states of disrepair. I placed bids on two of them and a separate auction for the batteries. From the photos, I could tell the original control boards were gone, but crucially, the motors, wheels, speakers, sensors, and cameras were all still there. This wasn't just a broken robot, it was a platform for my own build.
After a little research and some help from Gemini, I'm pretty sure this is an SMP Robotics S5.2 Security Robot. These are Unmanned Ground Vehicles (UGV) designed for continuous, autonomous surveillance and patrol. They're built by SMP Robotics Systems for robust outdoor operation, featuring a durable fiberglass body and an aluminum frame. They're usually equipped with an NVIDIA Jetson TX2 processor and AI for things like human detection and object tracking. A little more digging revealed that the company that was auctioning these off was a distributor for SMP Robotics and offered them as a "Robot as a Service" (RaaS). These are the types of robots you see on campuses or in gated communities, and they have some seriously cool features.
In the end, I won the robot I wanted which was the one that was most complete along with a single battery (I wish I could've got the second one as well). The final price? Only $122!
I was more than okay with the missing control boards because my goal from the start was to use this as a chassis and build my own autonomous robot from the ground up.
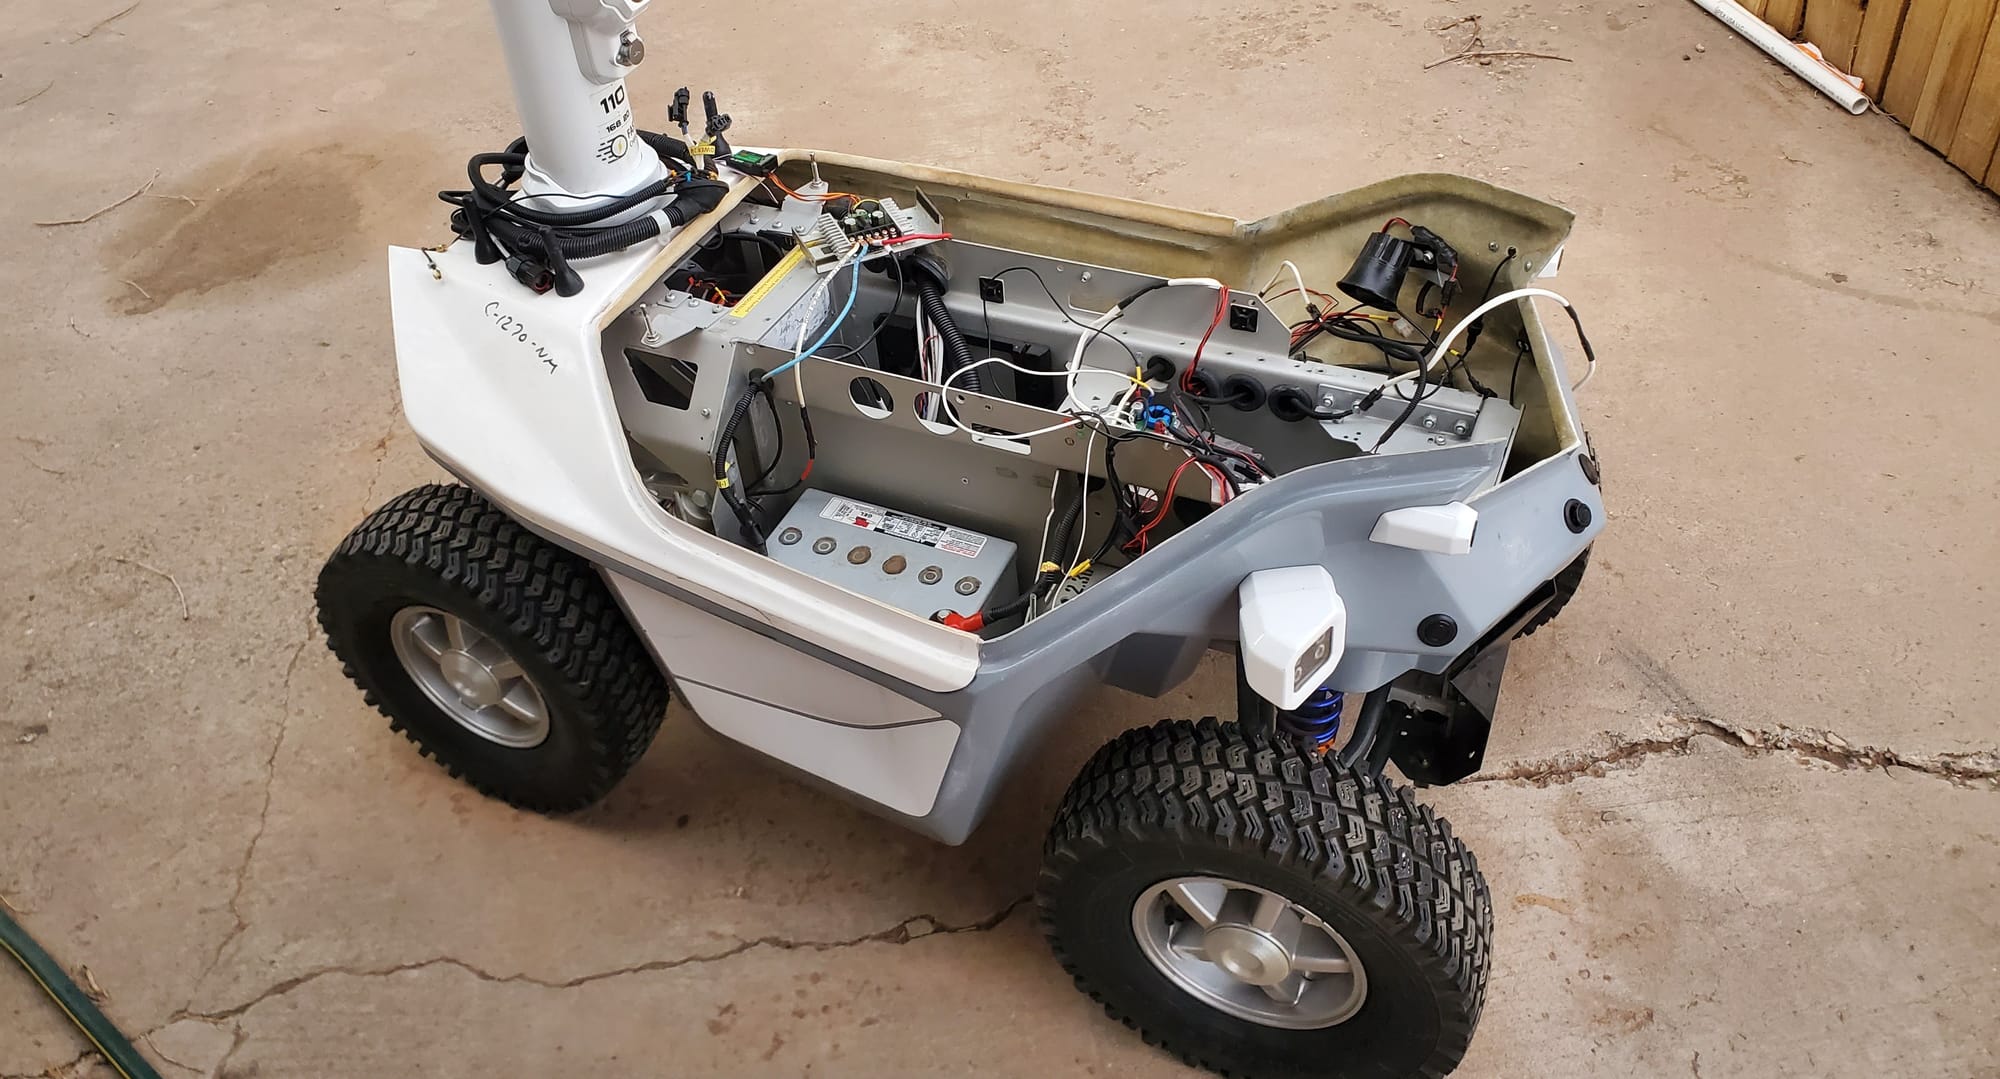
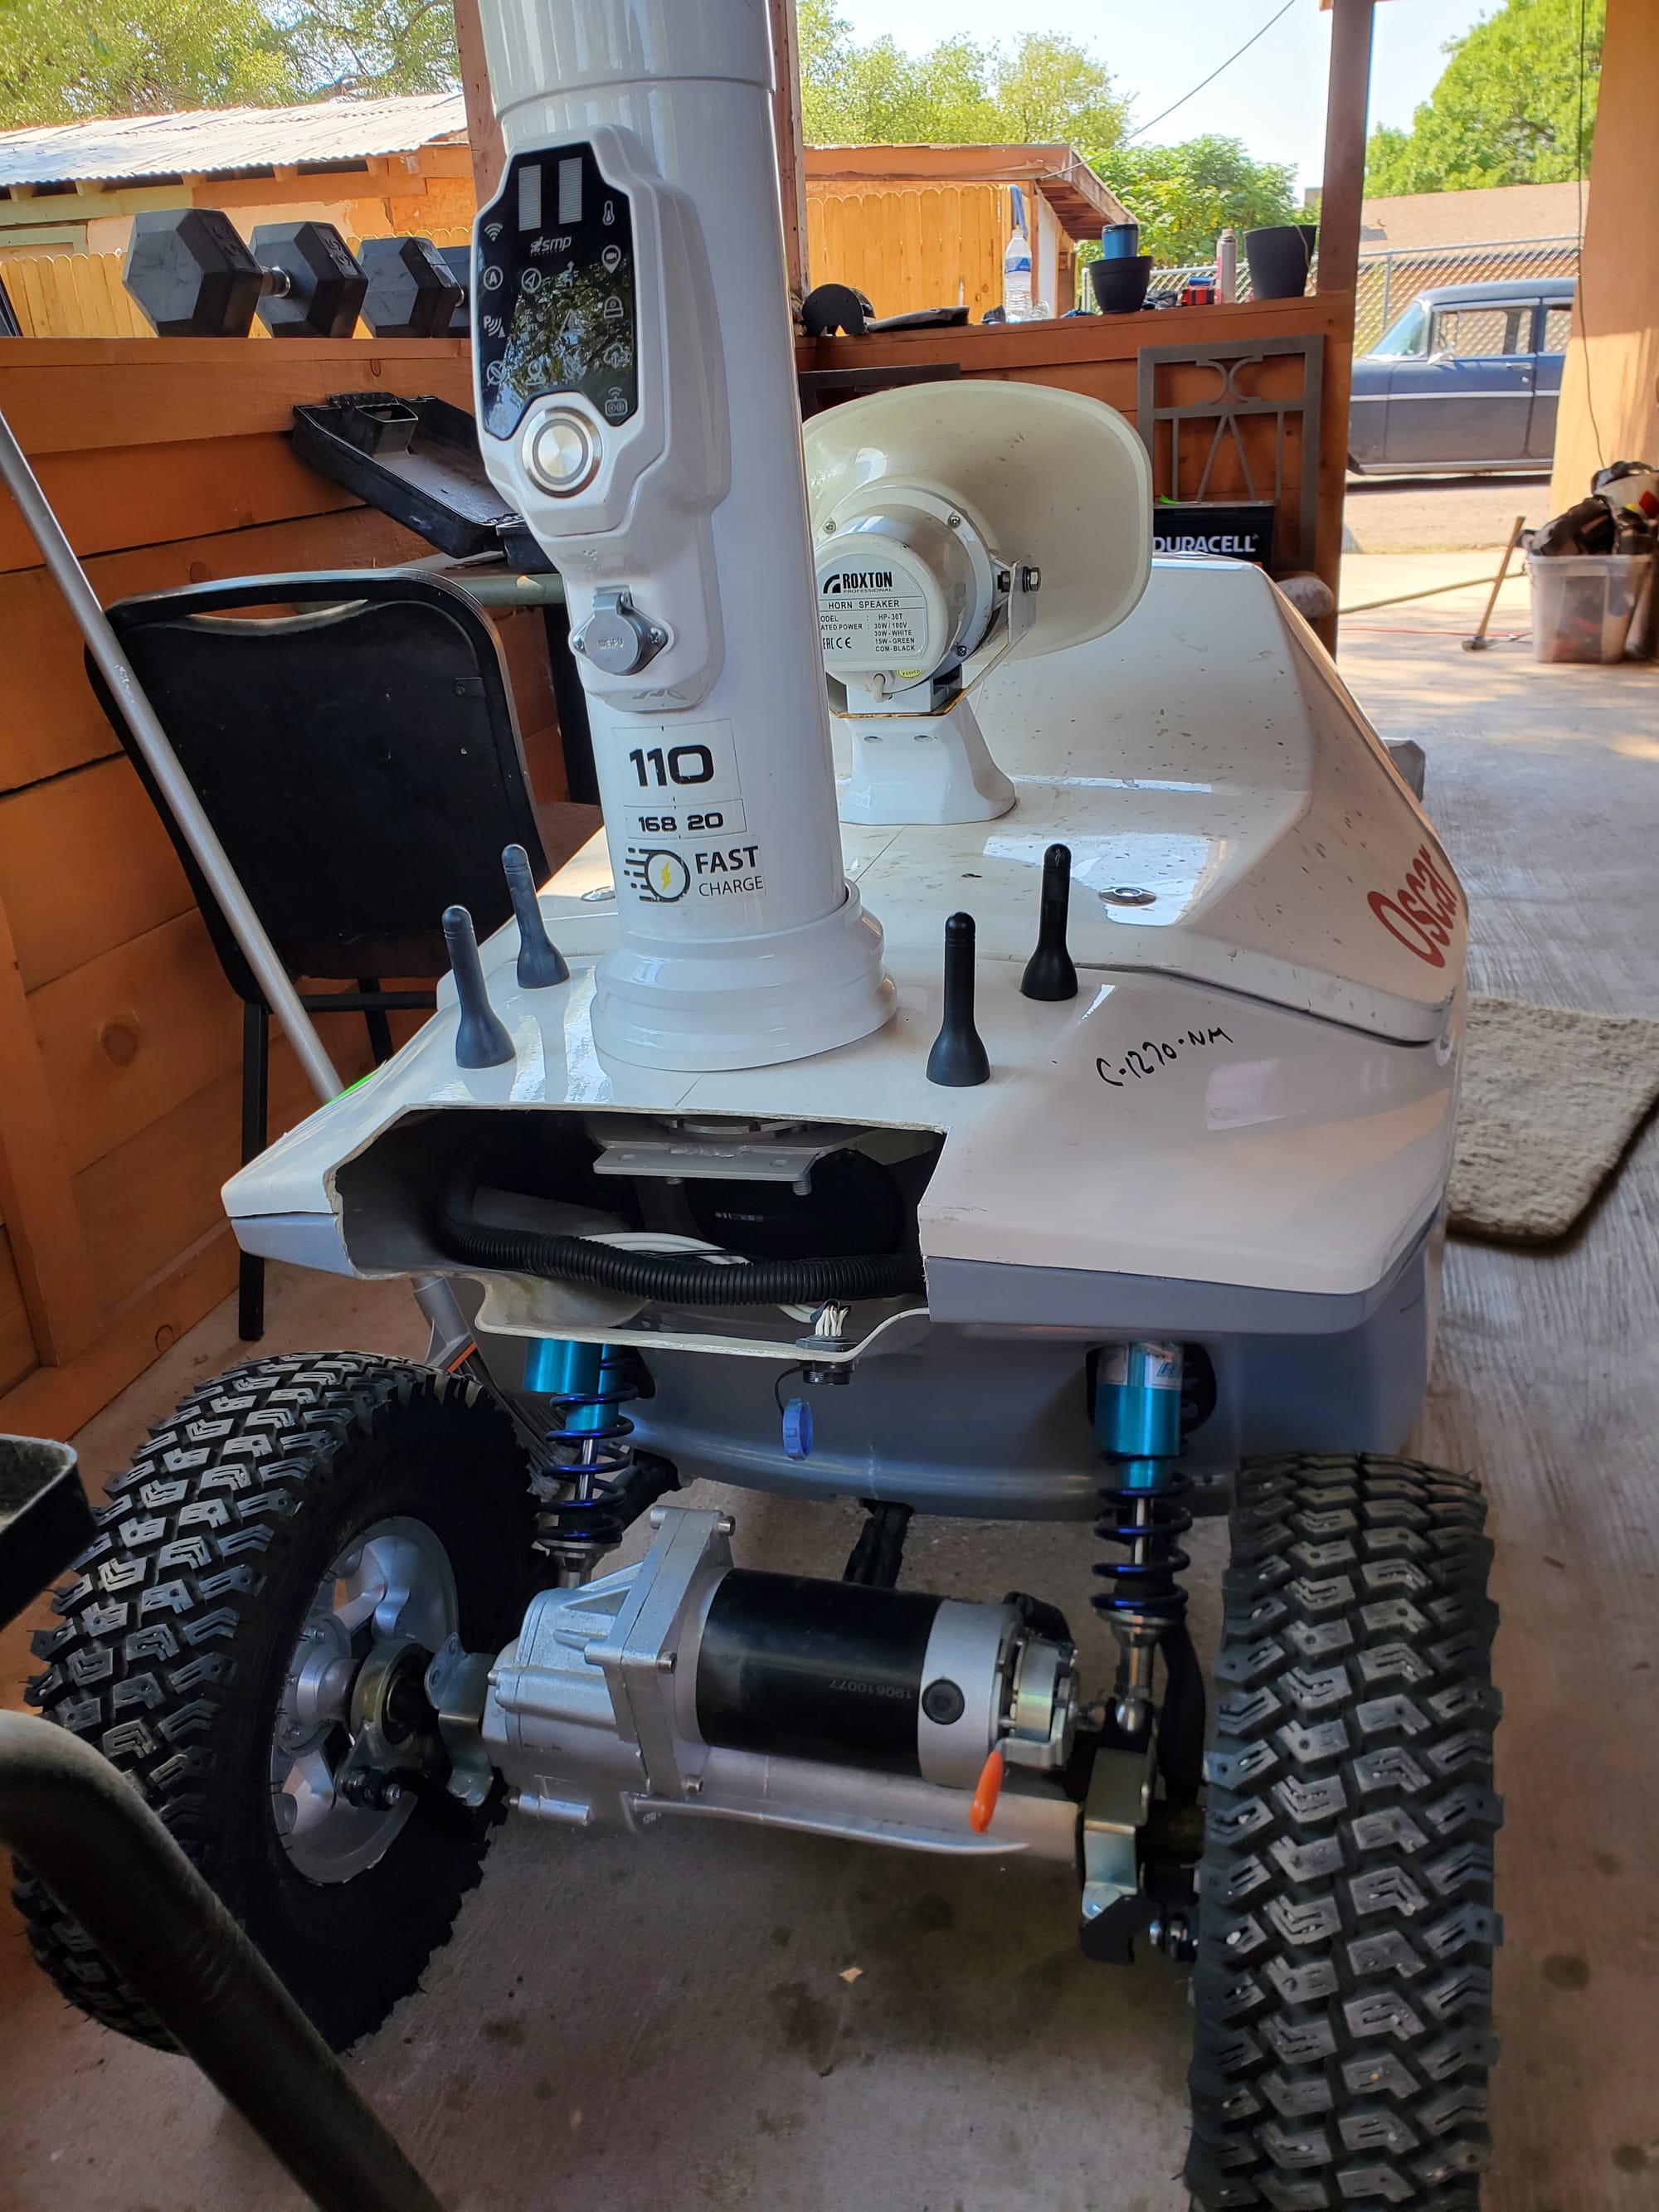
Once I had it home, I started to figure out exactly what I'd gotten myself into. The robot itself is surprisingly light without the batteries, which is a huge bonus thanks to its aluminum frame and fiberglass body.
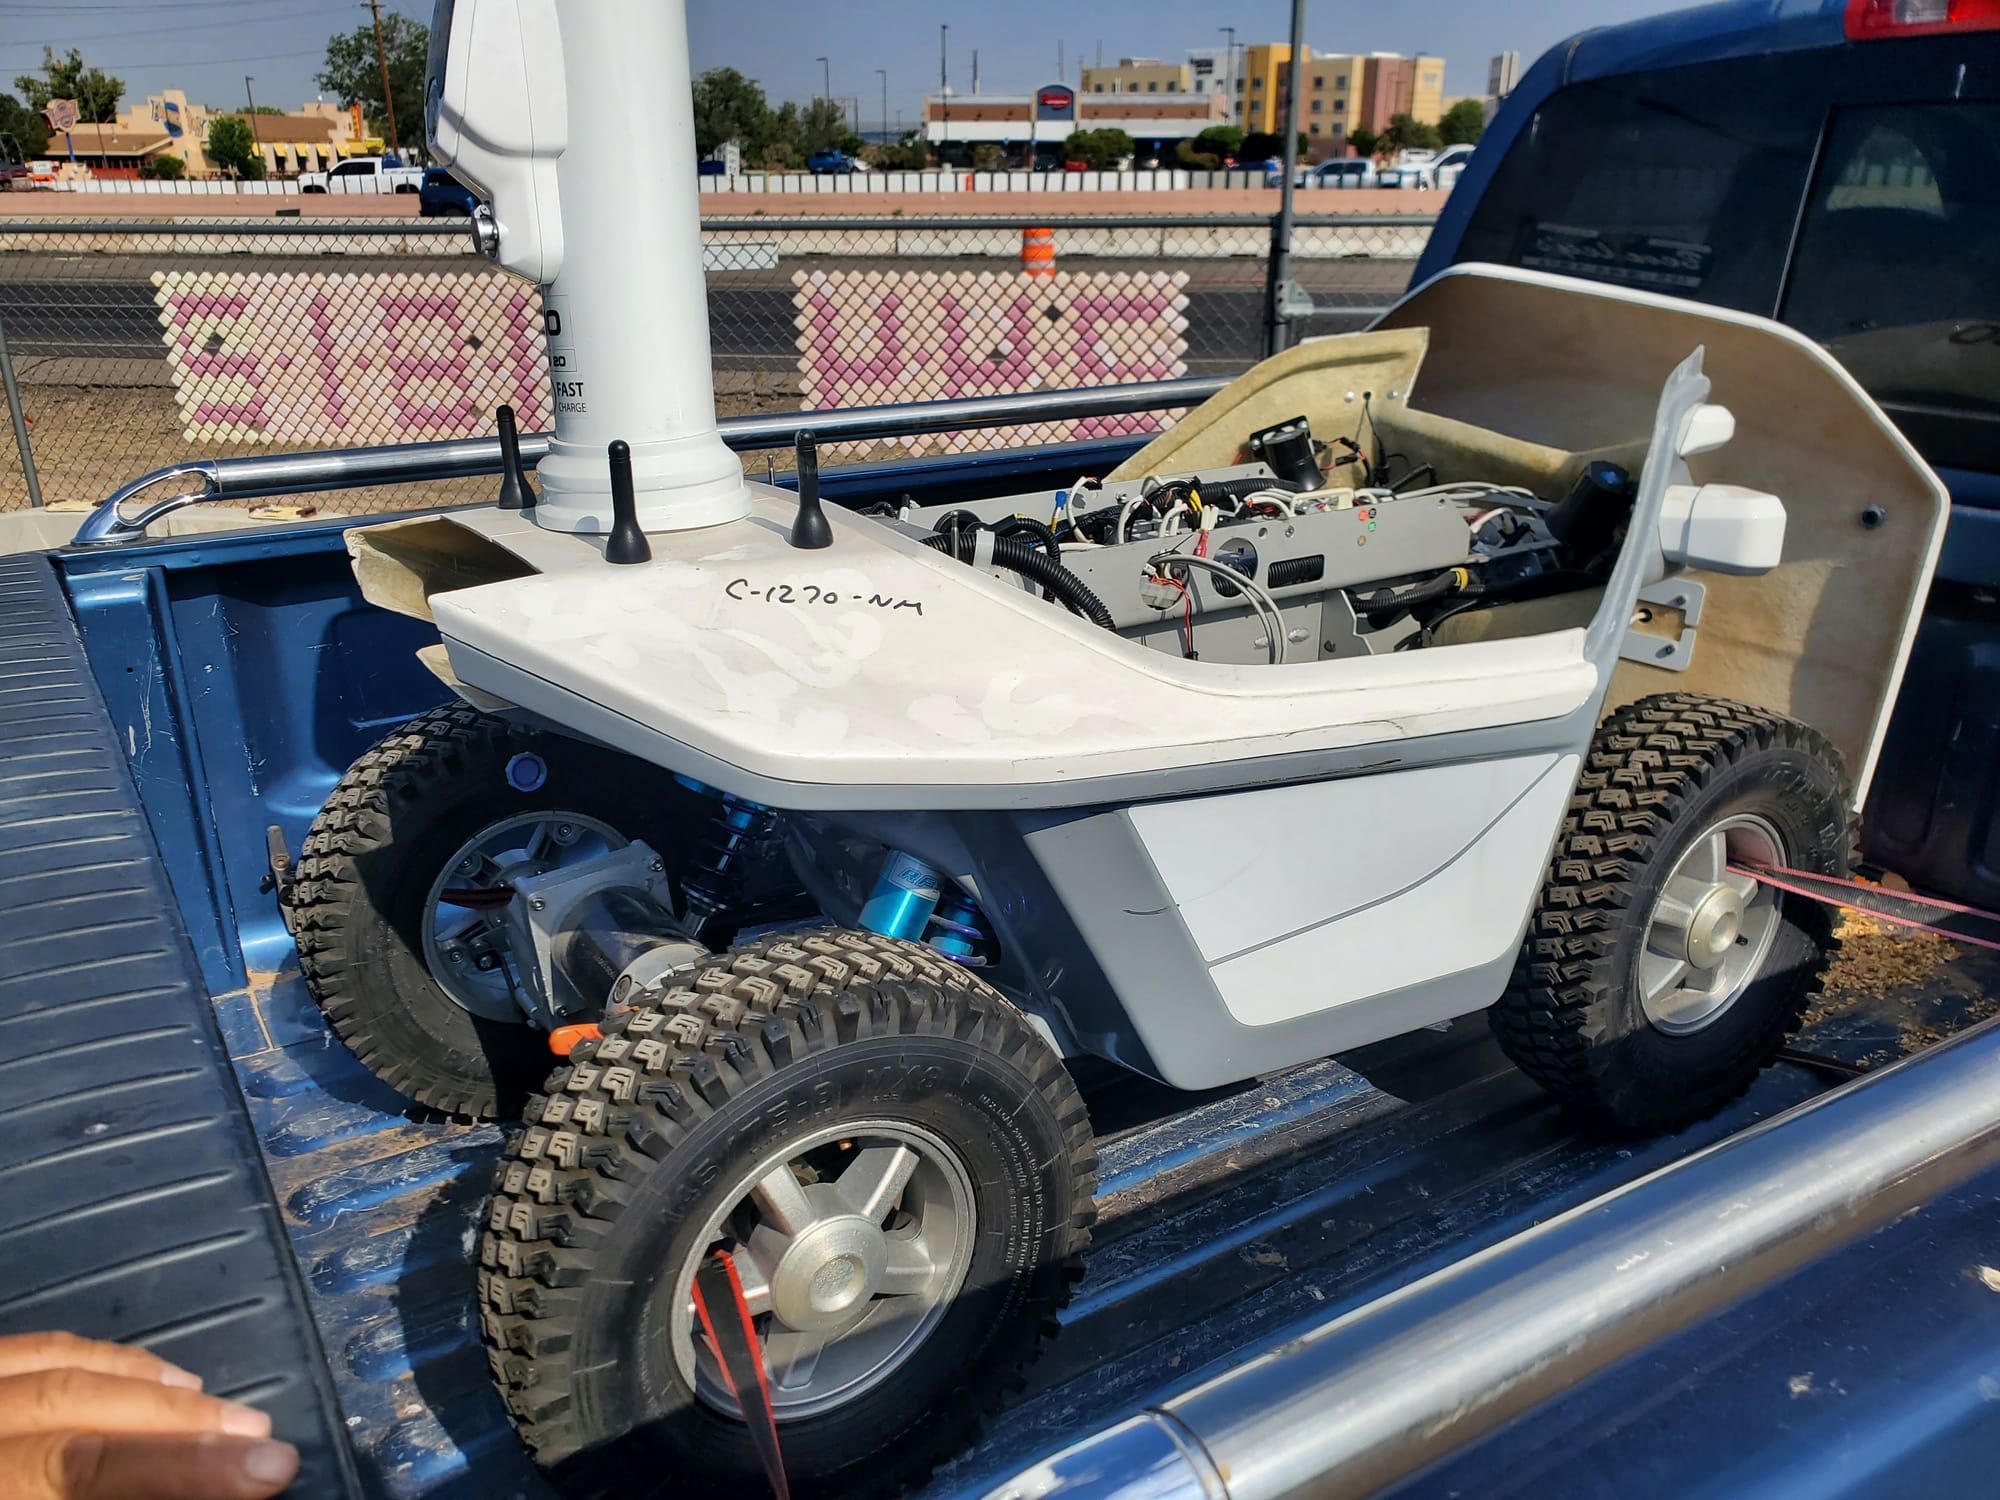
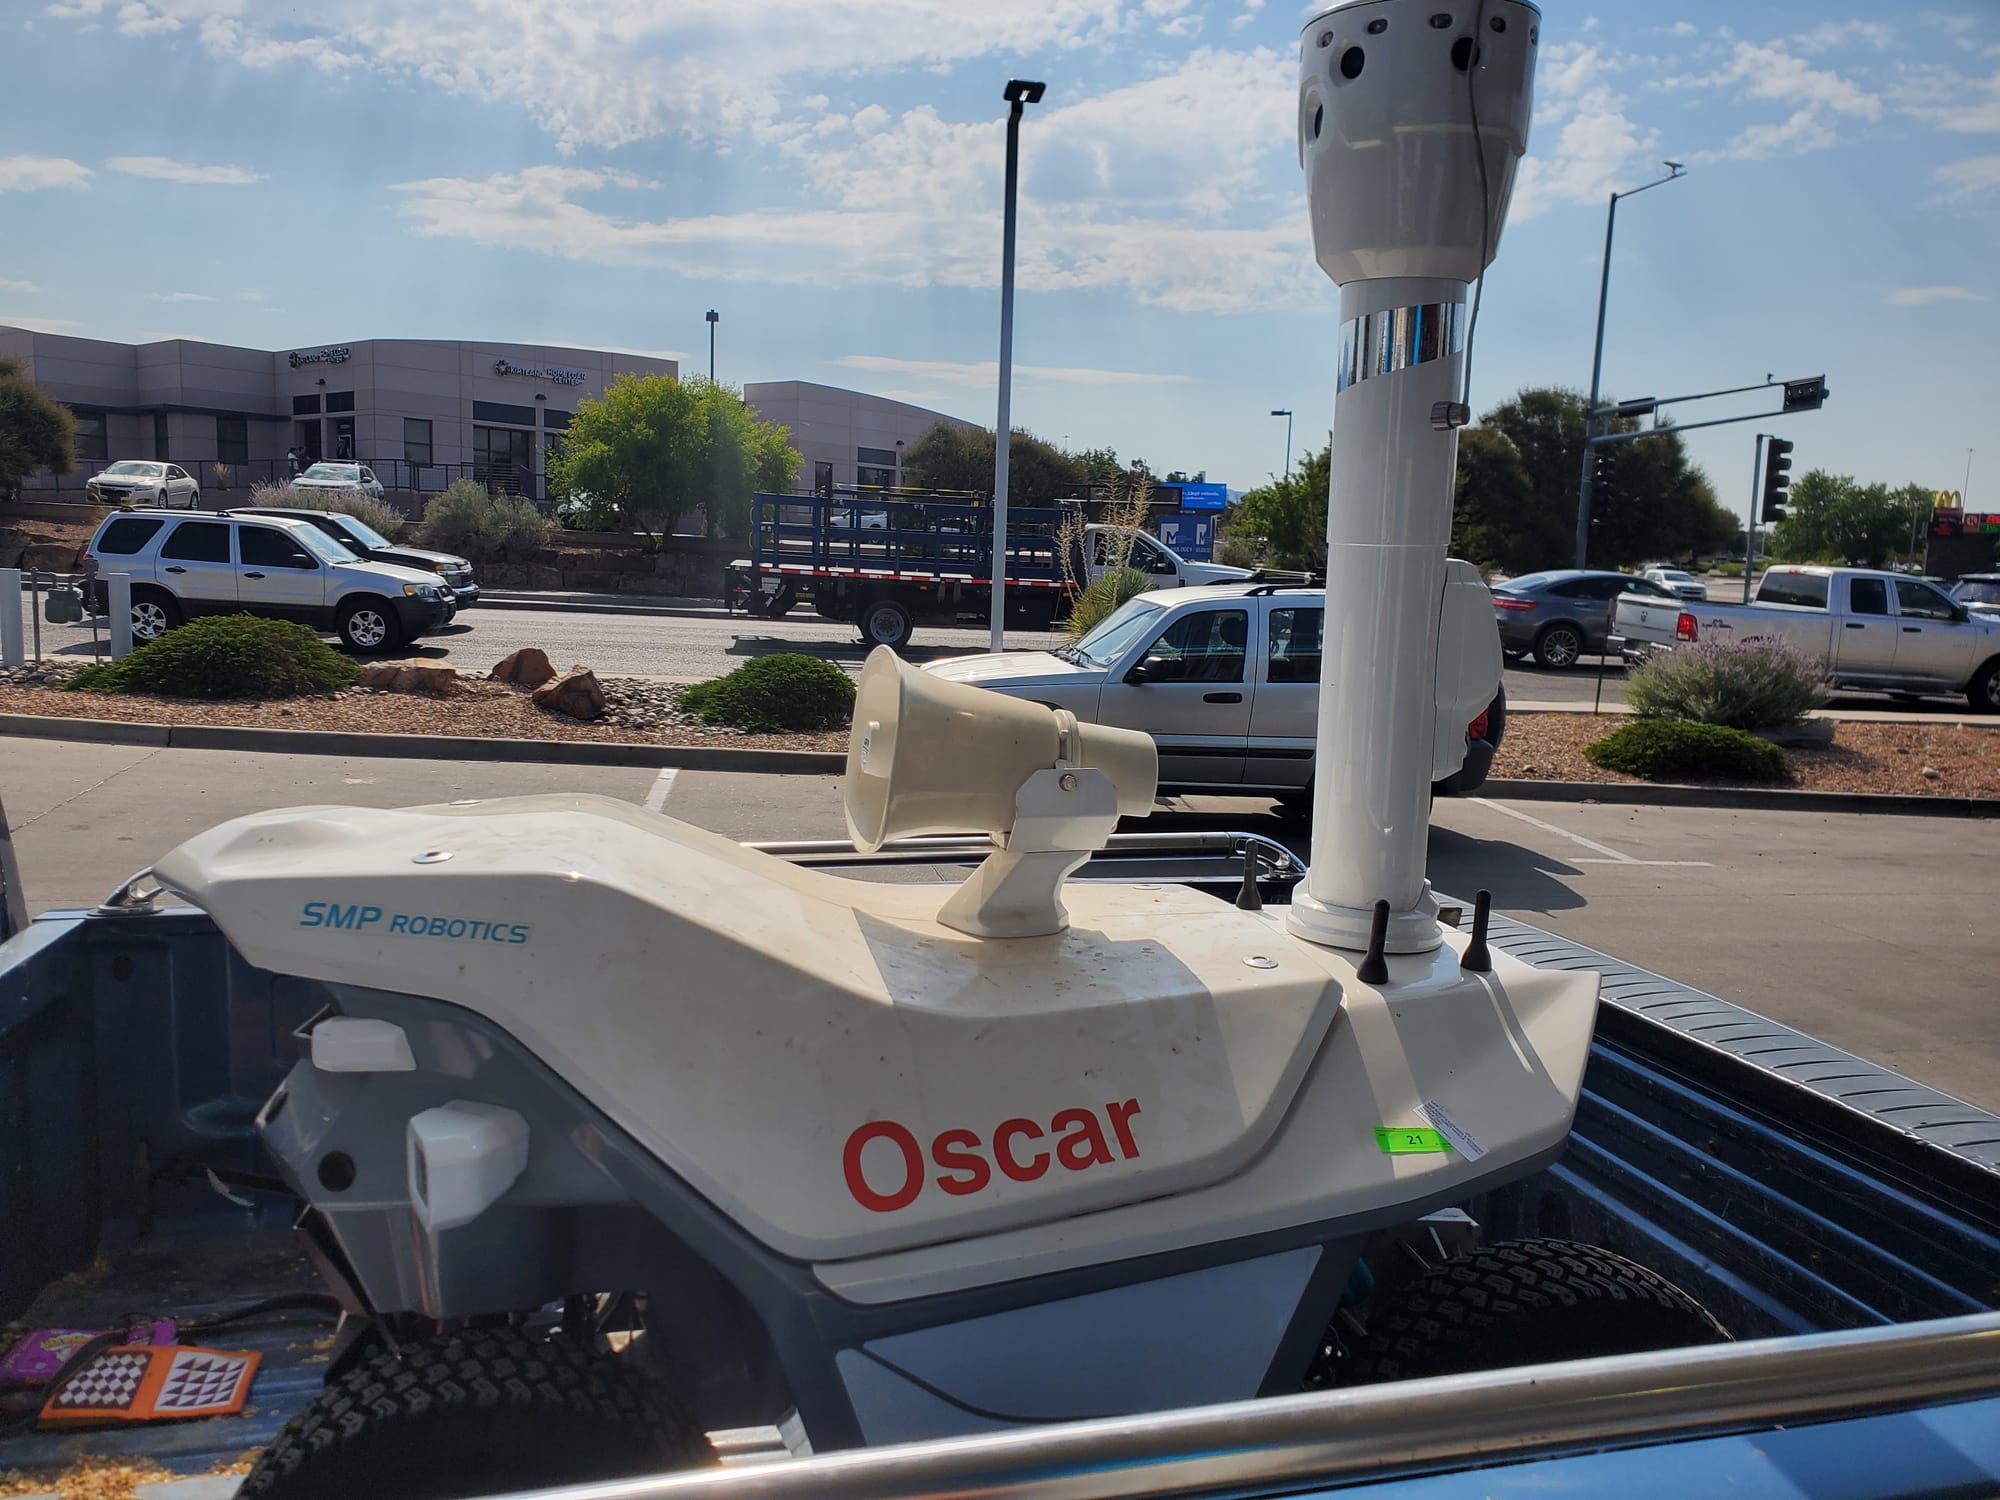
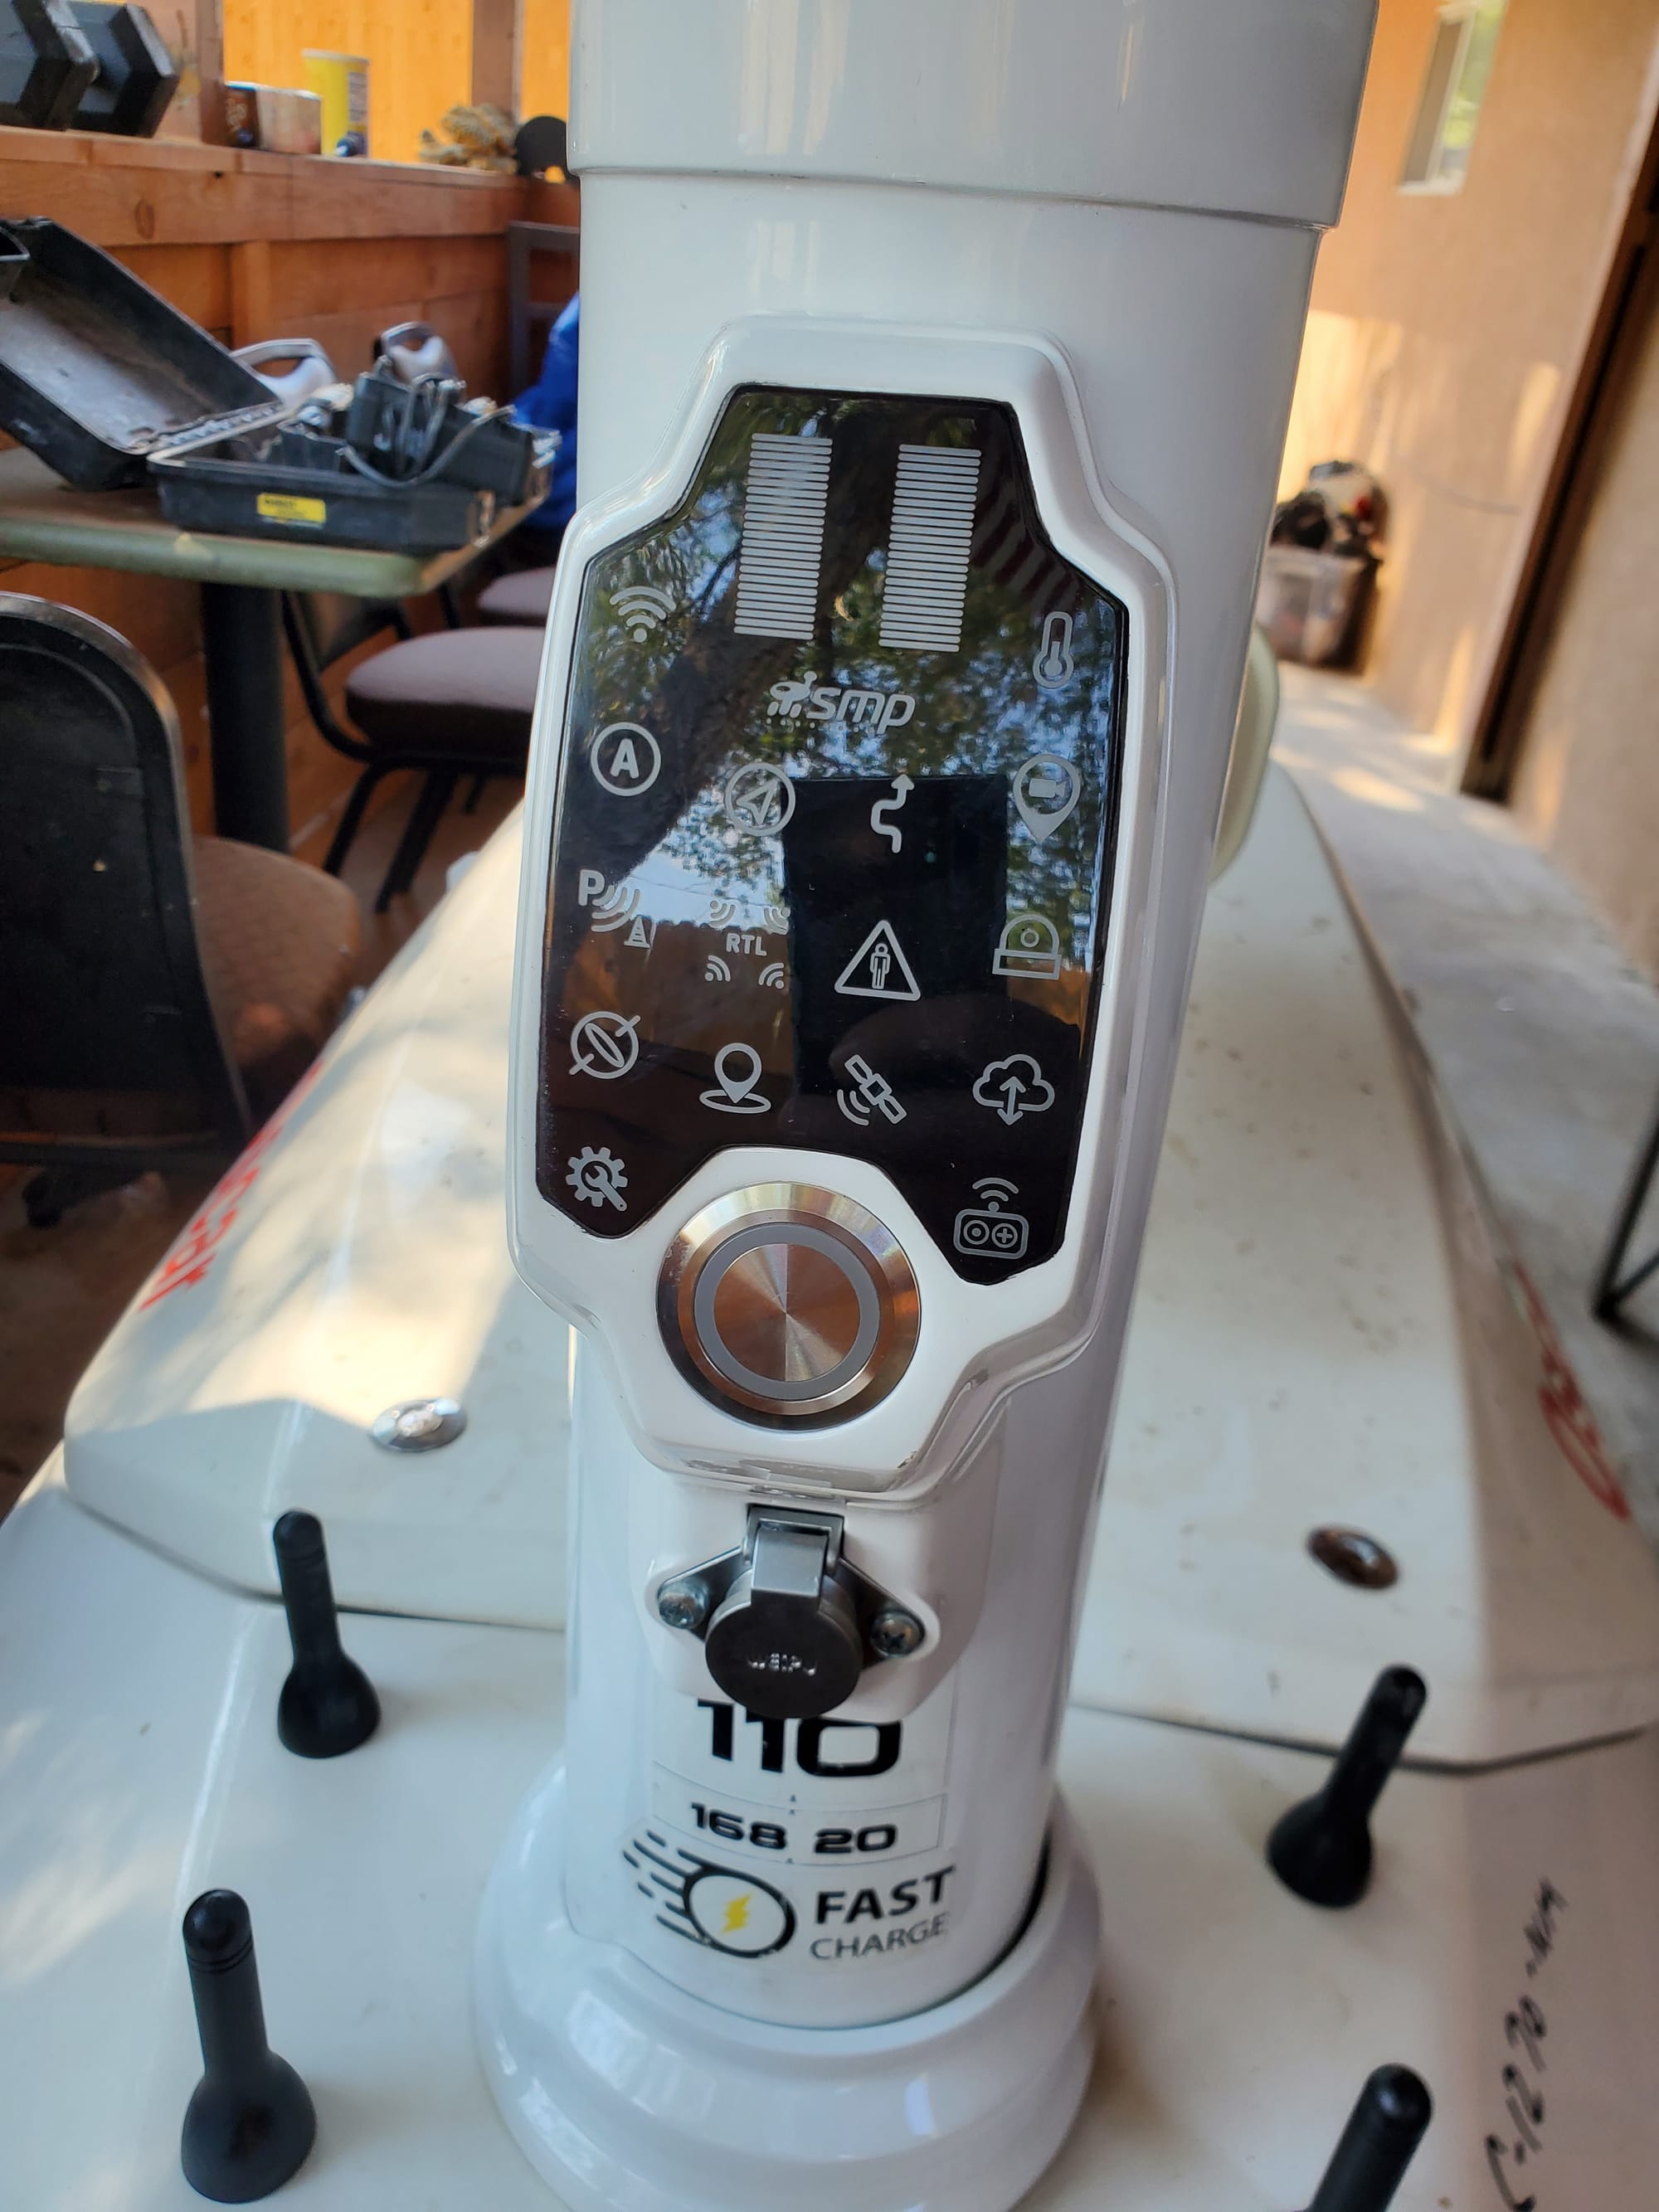
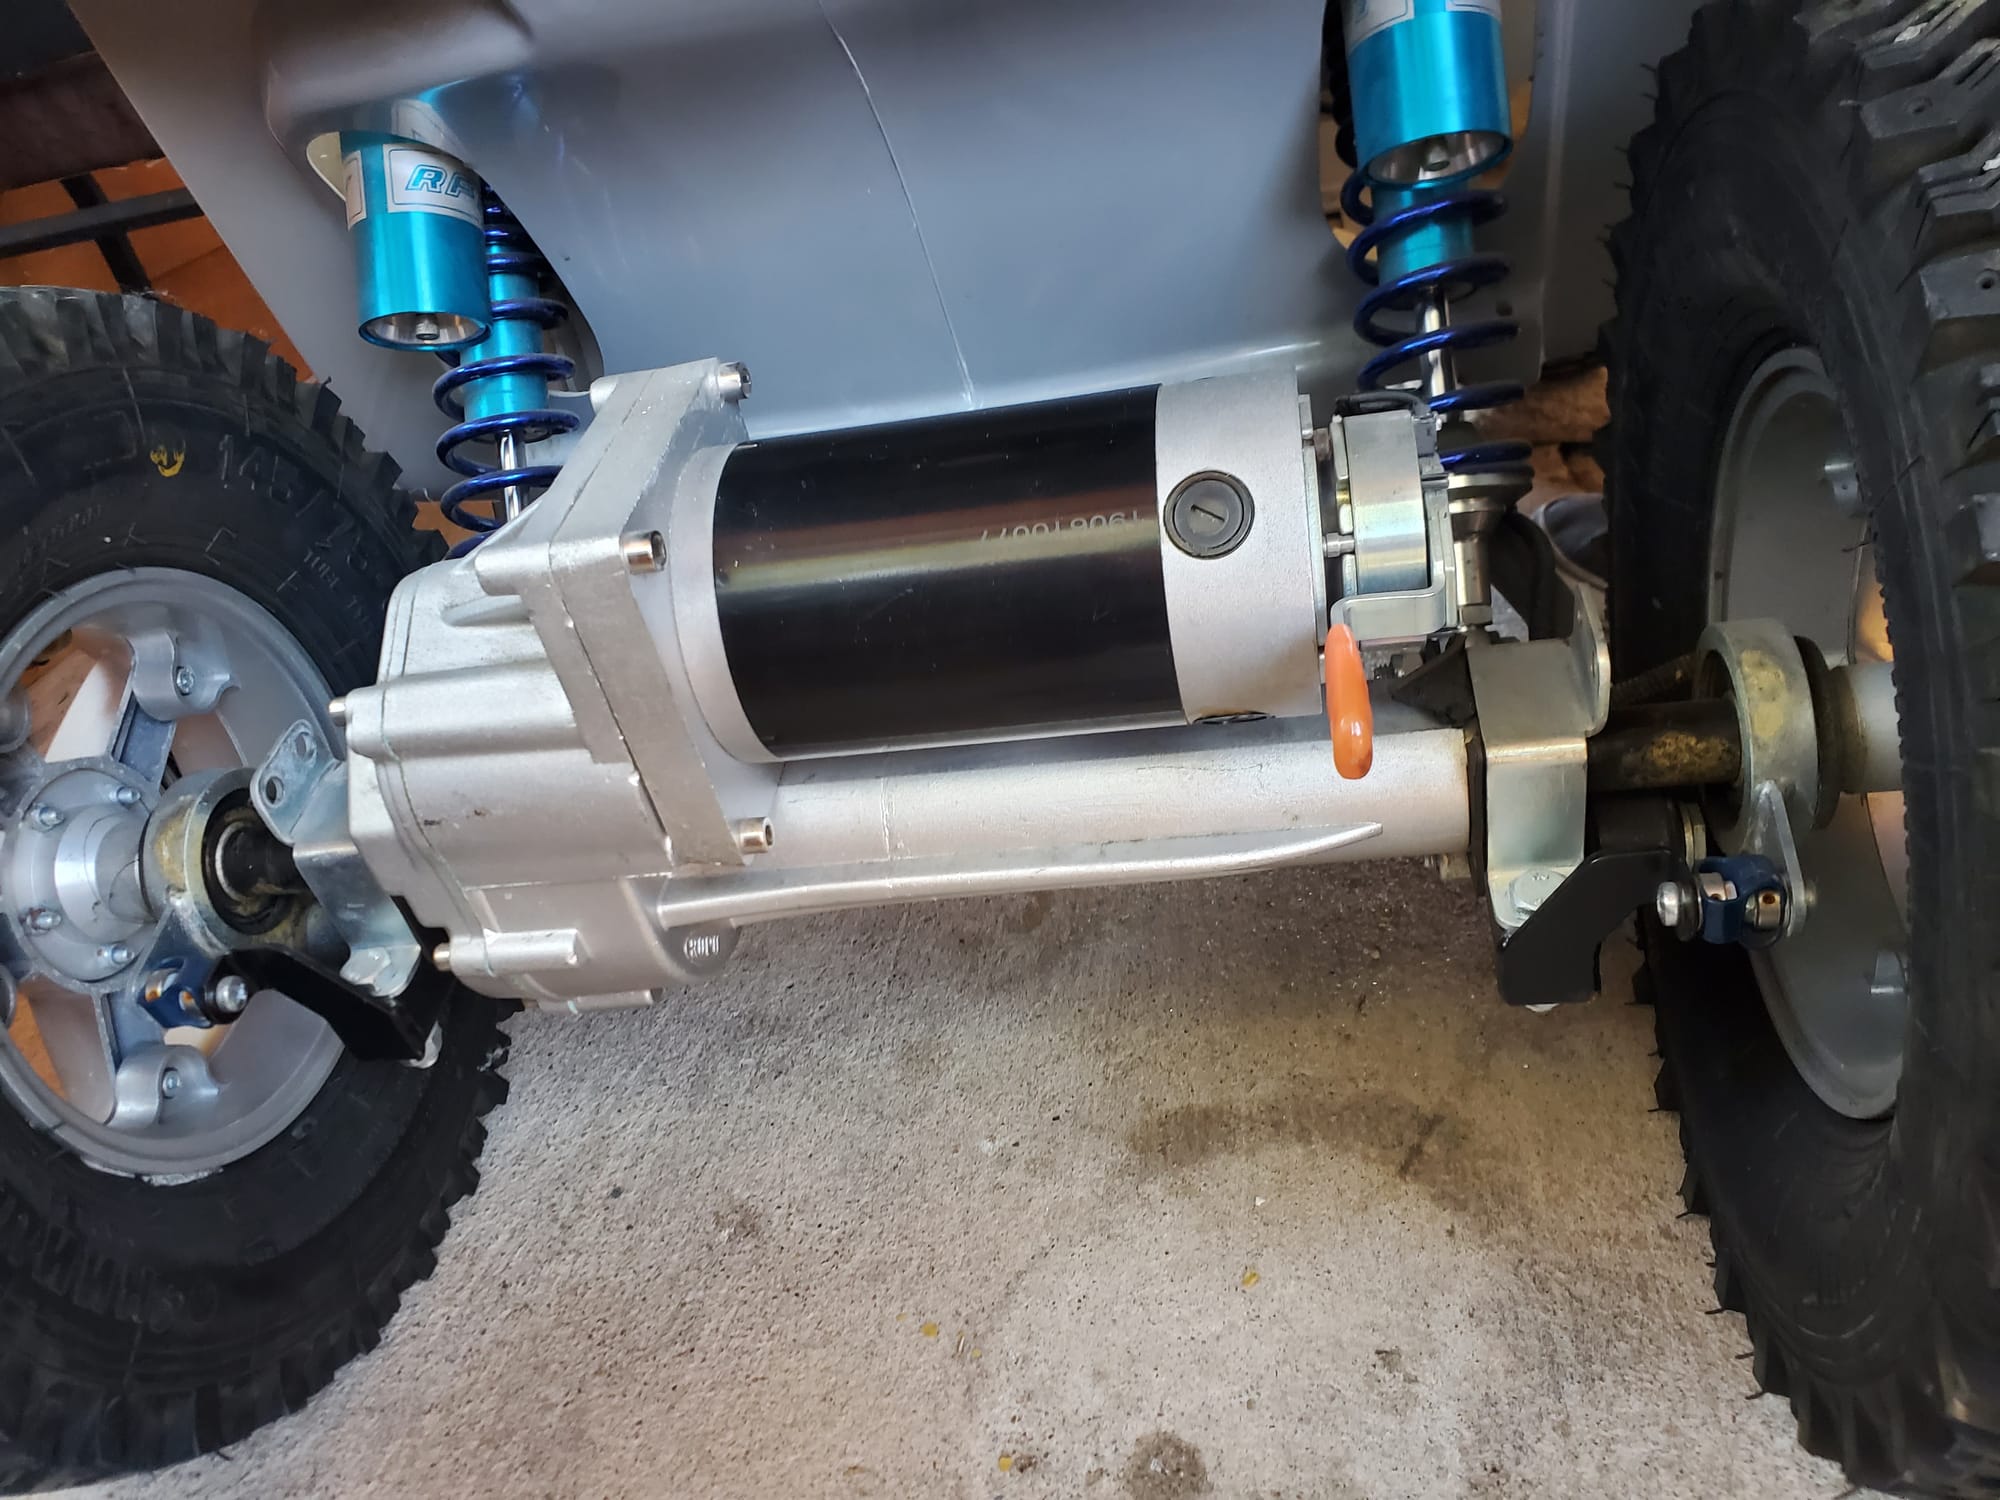
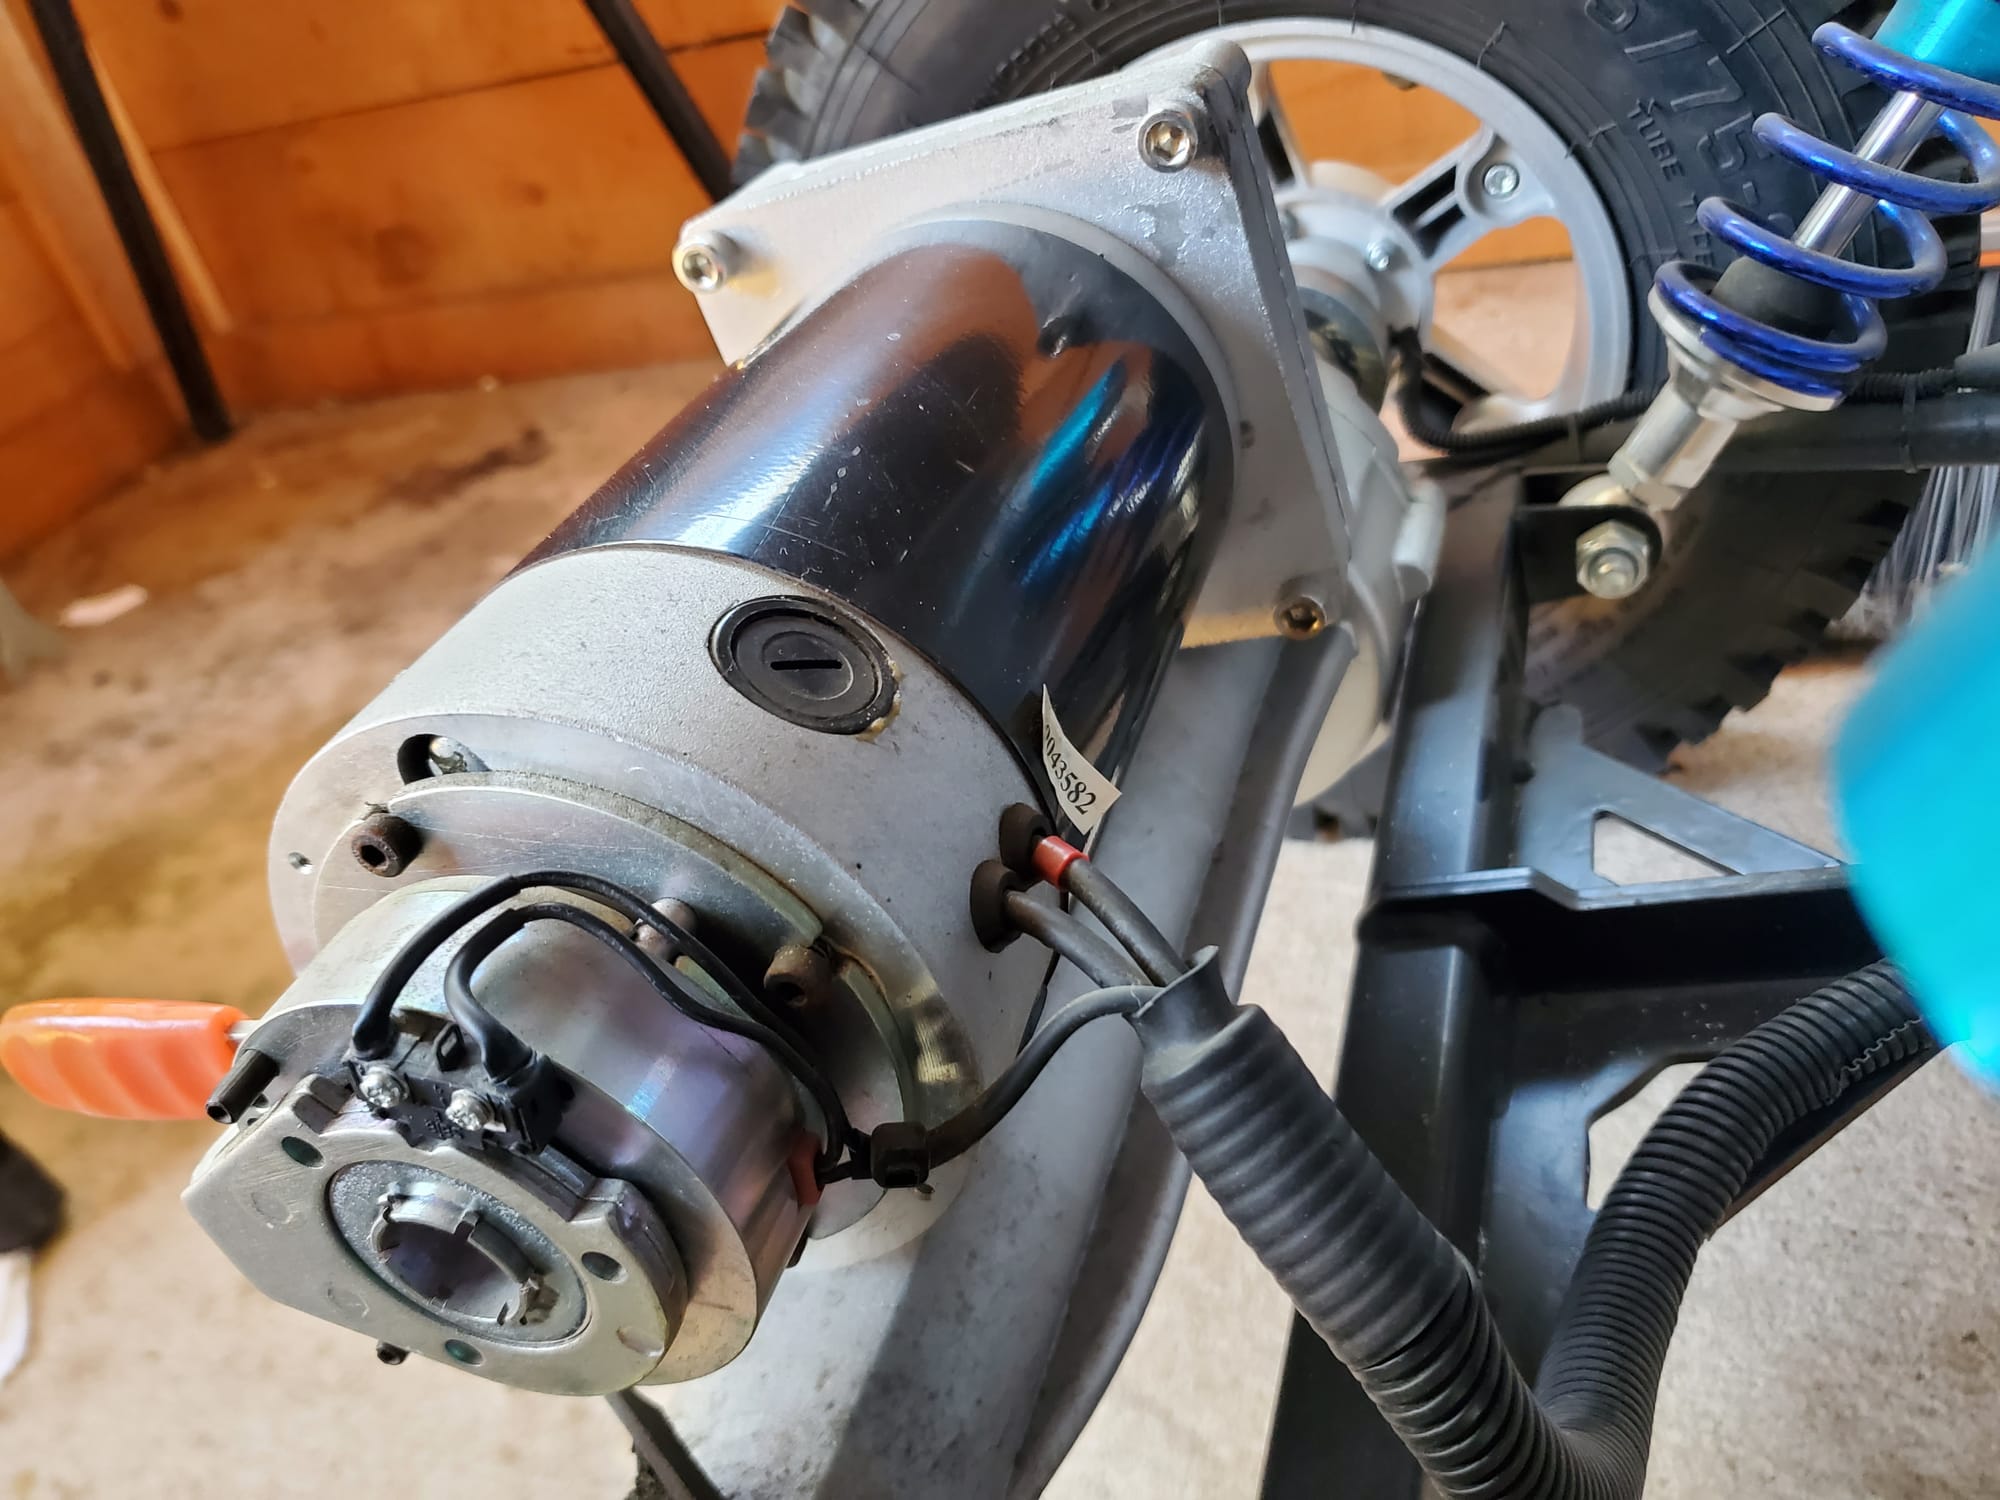
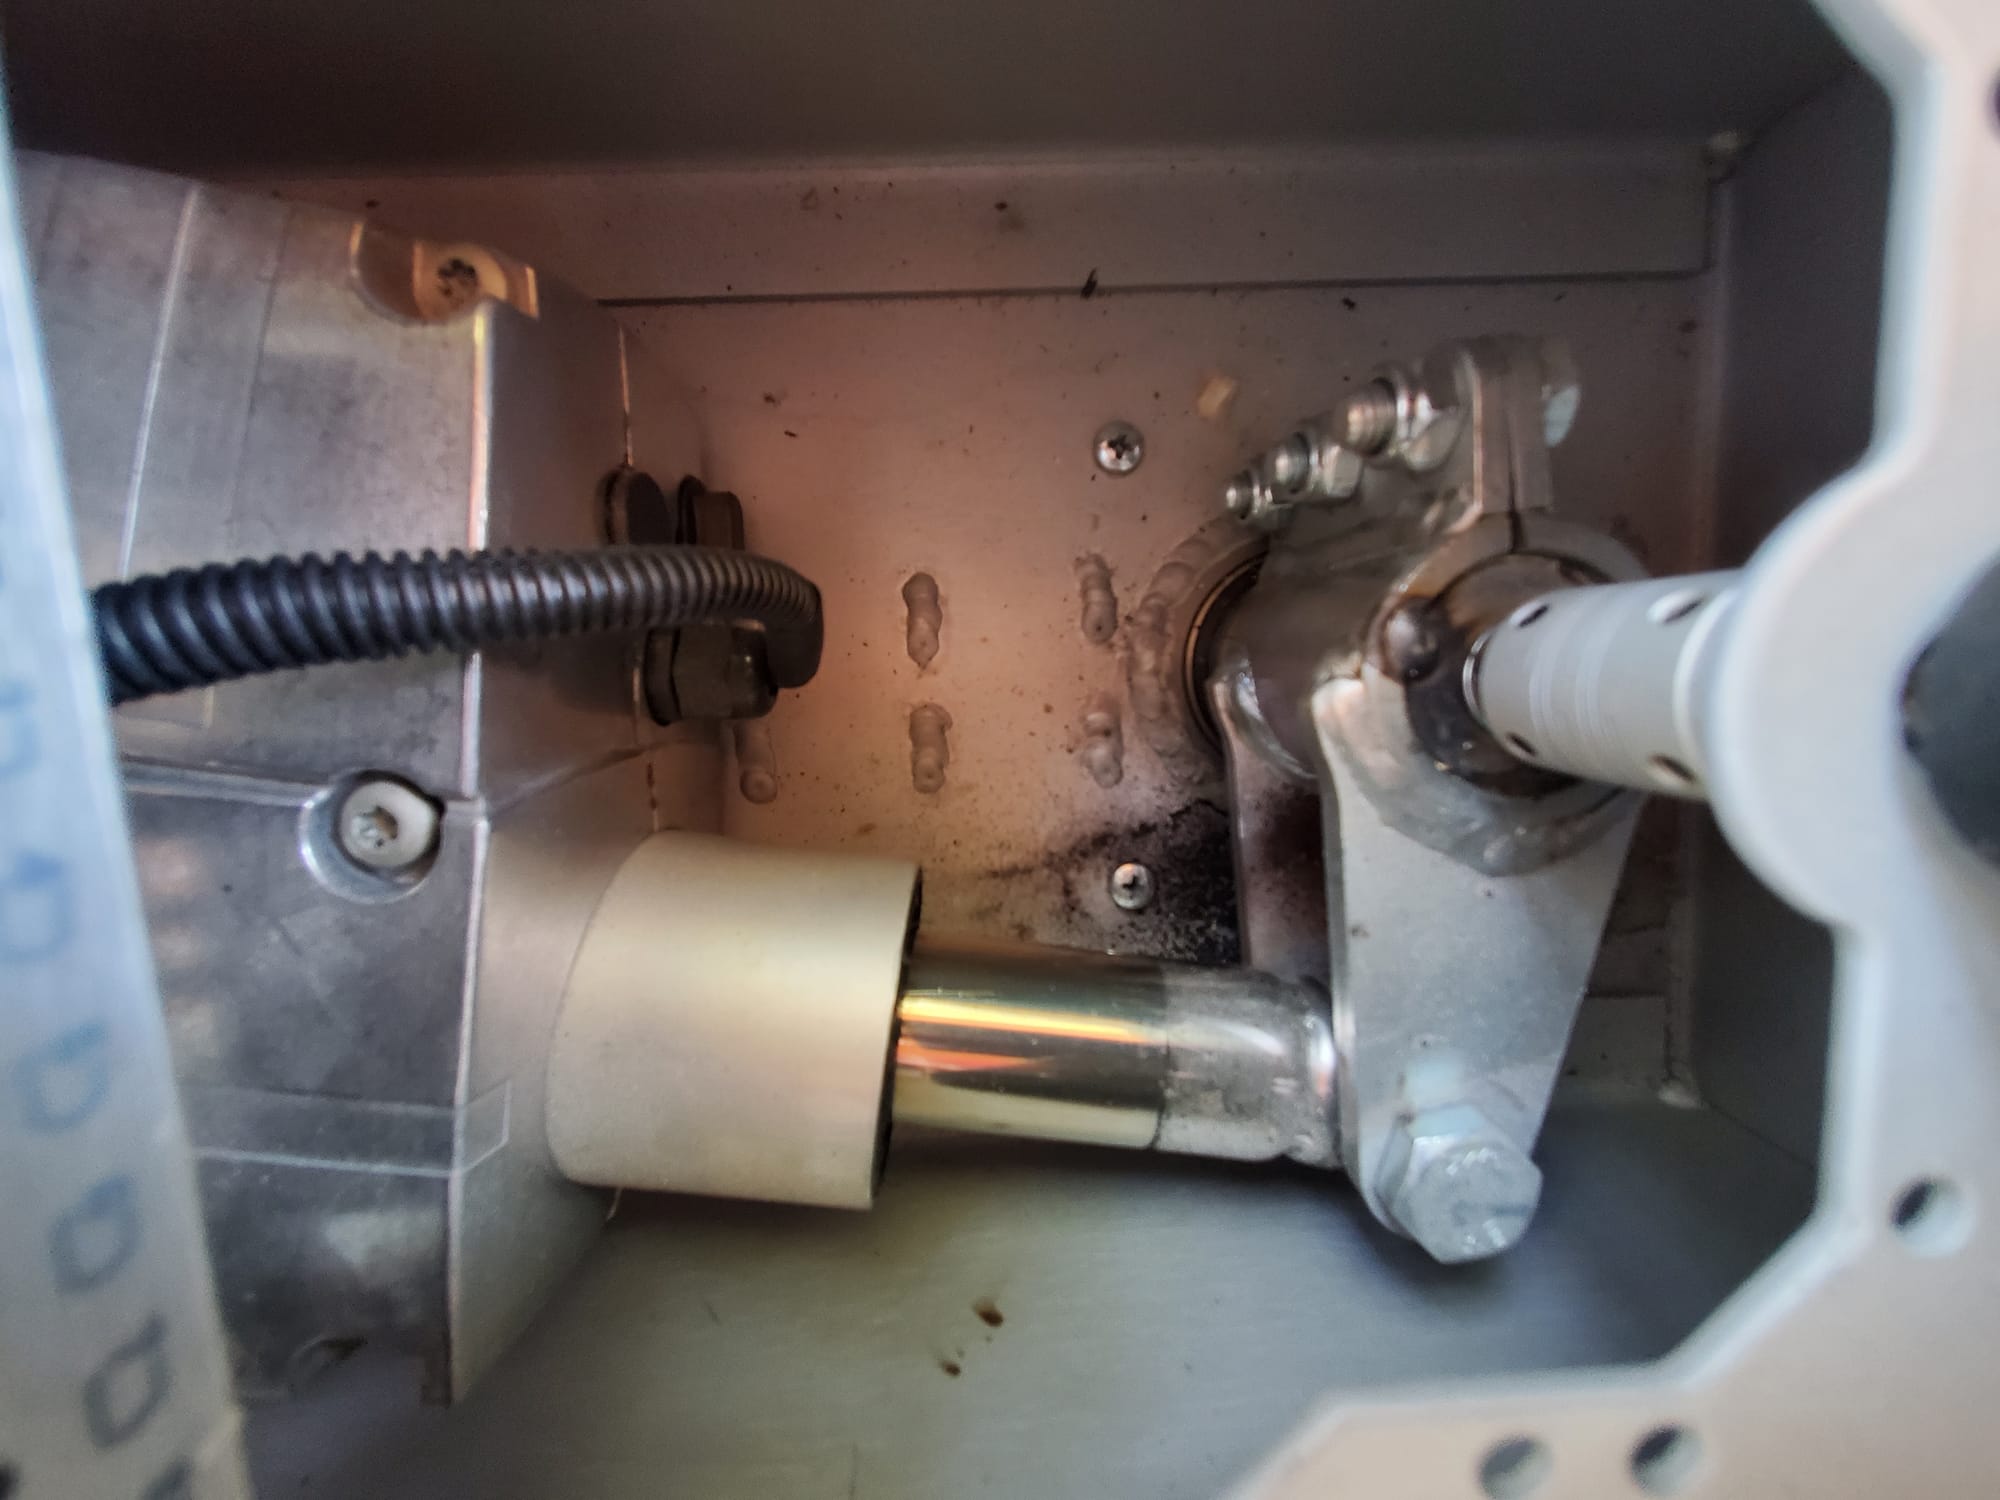
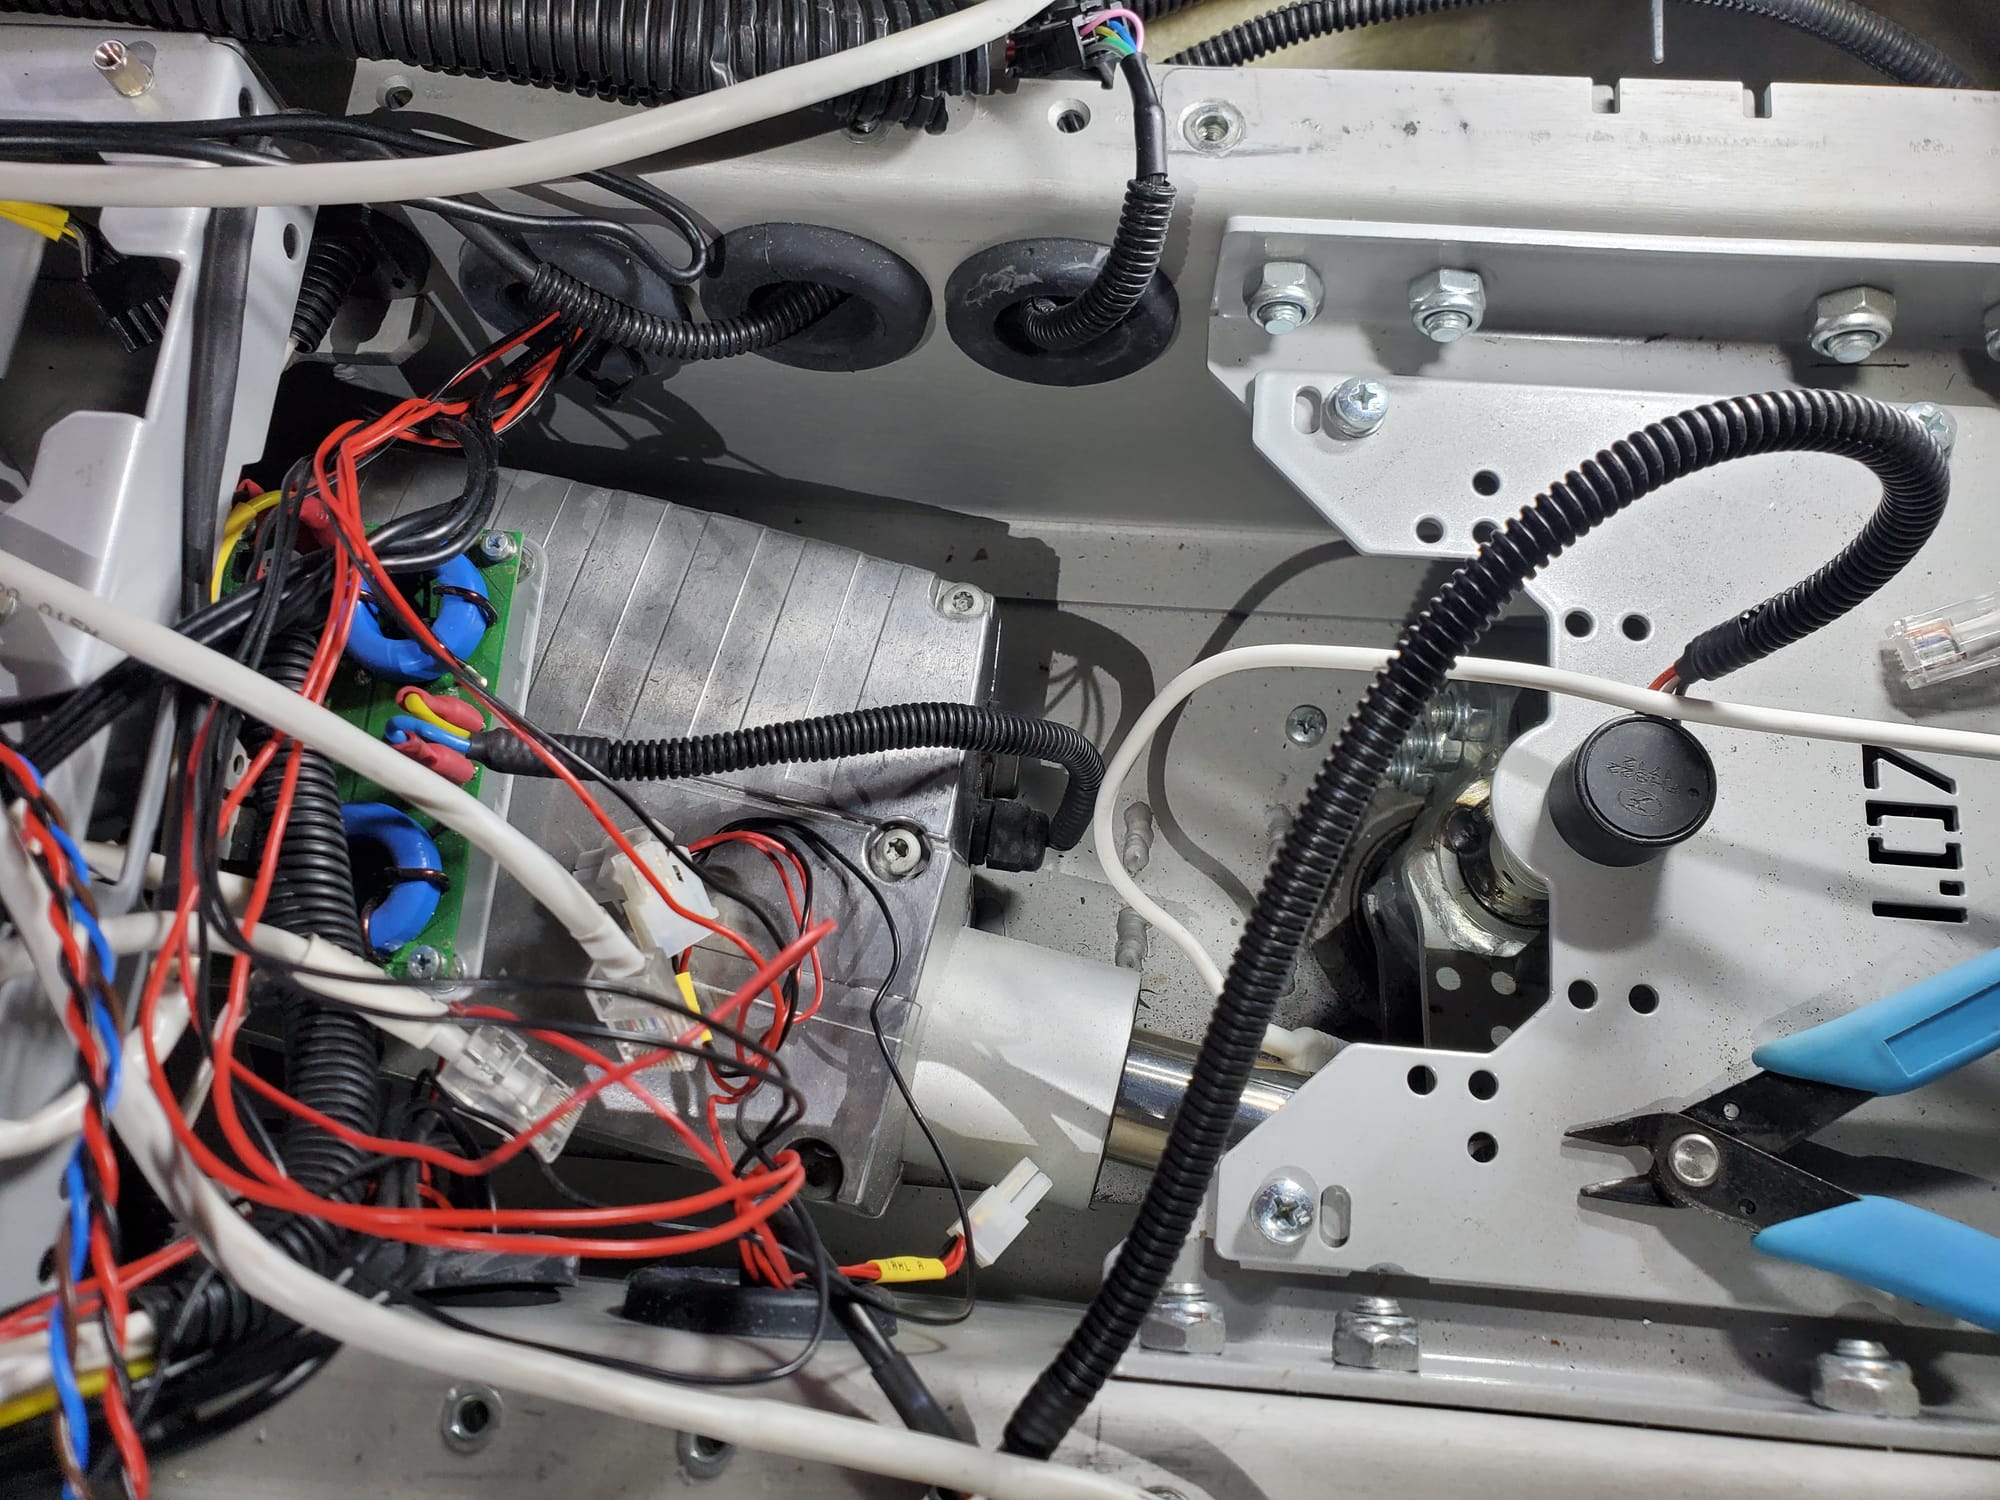
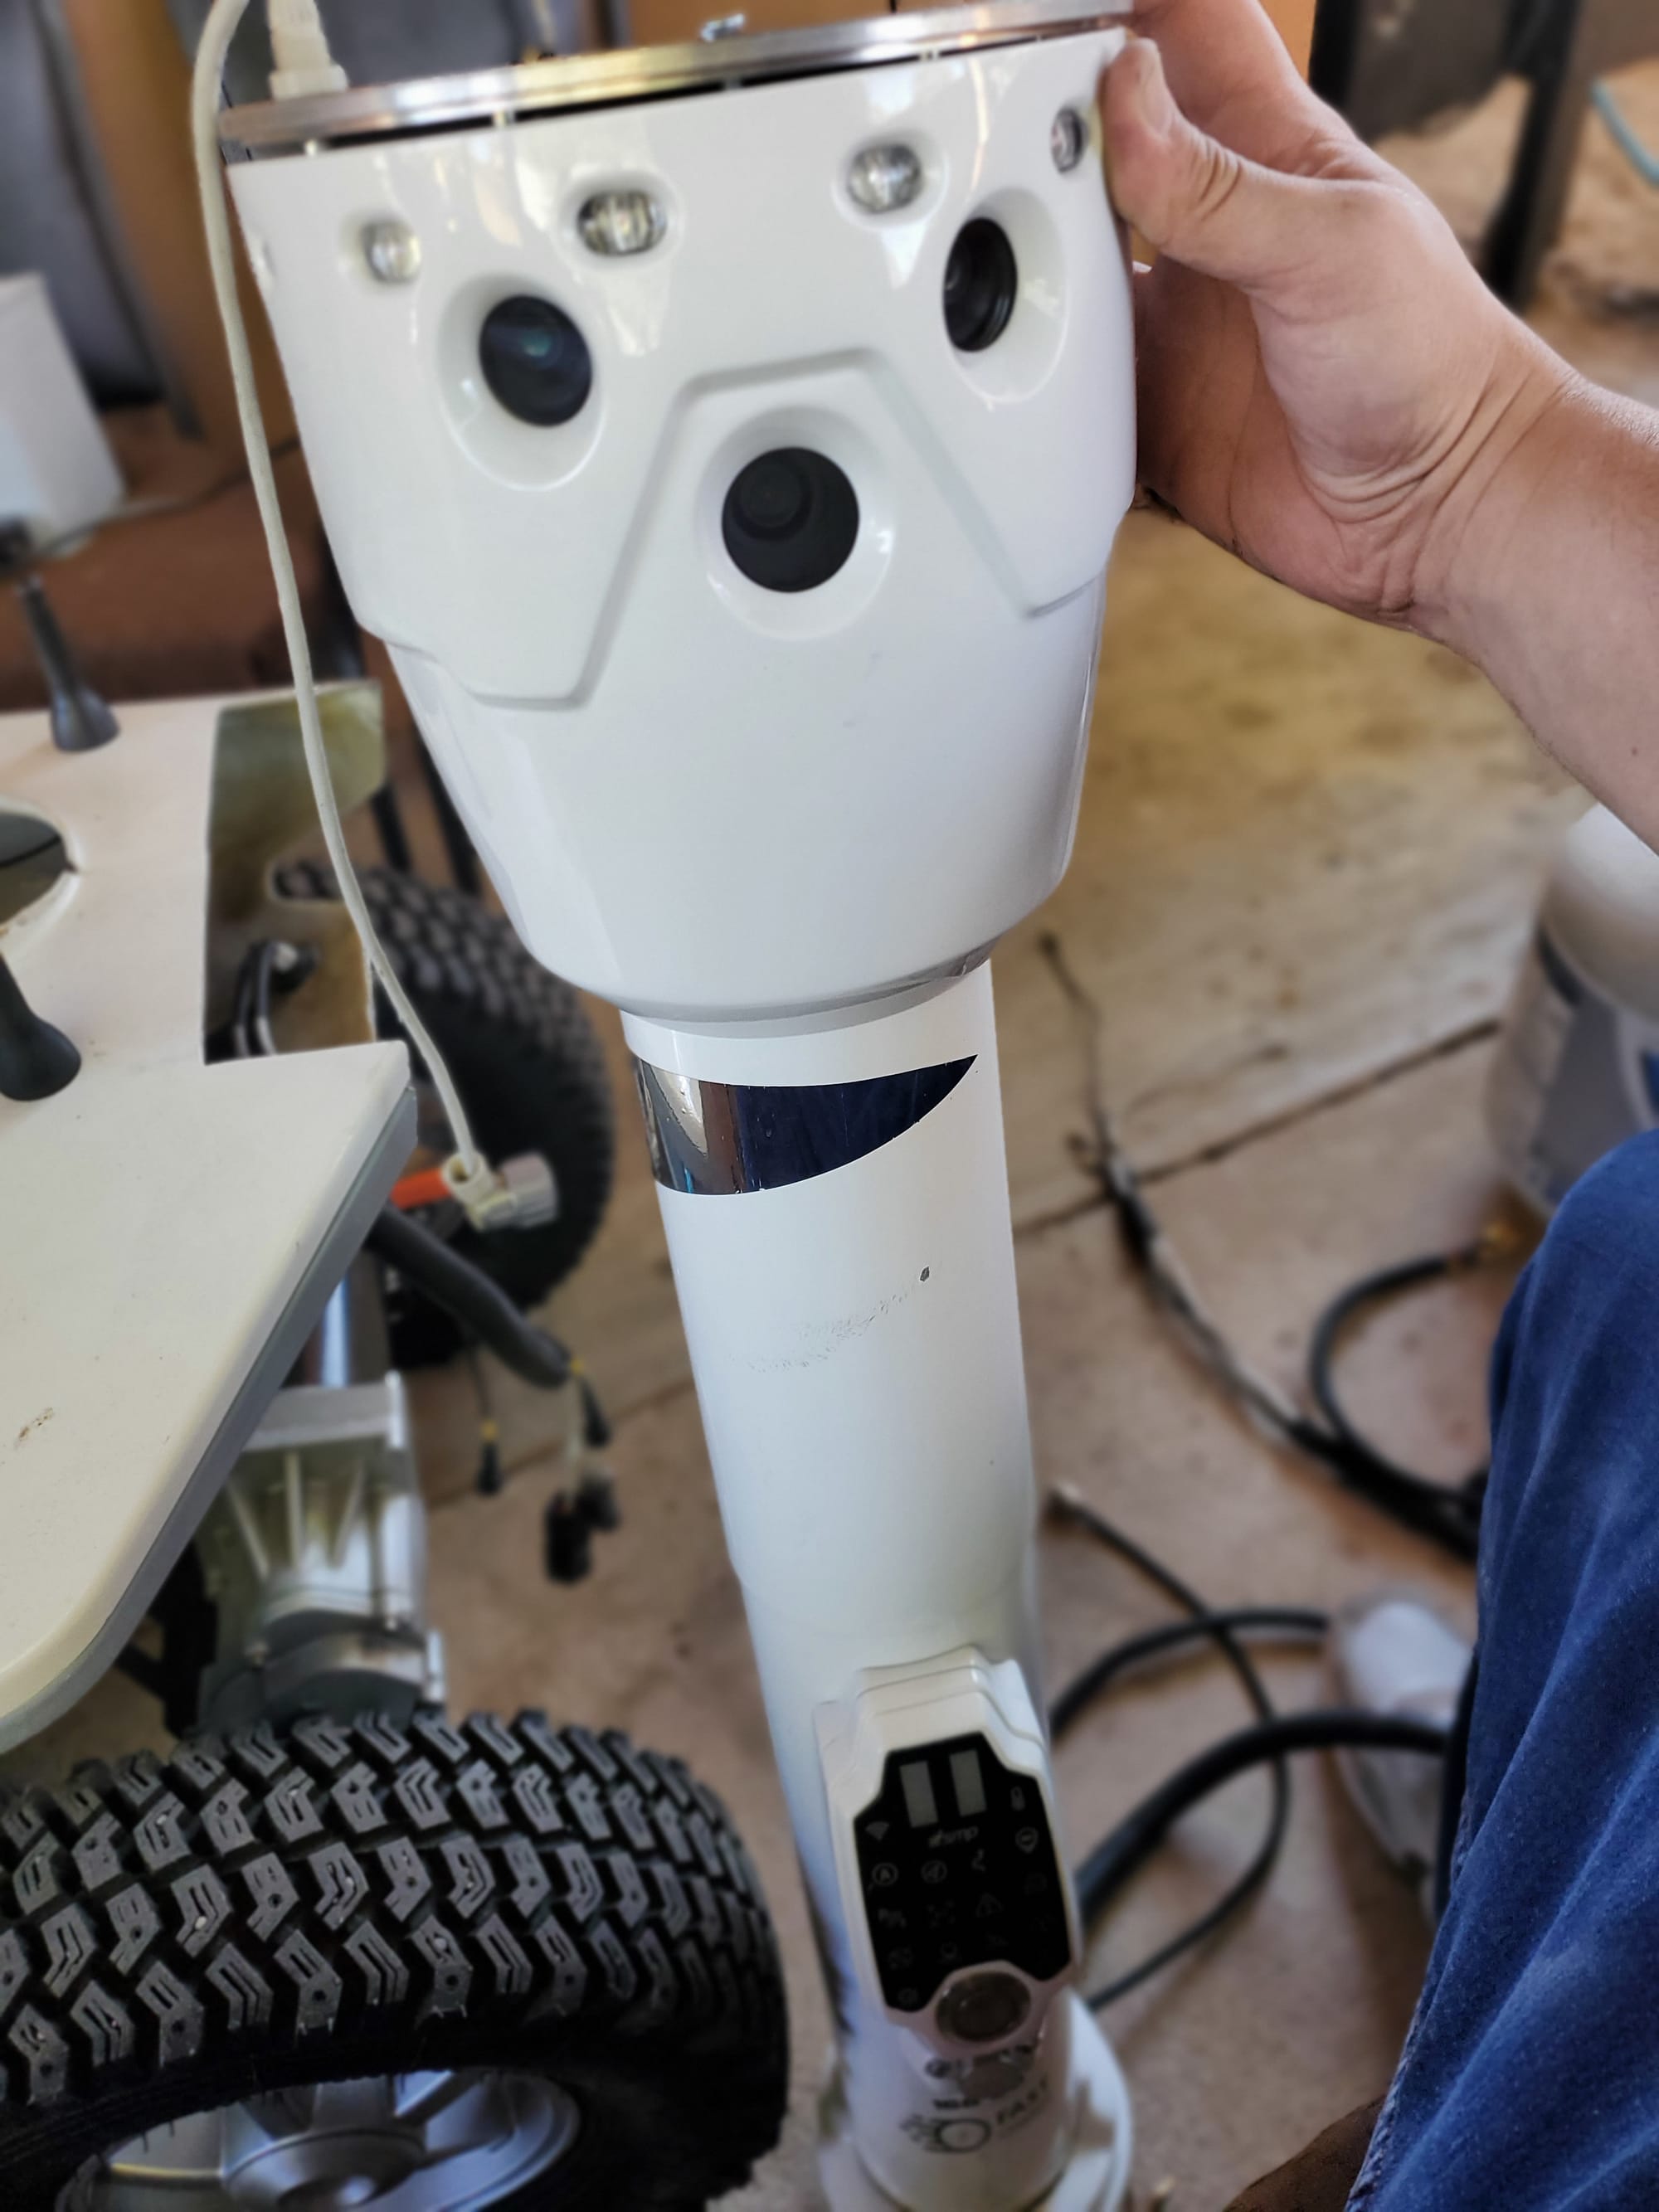
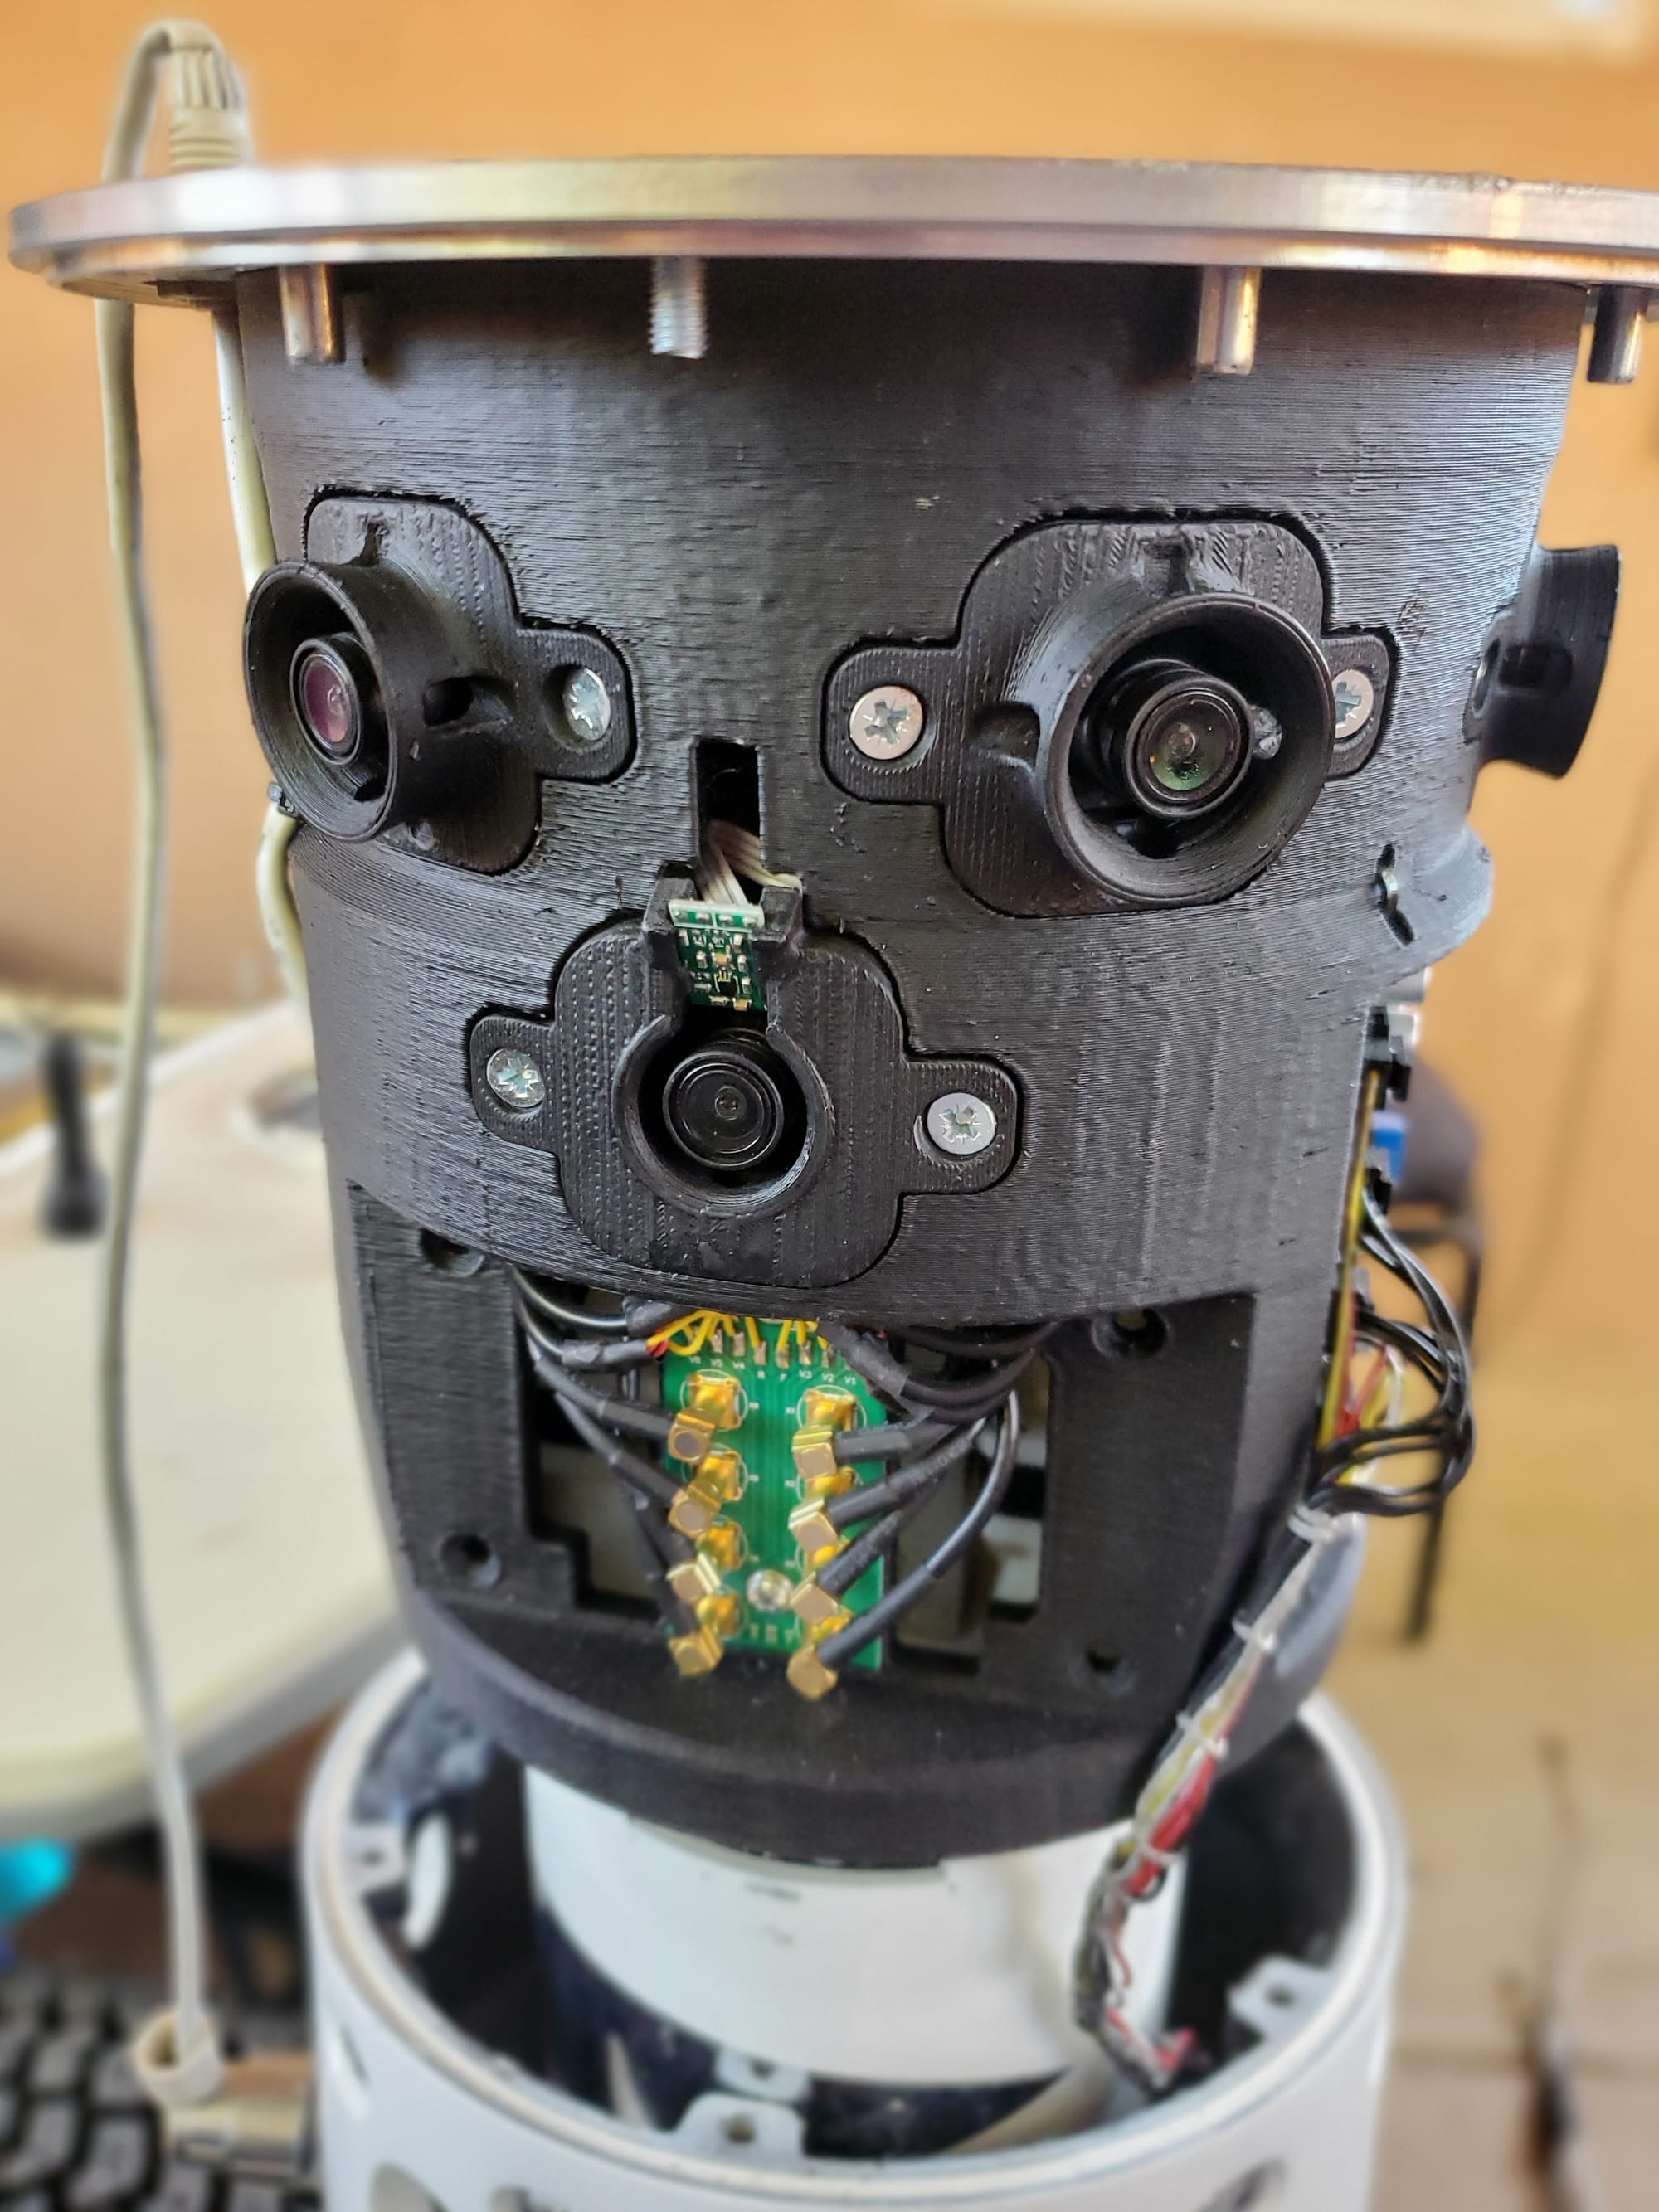
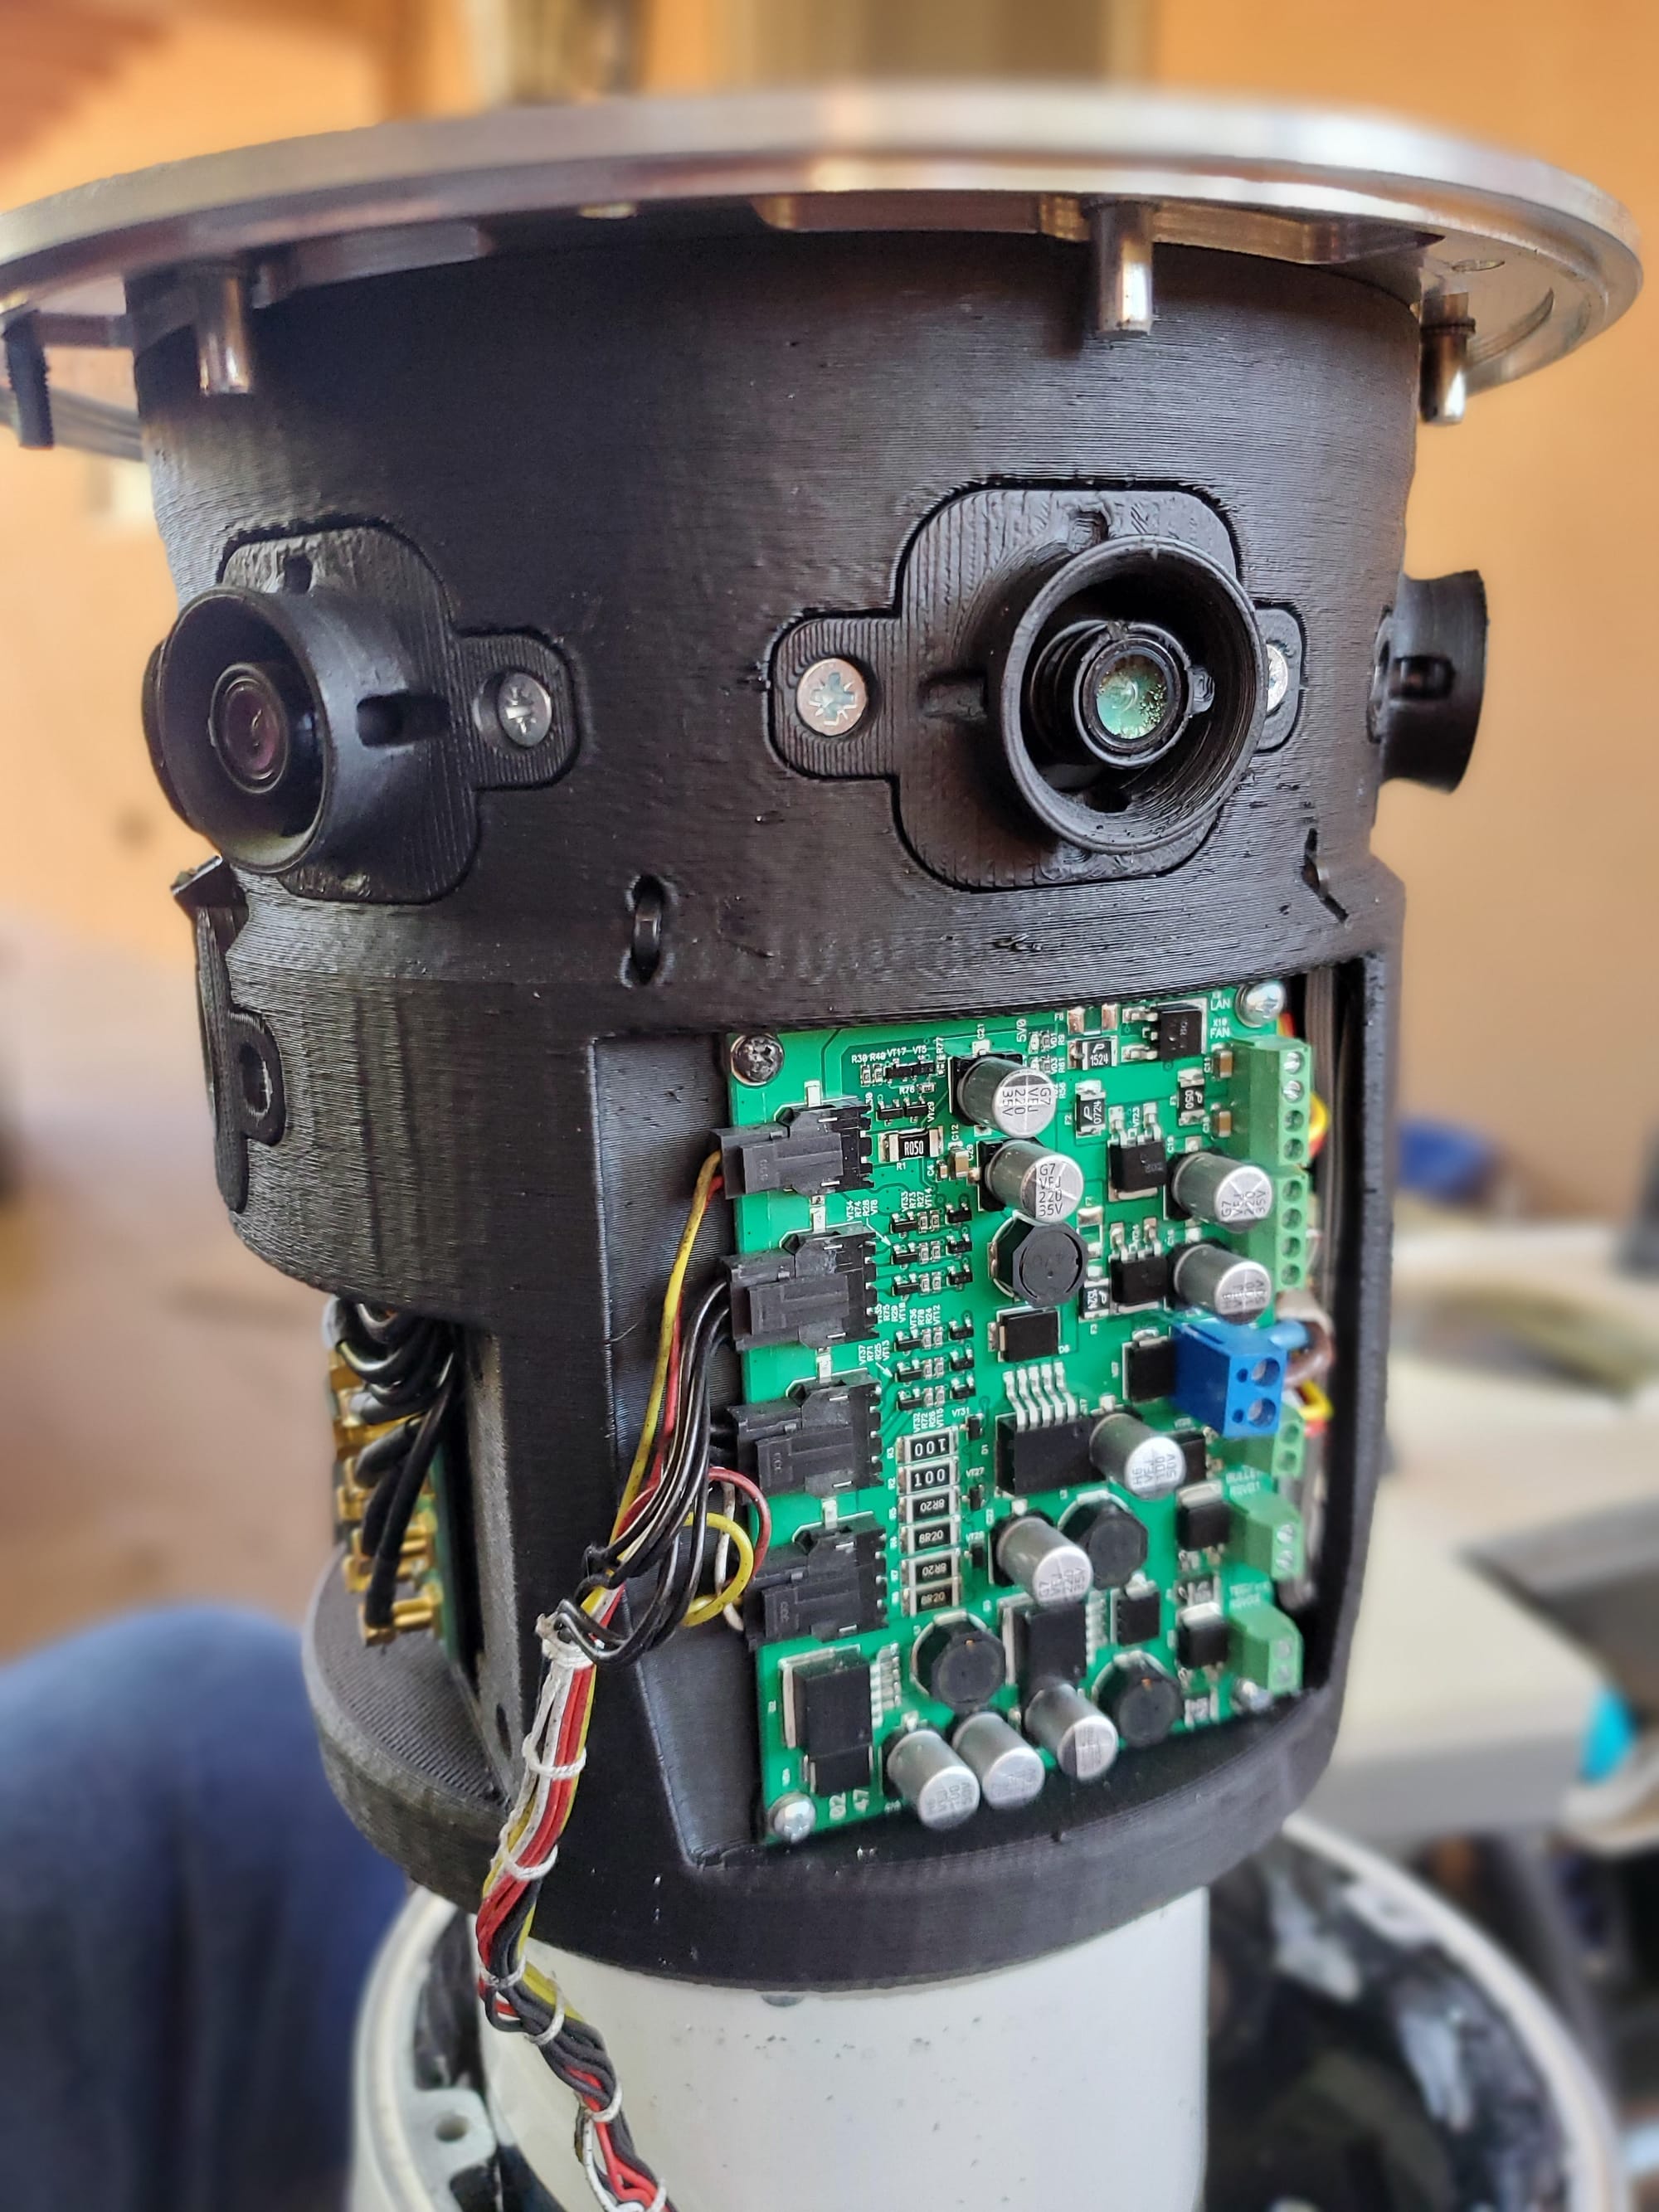
My first task was to understand the original design so I could adapt it to my own build. I found that it uses ultrasonic distance sensors built into the body for obstacle avoidance and the cameras are in a self-contained module at the top of the mast. This mast module also houses the charging port and a control panel. The robot's movement is relatively simple: a single motor drives the rear wheels, and a Thompson linear actuator handles the steering.
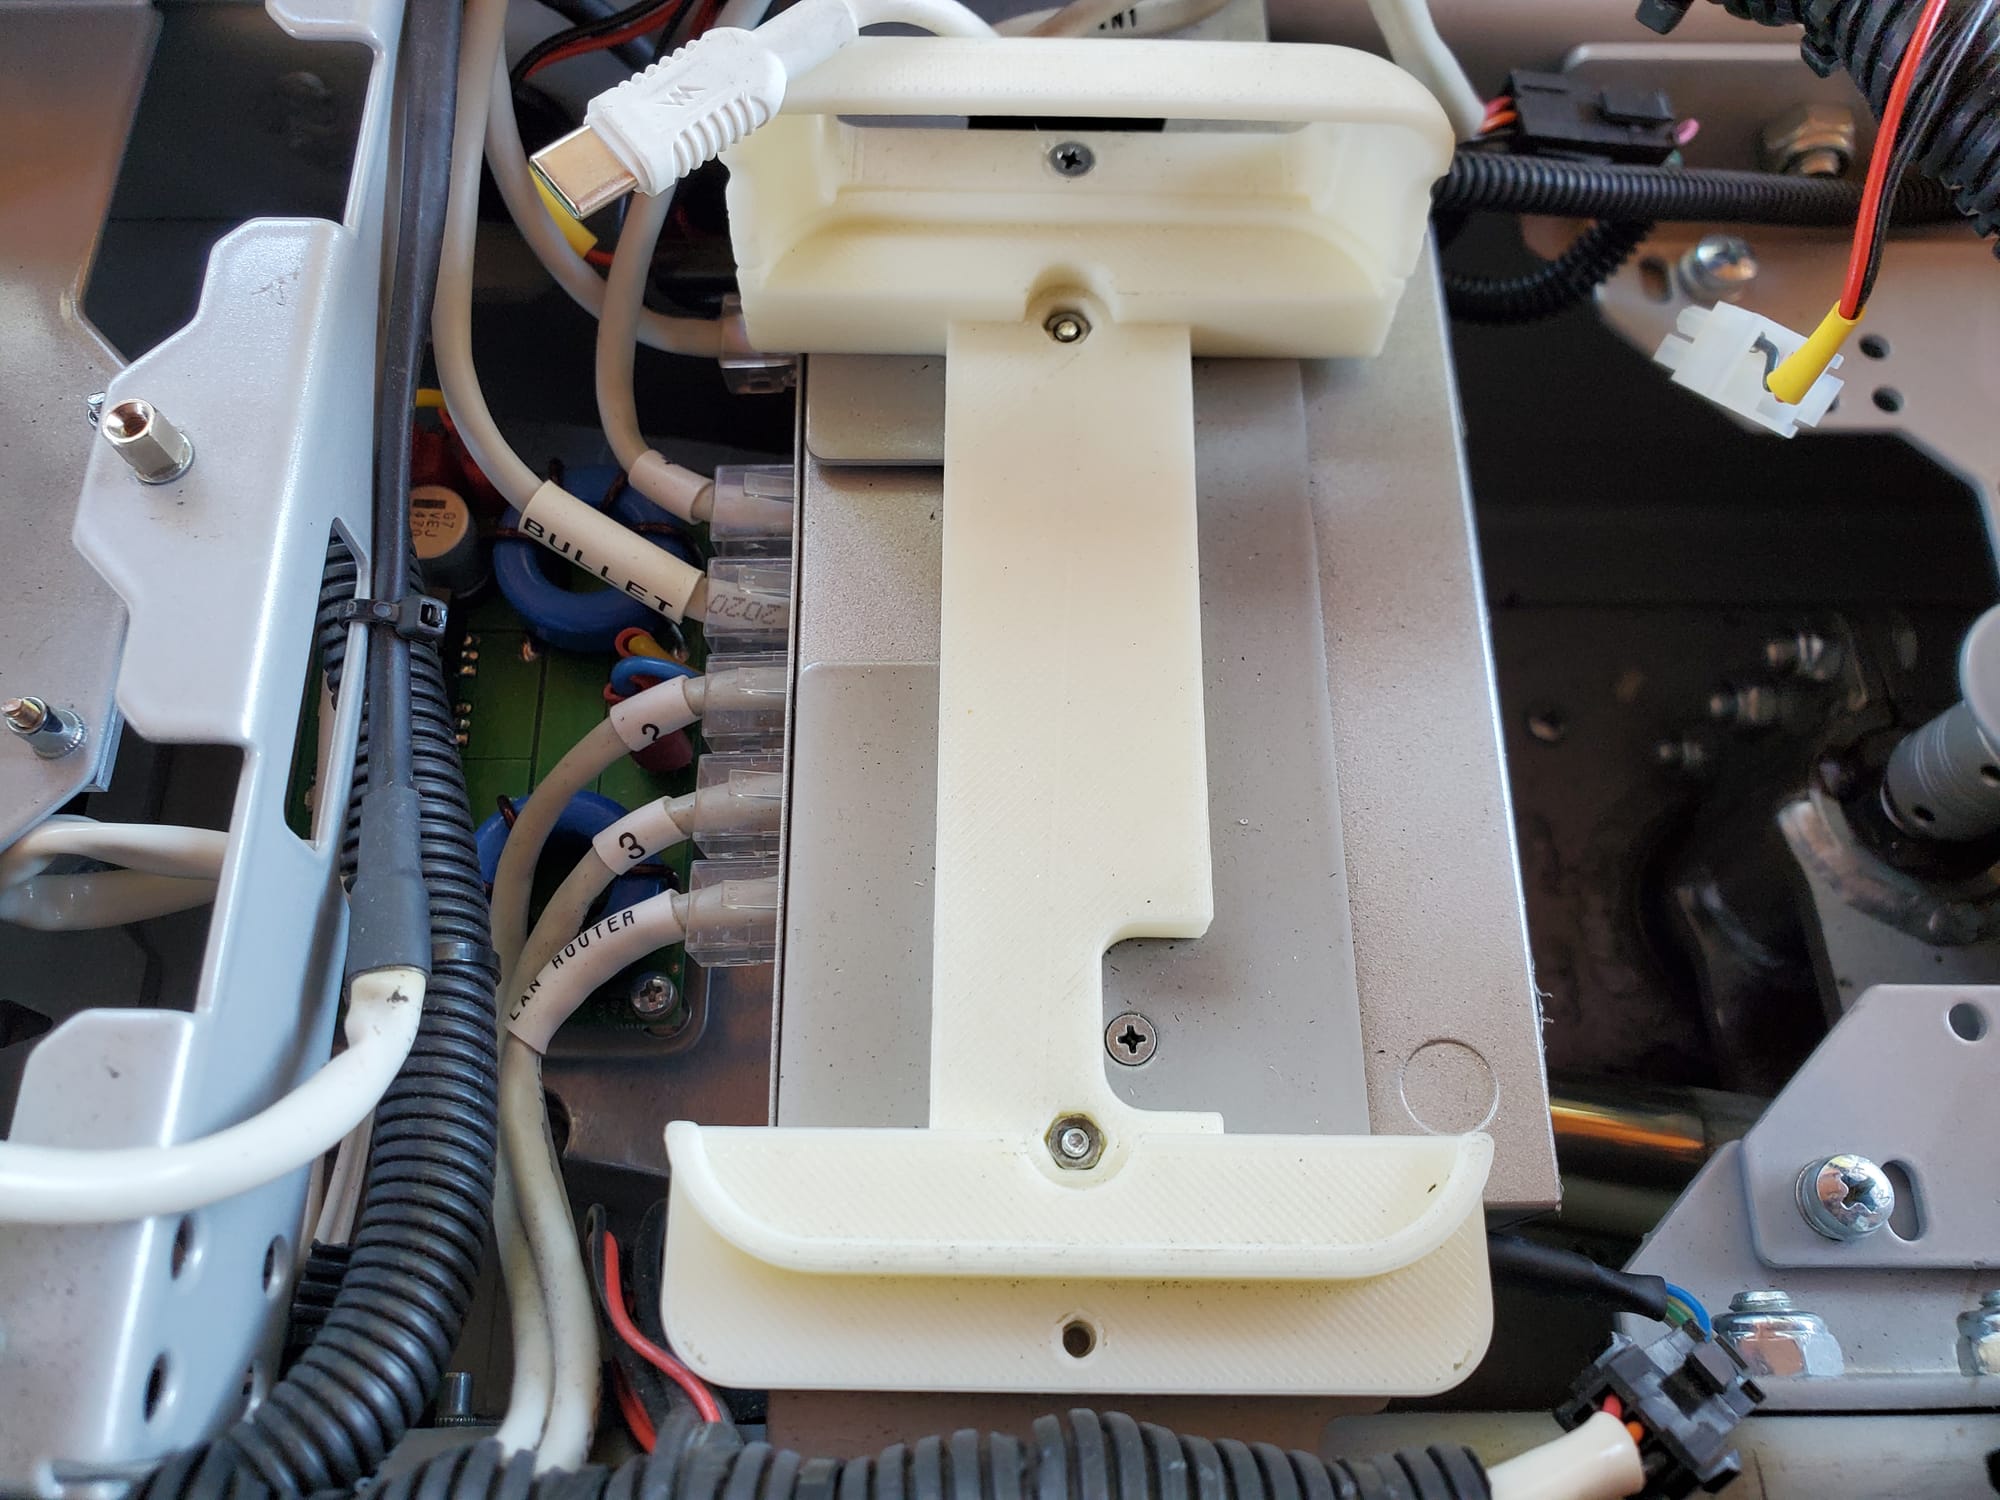
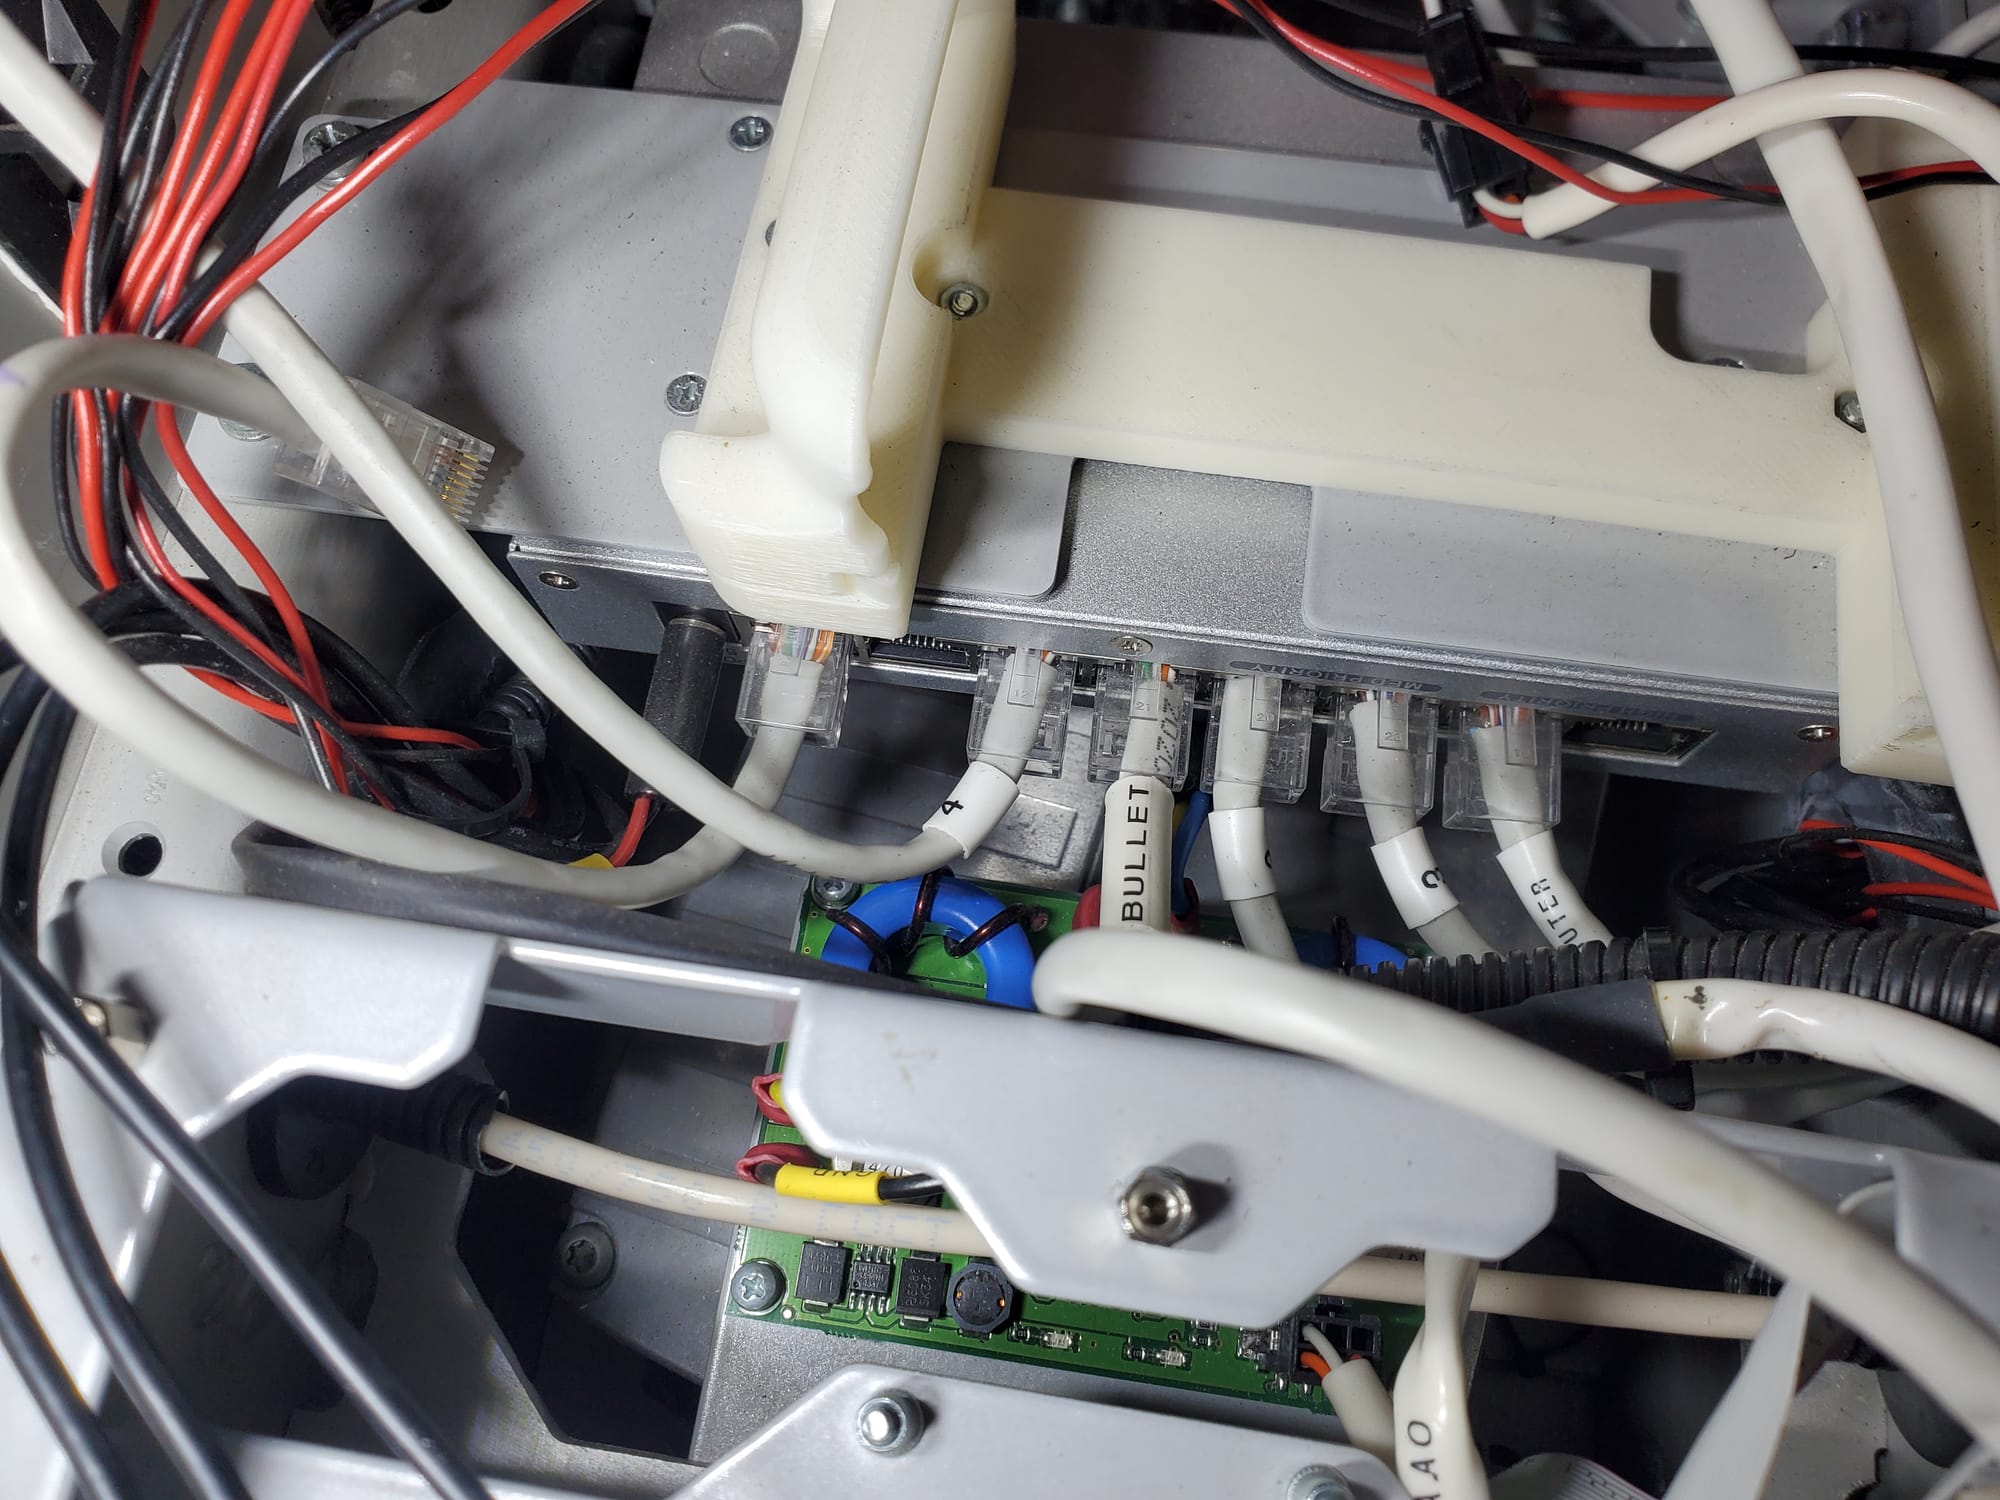
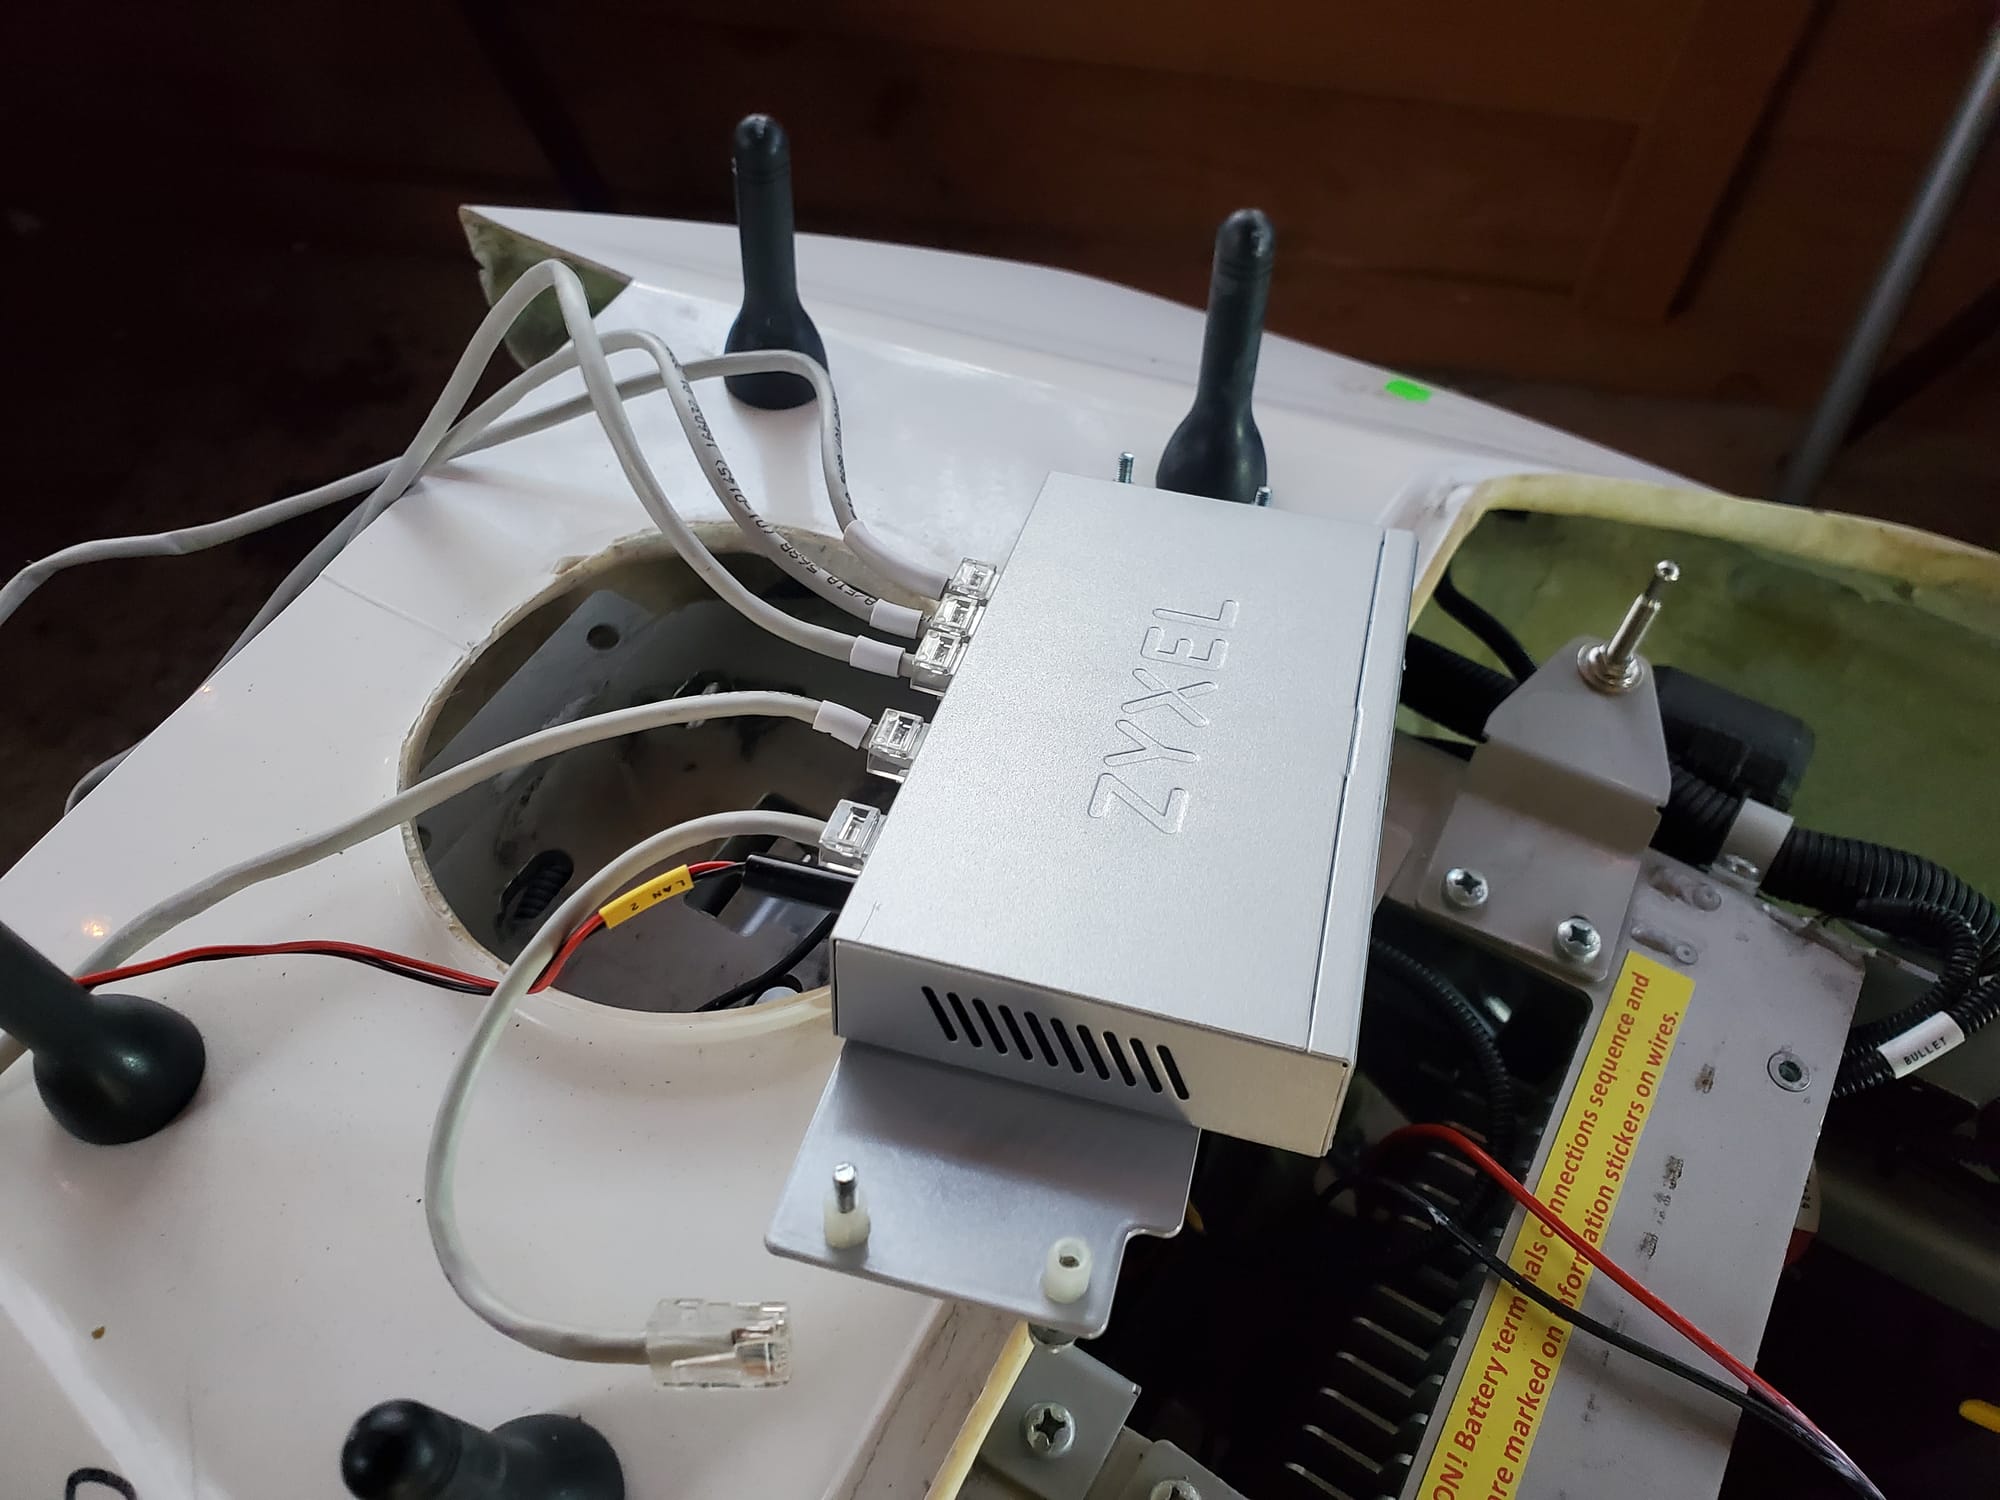
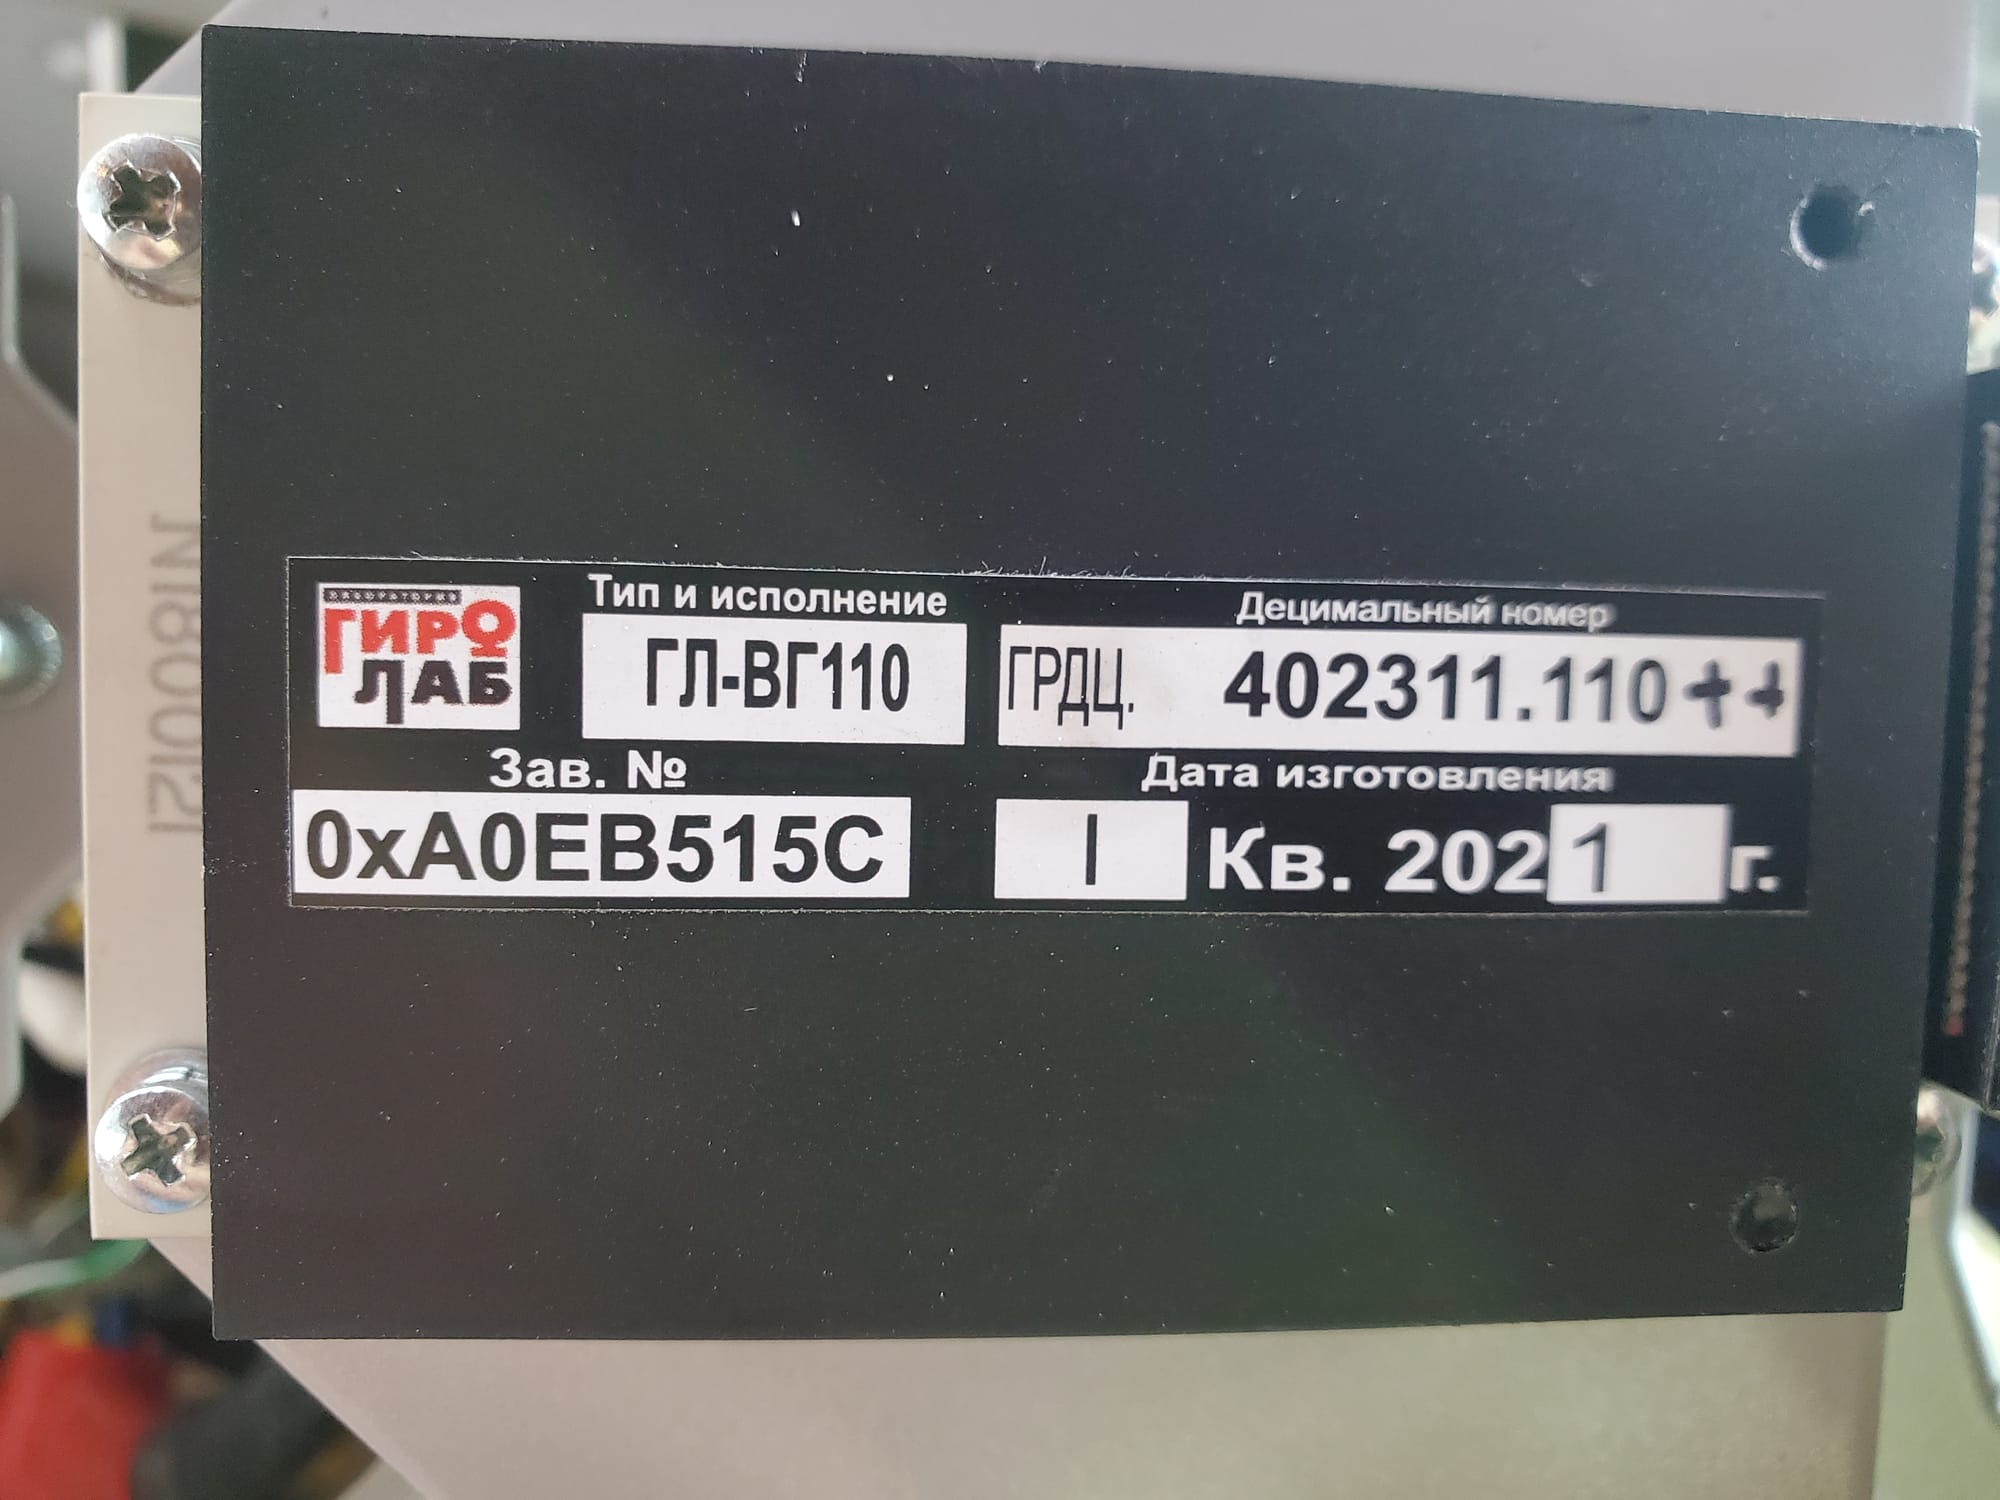
At the bottom of the chassis, where the original control boards would have been, is a huge heatsink with a fan. I started the teardown process by removing all the components and wires I wouldn't need right away. This included a network switch that was used for internal communication and another device that I still haven't found much information on.


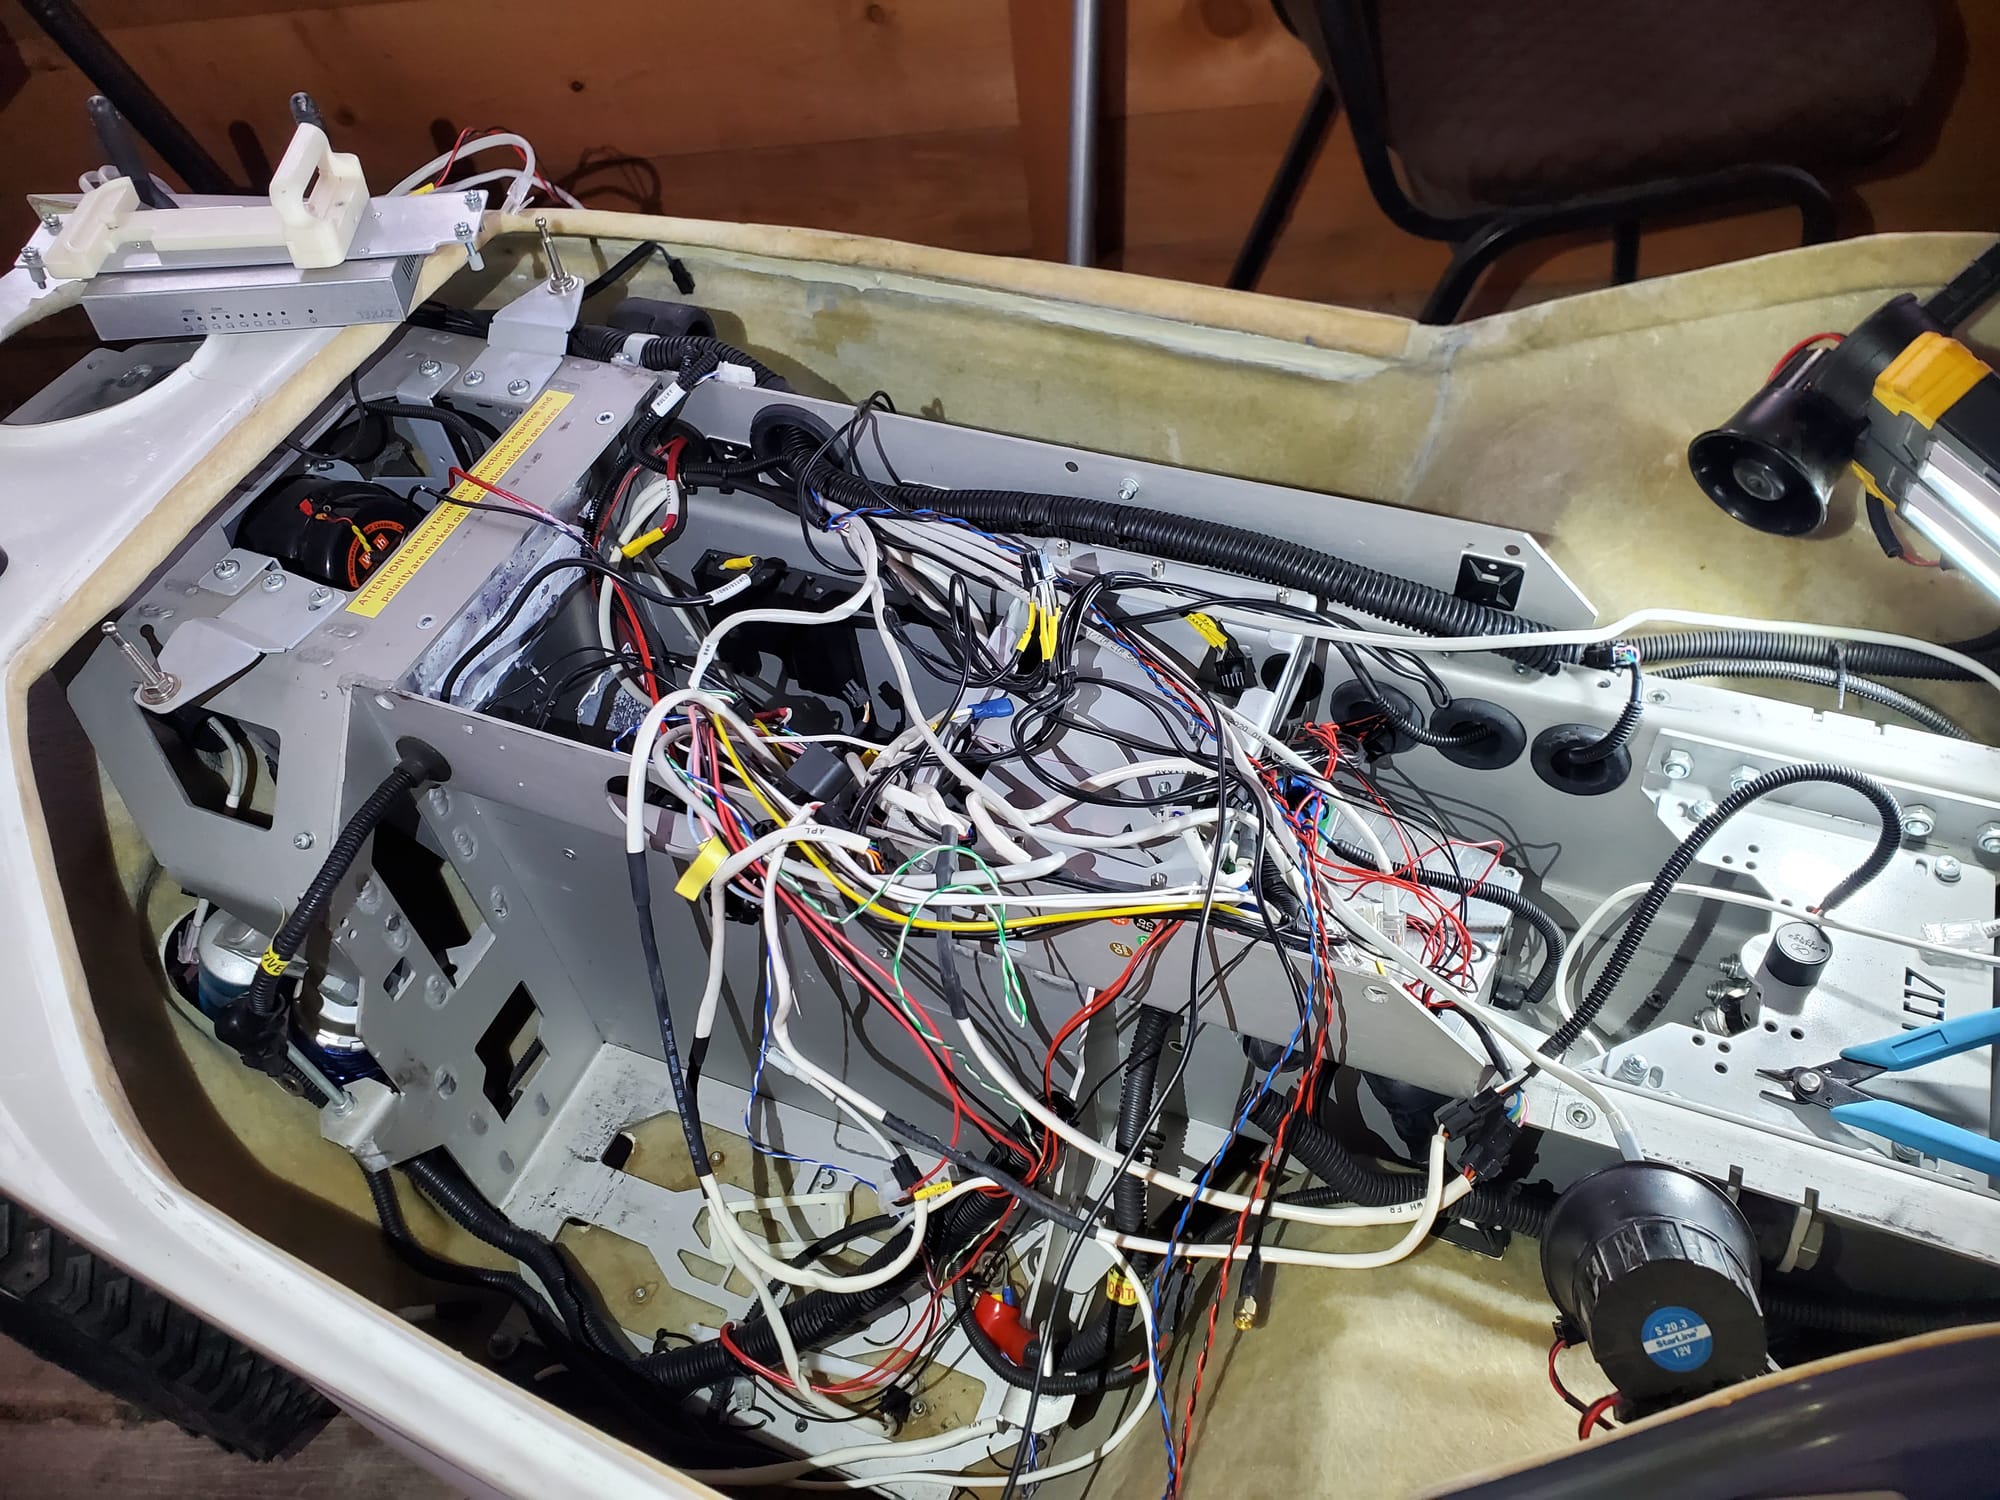
With the chaotic rat's nest of cables gone and the essential components identified, I began planning out my build. I'm breaking this up into four distinct phases. This helps me stay focused and provides a clear roadmap for the project, with each phase building on the last.
The Four-Phase Robot Rebuild Plan
Phase 1: Back to Basics
- Goal: Get the robot driving again and confirm the motor and steering mechanisms still work.
- How: I'm "borrowing" the Sabertooth 2x32 motor controller from my previous robot, as it's the perfect tool for the job.
- Challenge: The plan is to start with simple RC controls for testing and then transition to controlling it over a serial port using some good old Python code.
Phase 2: Sensor Integration & Control
- Goal: Bring the robot's senses and external controls to life.
- How: I'll decide on a processor architecture (microcontrollers, SBCs, etc.) and integrate the obstacle avoidance sensors so the robot can start to interact with its environment. I also want to get the speakers, lights, and sirens working.
- Challenge: I want to get Bluetooth controls working with a PS4 controller, just like my last robot. That code is ready to go, so it should be a fun and quick win.
Phase 3: The Brains & Autonomy
- Goal: Make the robot truly smart and self-sufficient.
- How: This is the big one. I need to figure out how to tap into the camera feeds and feed them into an AI model for autonomous driving. I have an extra Udoo x86 Ultra that I'm hoping is powerful enough for this task. I also need to figure out how to use the existing charging port to make the robot self-charging.
- Challenge: Integrating all these new and old systems to work together as one cohesive unit will be a major undertaking.
Phase 4: Final Touches & Personalization
- Goal: Make it look as good as it works and have some fun.
- How: I'll take everything out for a final time, give the shell a new coat of paint, and then put everything back in with some clean cable management.
- Challenge: My ultimate goal is to keep the design modular and simple, leaving plenty of room for my own custom add-ons down the road.
Phase 1: On the Road Again
Now, let's get into the fun part. The first thing I did for Phase 1 was take the Sabertooth 2x32 motor controller from my previous robot. Using the online wizard on the manufacturer's site, I set the dip switches to specify RC control with my FlySky FS-i6X controller and FS-iA6B receiver, as well as the correct battery type and motor control scheme.
It was a moment of truth, and when I pushed the stick forward, the robot began moving!
Motor Test
With the motor confirmed working, I moved on to the linear actuator for the steering. It had its own control board, but for simplicity and immediate testing, I decided to bypass it. I wired the actuator directly to the motor 2 output on the Sabertooth controller, which worked perfectly for testing.
After a few more test runs with the freshly charged battery, I took it outside to see what it could do. This thing has a surprisingly great suspension and can handle way more varied terrain than my last robot. I drove it over small obstacles and varied terrain and and it handled it all with ease.
Driving Test 1
Driving Test 2
And just like that, Phase 1 is a wrap!
The robot is officially mobile. My next step is to switch from the RC controls to Python and a PS4 controller like my old robot. My previous robot build can be found here on my old portfolio.
Old Robot Controlled with PS4 Controller
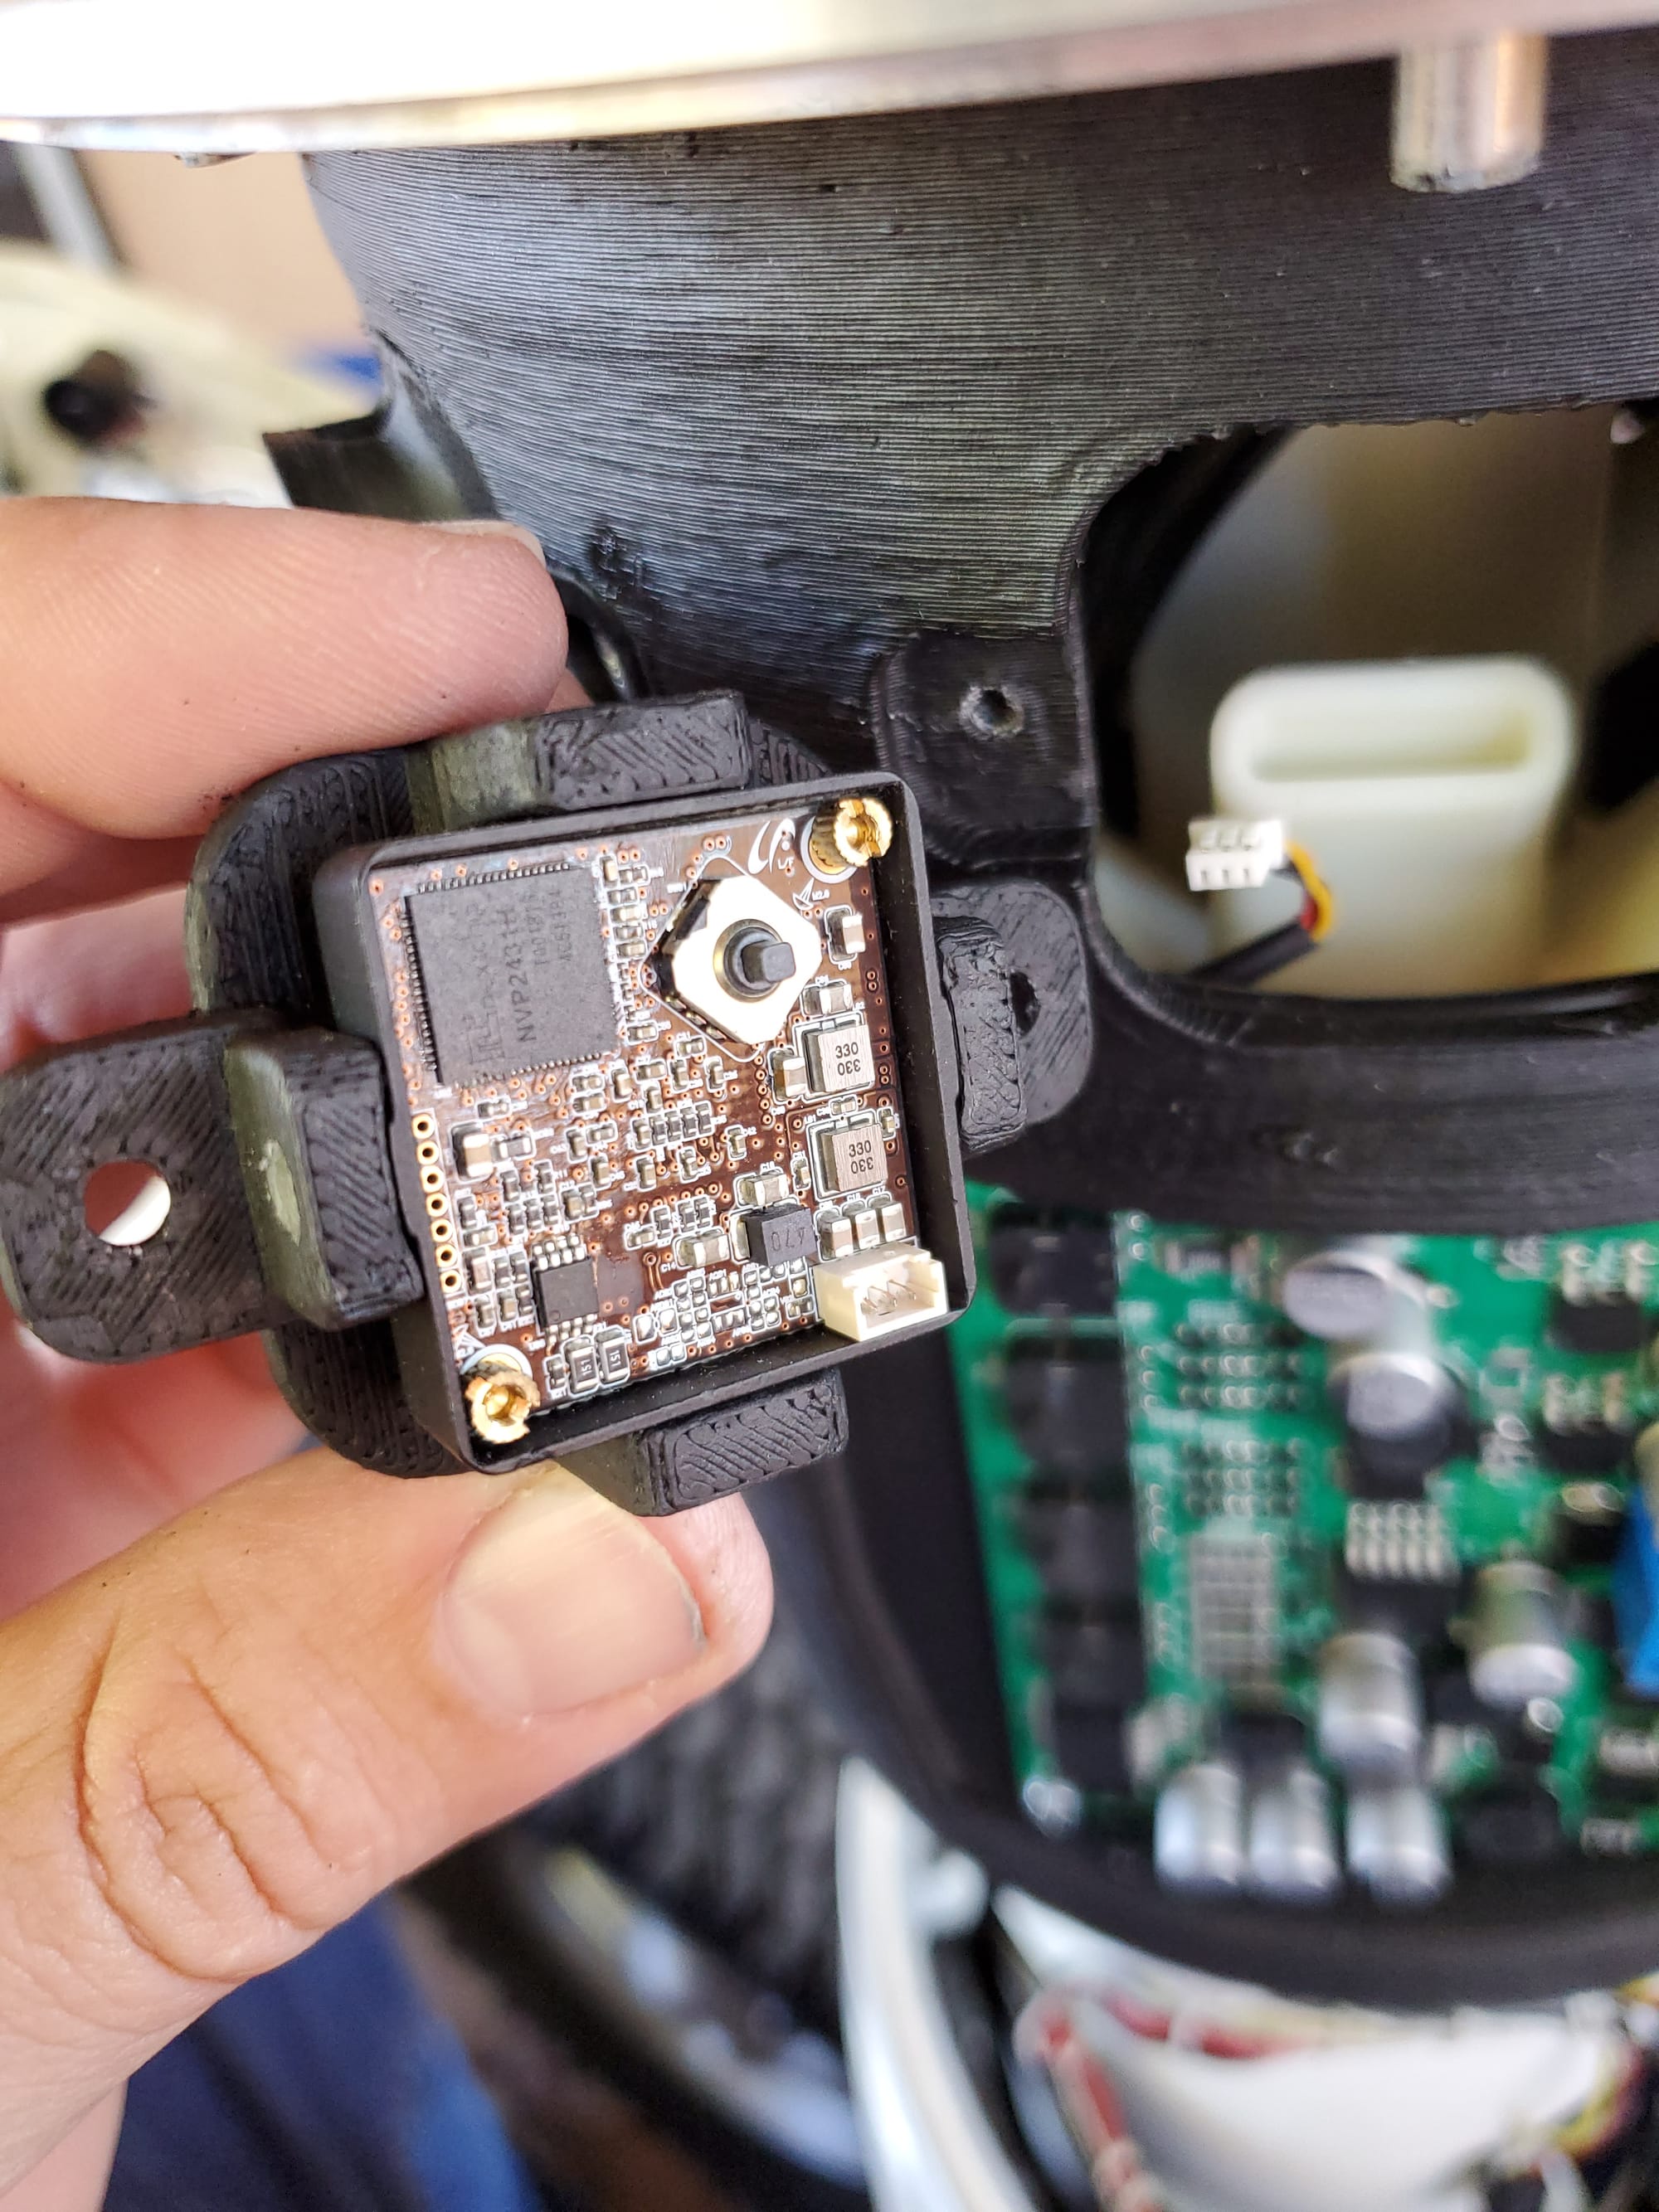
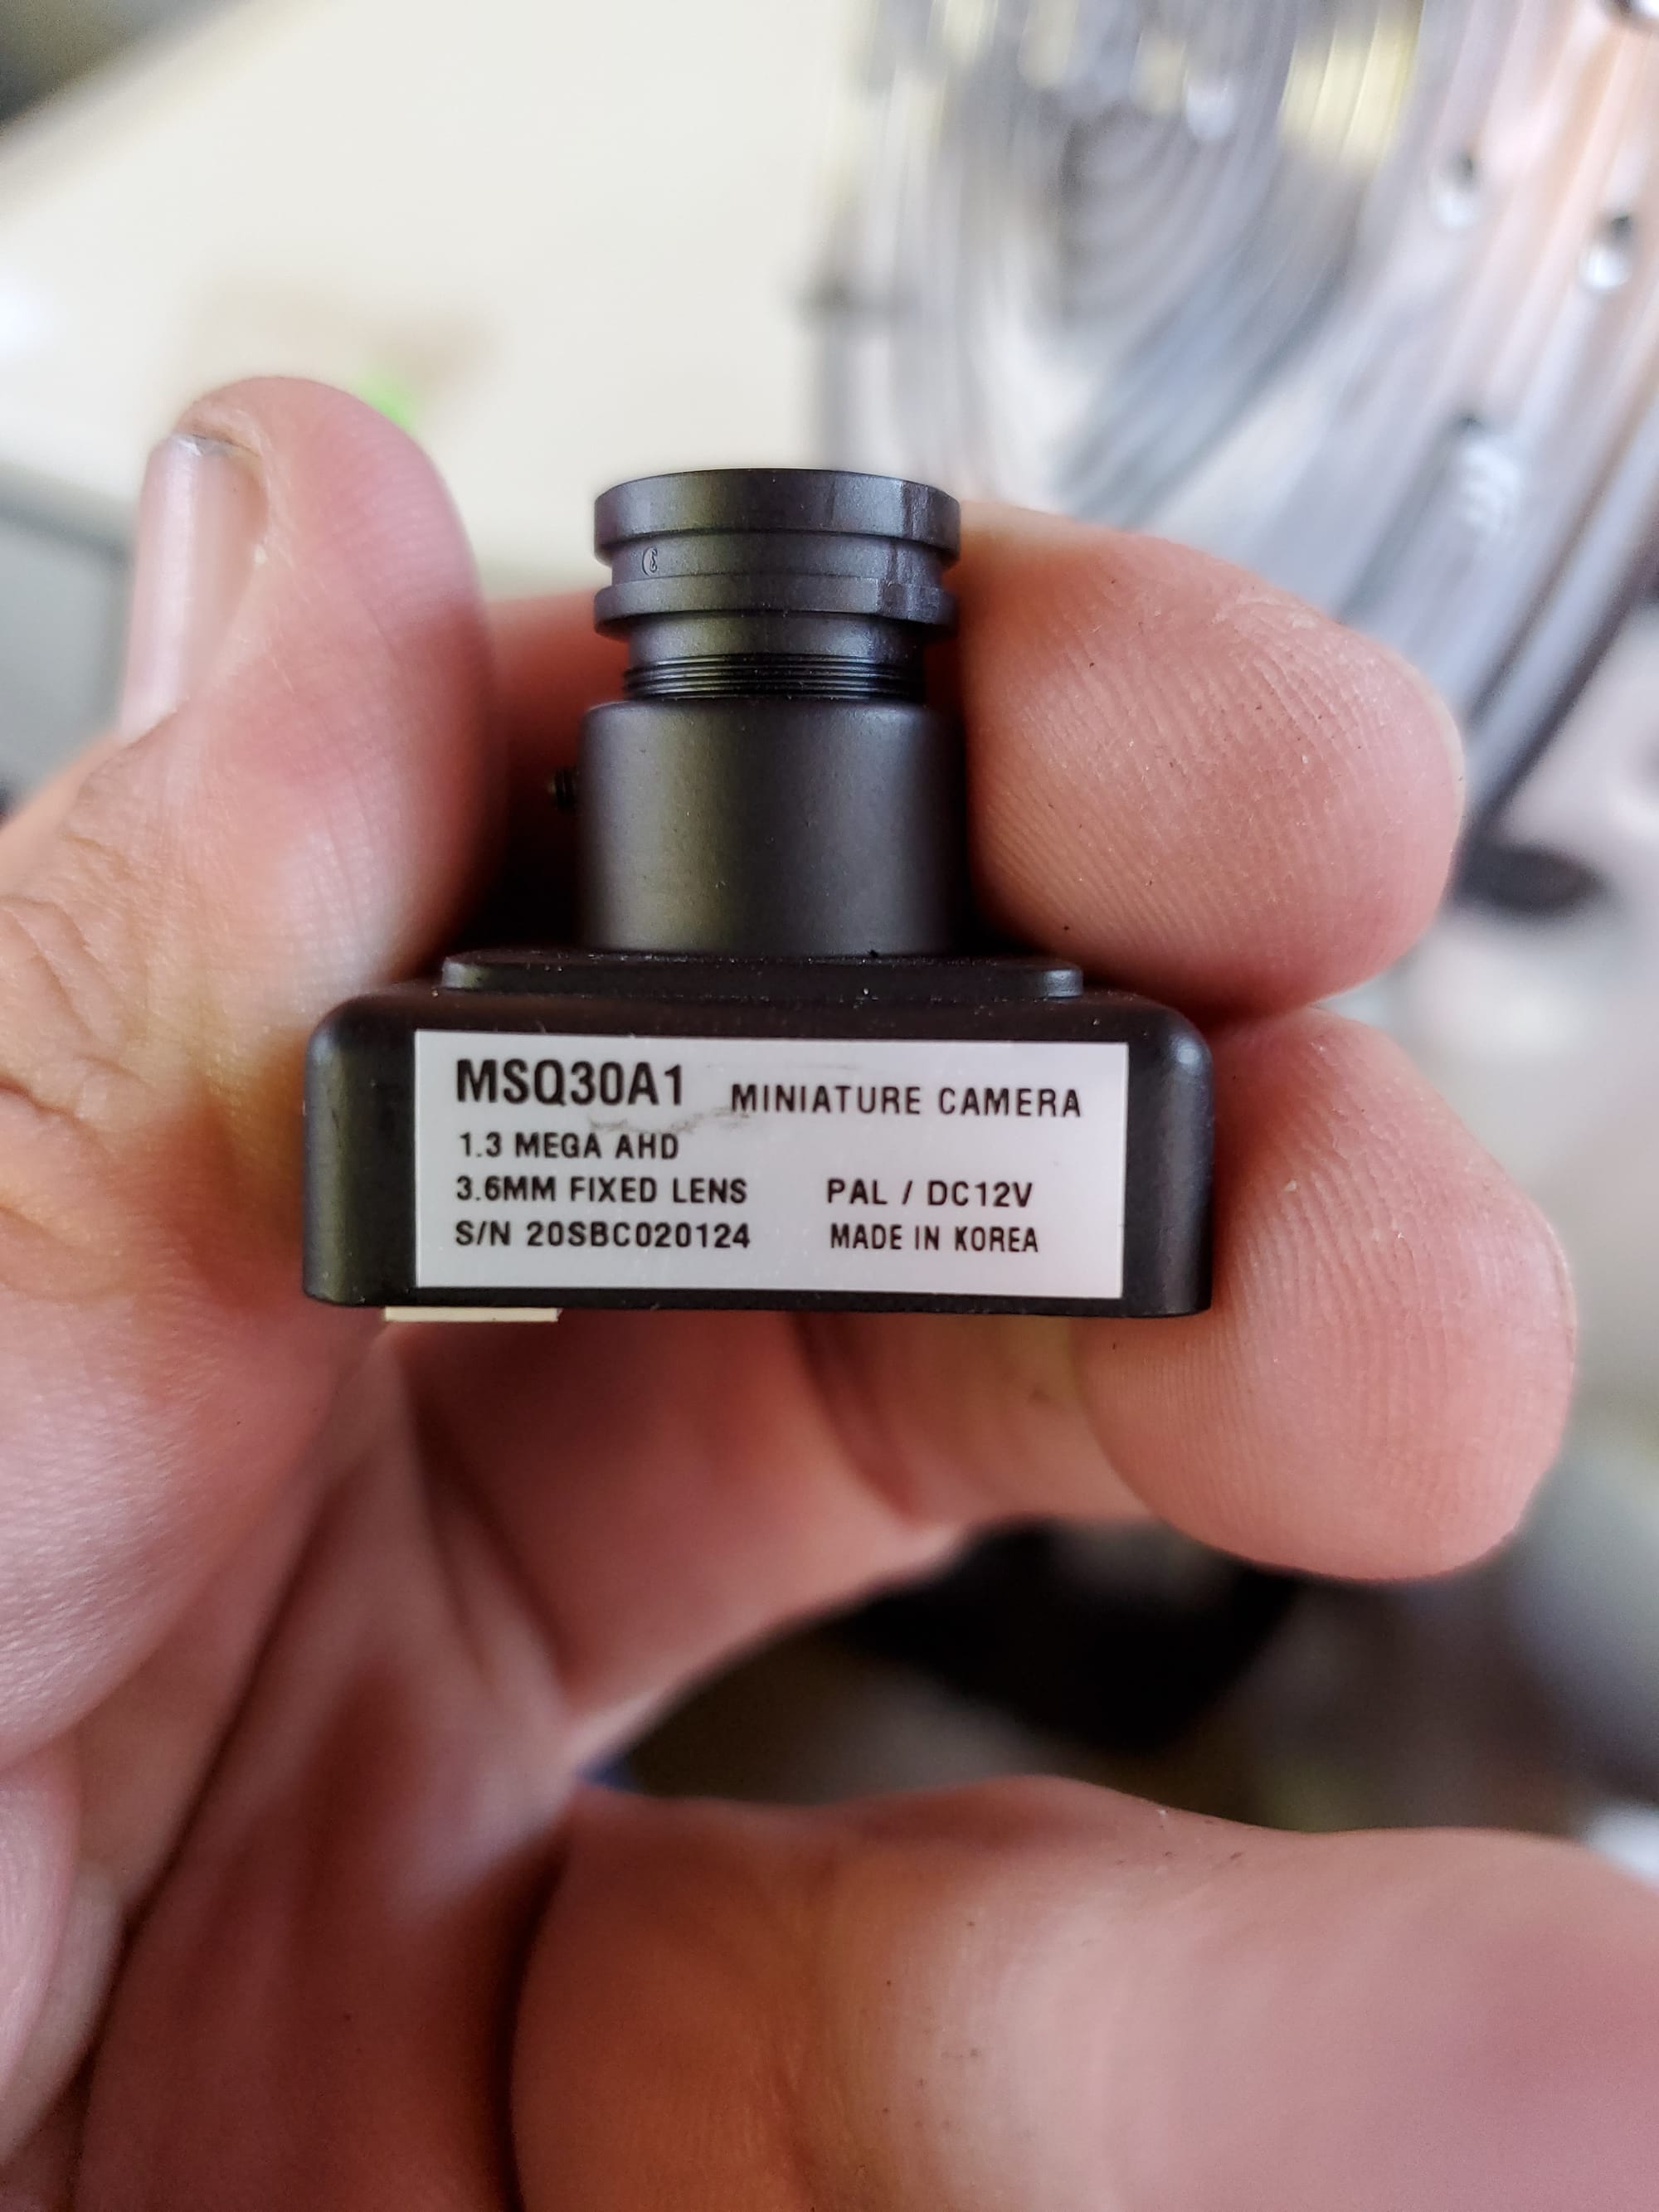
I've also already started the process of taking apart the mast to figure out how to tap into the camera feeds. This will be the subject of the next update so I can start figuring out how to make this robot autonomous again.
Stay tuned to keep up to date with my progress on this build. I'll keep posting updates as I get closer to the end of each phase. Thanks for reading, and be sure to check out my other projects!