Introduction to Kasm Workspaces

Introduction
In several of my blog posts, I've highlighted Kasm Workspaces for good reason. Since deploying Kasm in my HomeLab, it quickly claimed its place as one of the most utilized applications in my arsenal. Self-hosting a Professional/Enterprise container streaming platform, whether on-premises or in the cloud, has allowed for some amazing productivity boosts when it comes to learning anything new in my HomeLab.
Using Kasm has revolutionized my workflow, facilitating the following for me:
- Rapid testing of various containerized applications
- Experimenting and working with different Linux desktop environments
- Seamless access and remote management of my HomeLab infrastructure from a single platform
- Using Kasm as a dedicated OSINT platform with all of the available OSINT (Open-Source Intelligence) related Workspaces and Linux images with built in VPN capabilities
Moreover, it has provided a means to bypass filters at work or school, ensuring a private and secure browsing (Never have to log into personal accounts outside my network) experience wherever I go, as well as access to my internal services without having to open access insecurely outside of my network.
In this post, I'll go into the installation process of Kasm, focusing specifically on a single-server setup on a freshly configured Ubuntu server running on ProxMox in my HomeLab.
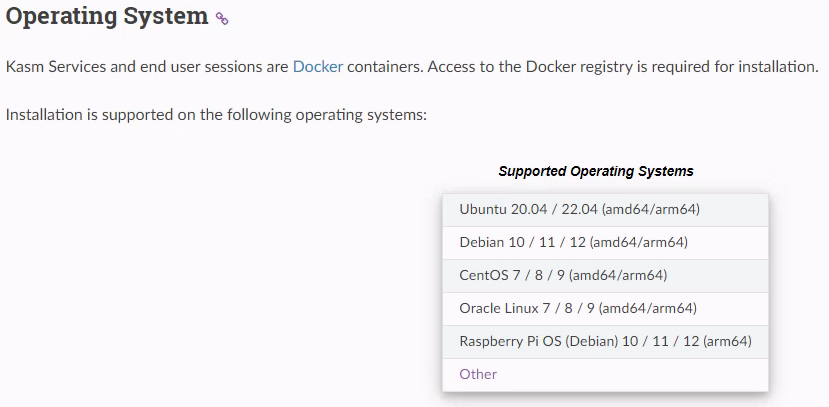
I have a workflow for installing and hardening Ubuntu servers on Proxmox so I will be demonstrating on that. You can install on any of the supported operating systems listed below. It's also worth noting that Kasm can be deployed in the cloud, and there are numerous guides available for this purpose. Personally, I initially experimented with Kasm in the cloud, following a helpful video by NetworkChuck, and was impressed by its performance.
If you have any questions about your specific setup, read through the installation guide or reach out to me over email or on LinkedIn and I can help the best I can.
Installation
As mentioned above, I will be installing this on an Ubuntu server running in ProxMox.
Enter the commands found in the installation guide here (Highly recommend going to the guide and grabbing the updated commands from there as there may be a newer release.)
cd /tmp
curl -O https://kasm-static-content.s3.amazonaws.com/kasm_release_1.15.0.06fdc8.tar.gz
tar -xf kasm_release_1.15.0.06fdc8.tar.gz
sudo bash kasm_release/install.shAt the end of the install, you will be greeted with some credentials which you will want to store somewhere secure for later use. The one we'll want for now is going to be the [email protected] account and associated password.
Accessing Kasm
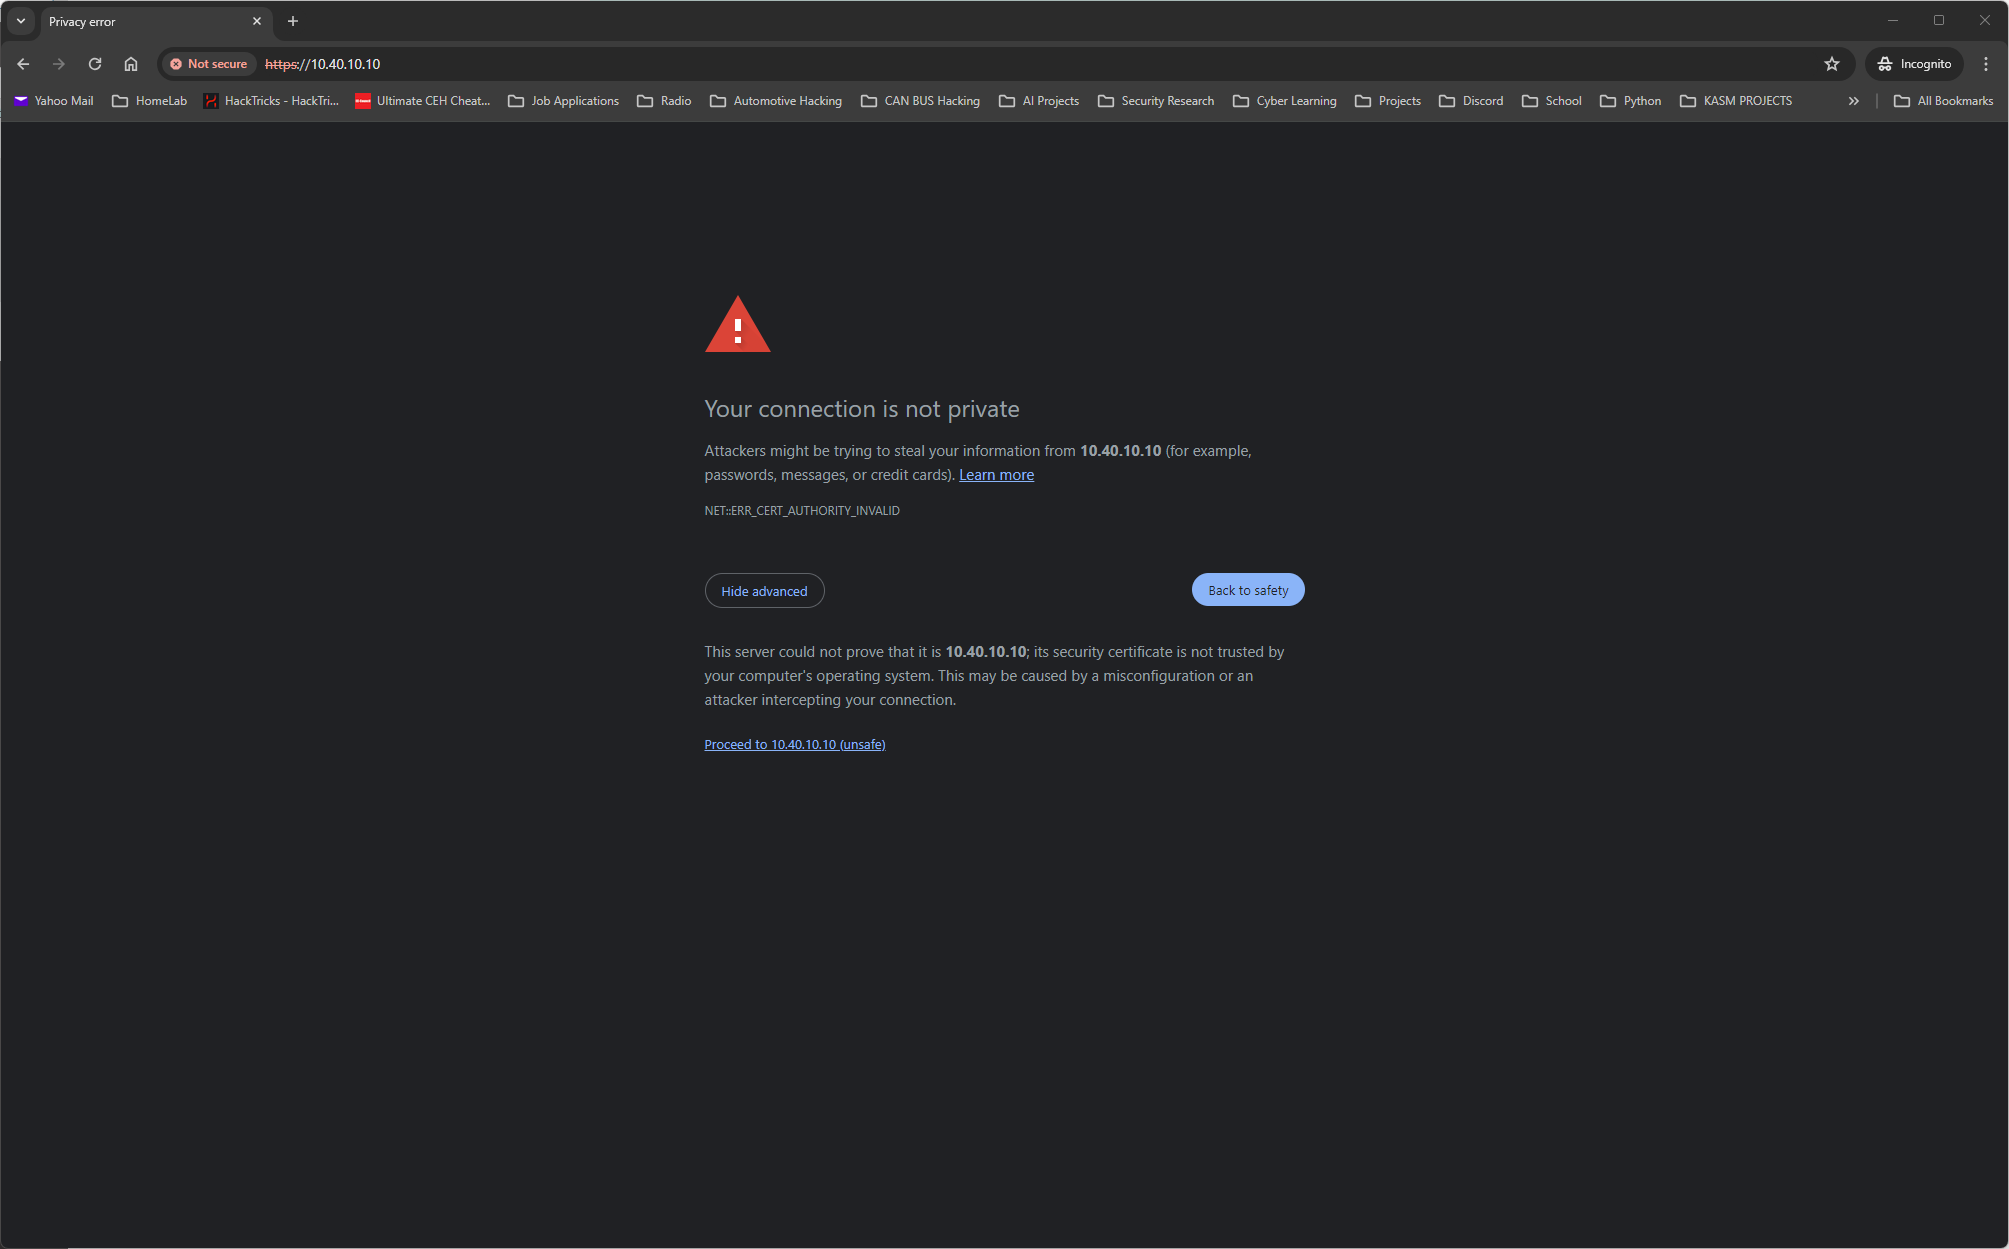
Now that the install is complete and we have the admin credentials. Let's open up a web browser and head to
https://KASM_Server_IP_Address You will most likely be prompted that the connection is insecure, which is expected for self-hosted applications due to the certificate not being publicly trusted and handed out by a certificate authority (CA). Let's keep on going.
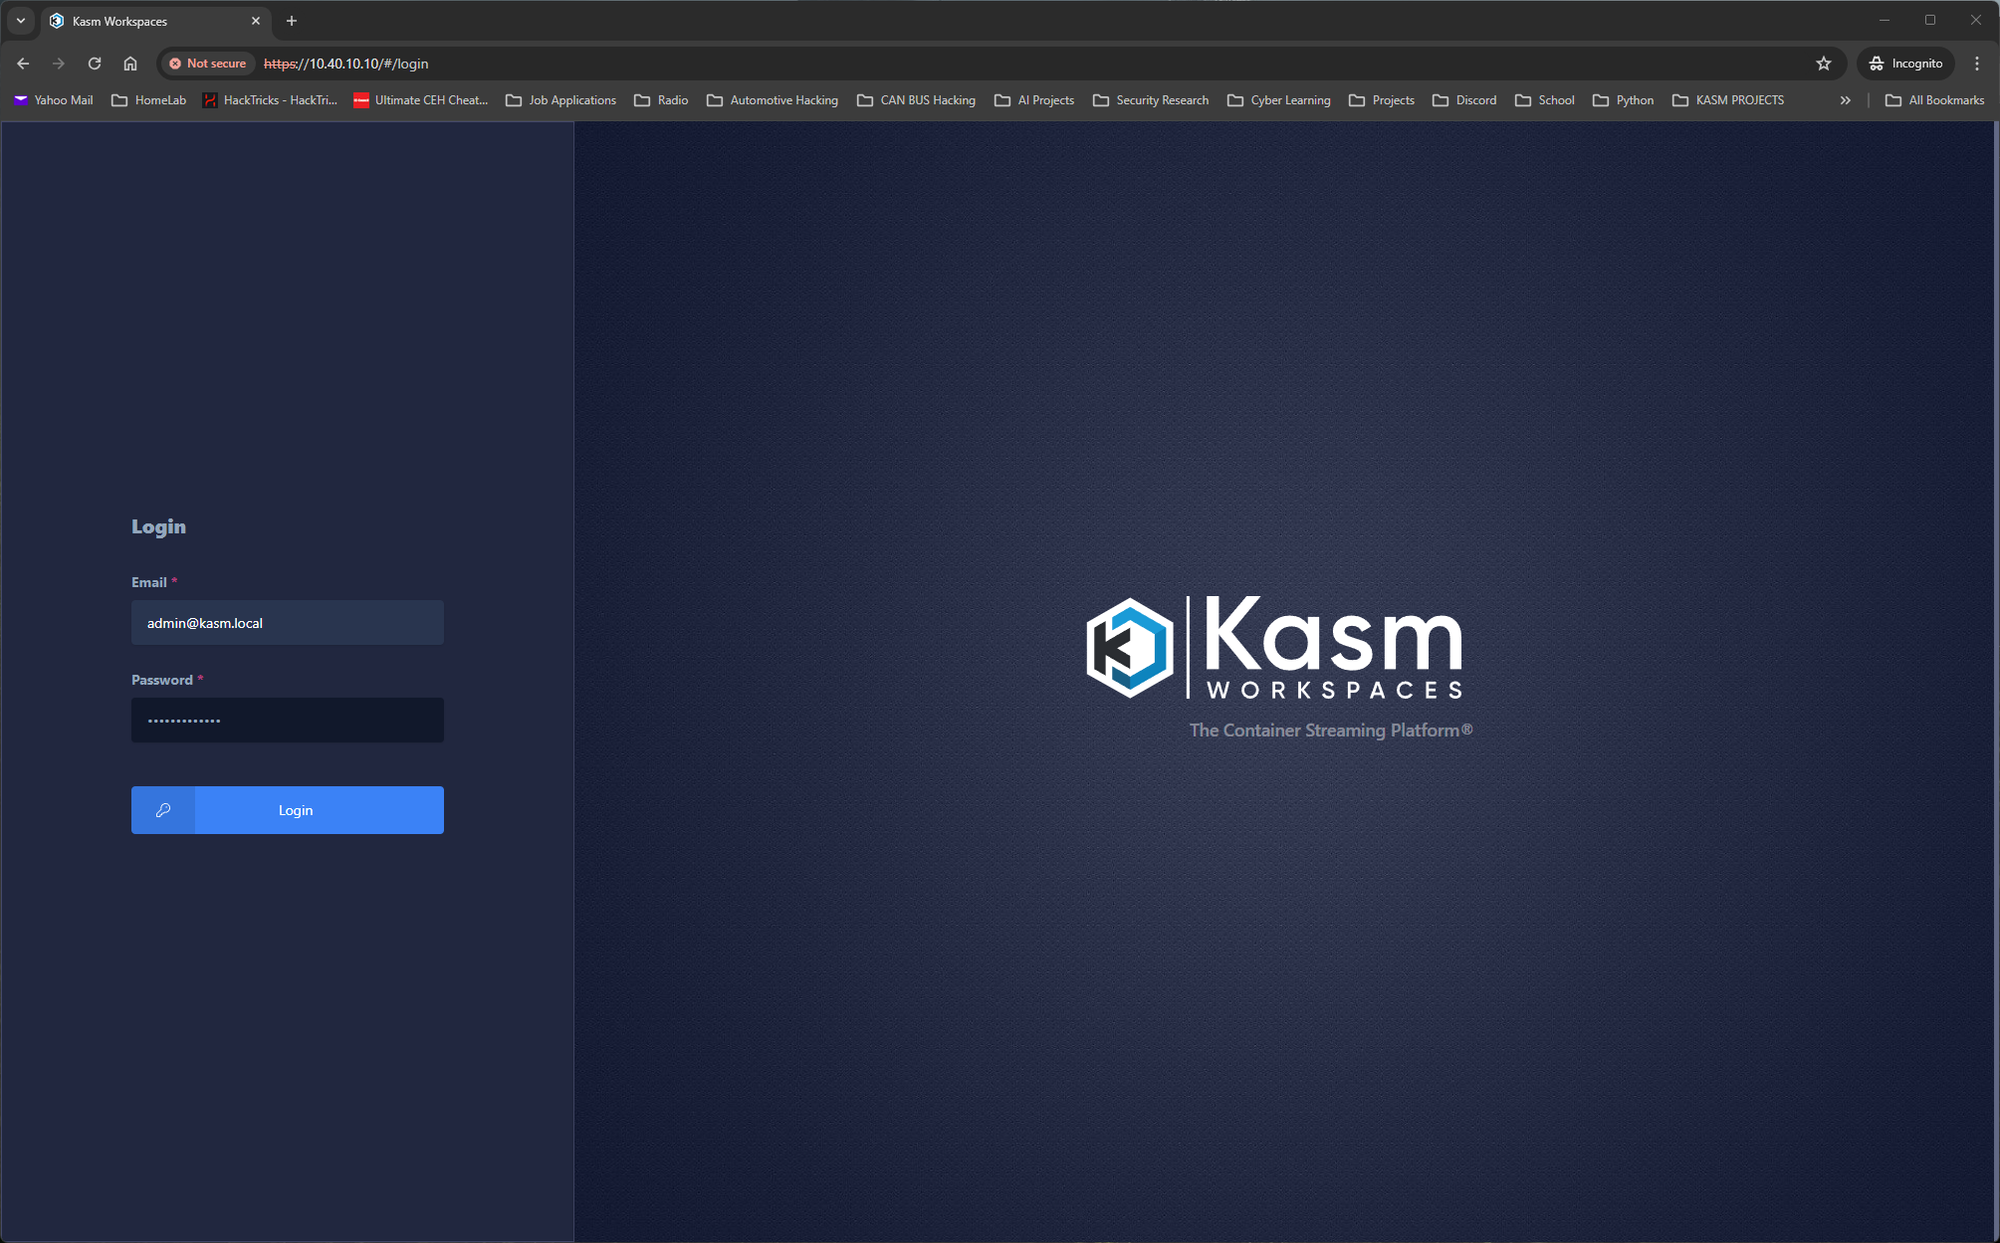
Once past the warning, you will be greeted by a wonderful site, the Kasm login page. Here you will enter the admin username and the associated password to get to the Kasm Dashboard.
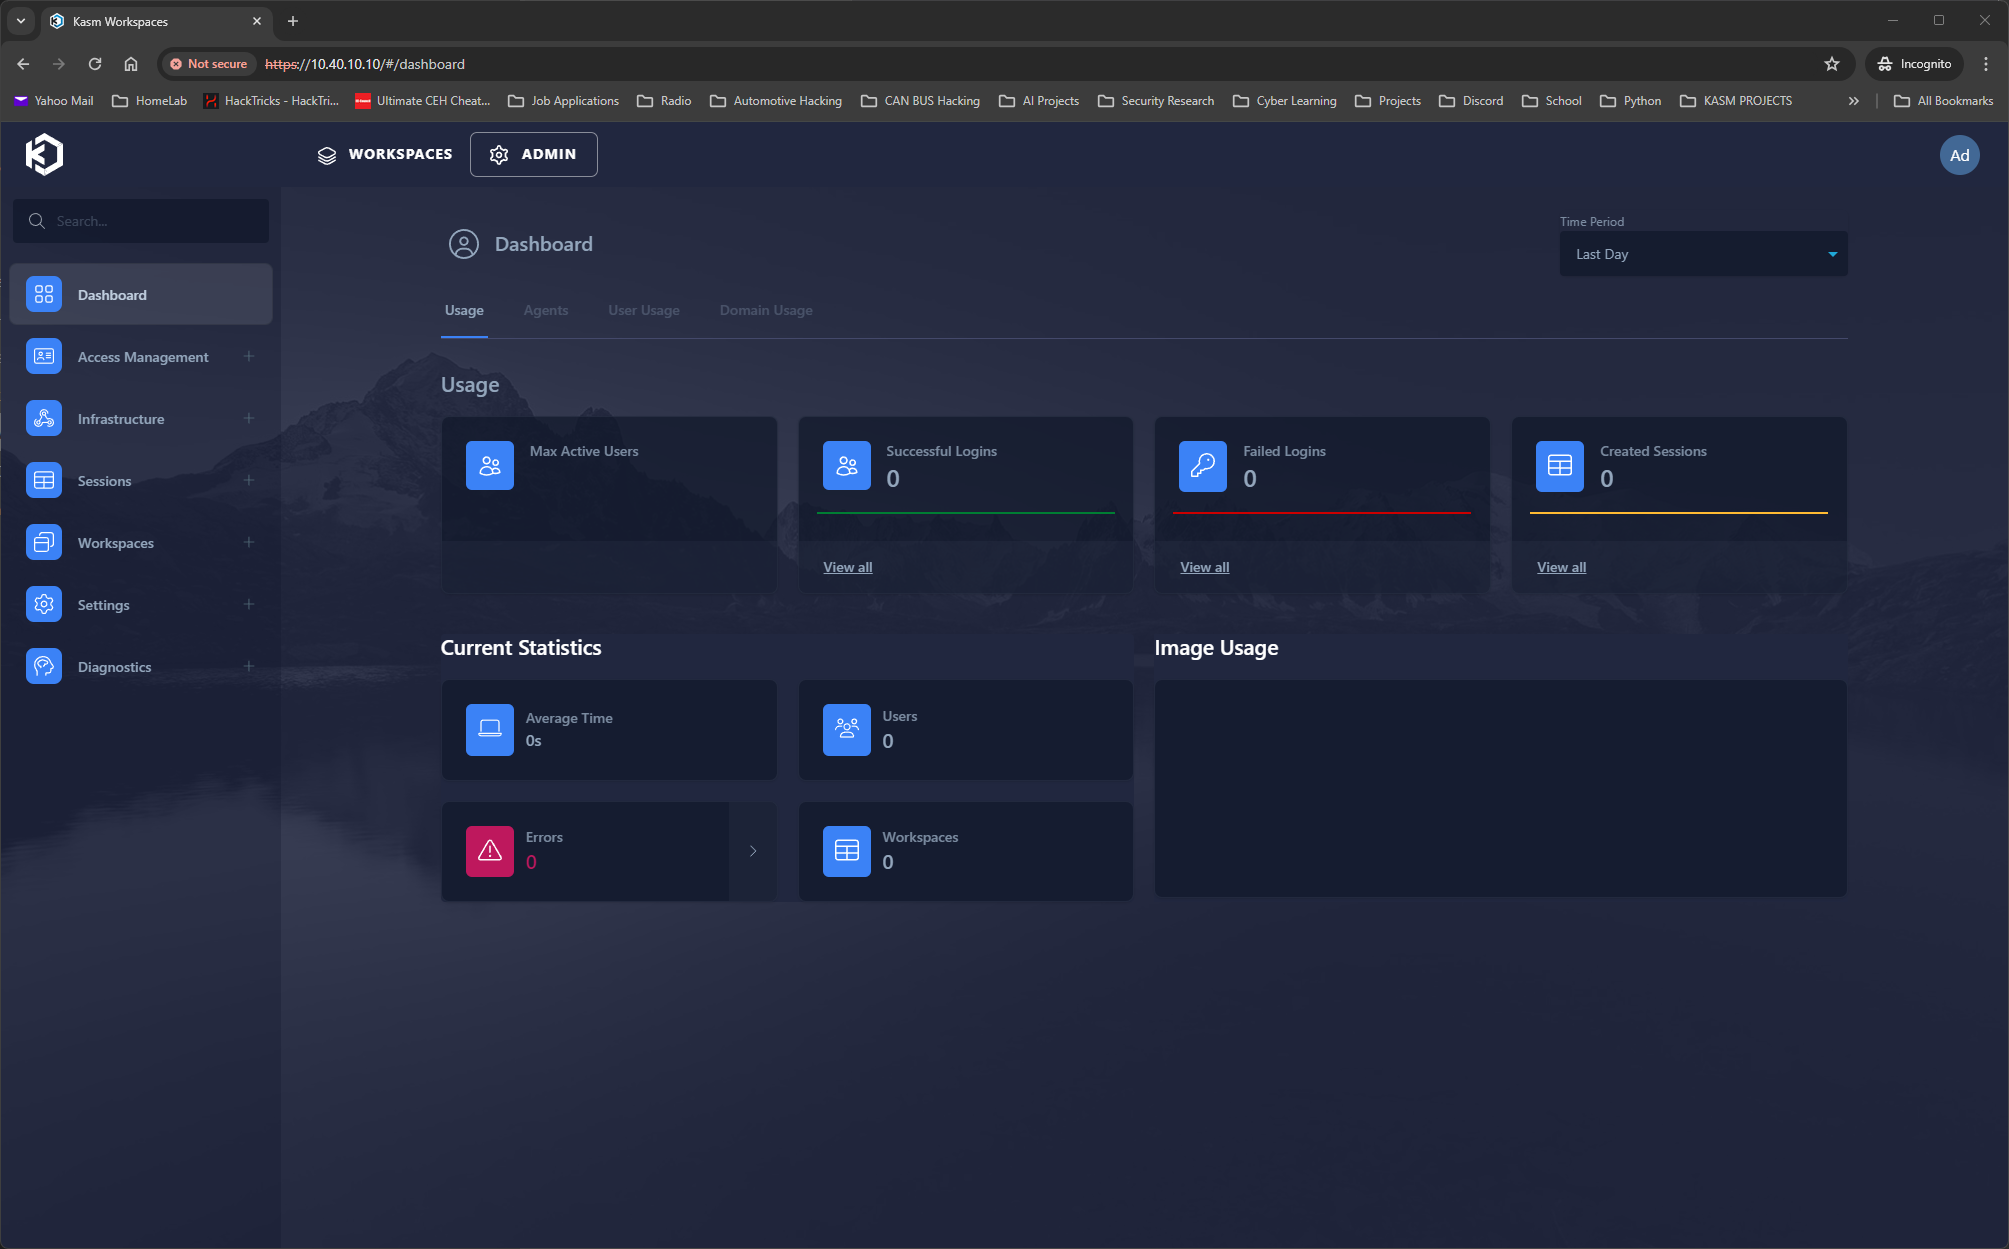
And now we celebrate, as we now have a working installation of Kasm, and access to all of the containerized goodness. Next let's go over a few different items I would like to take care of before we start installing some workspaces.
Things to Do
First thing I would do here is change the password to the admin account to something secure and of your choosing.
- Click on the profile icon up at the top right > 'Edit Profile' > 'Reset Password'
- Enter the given password and your new one
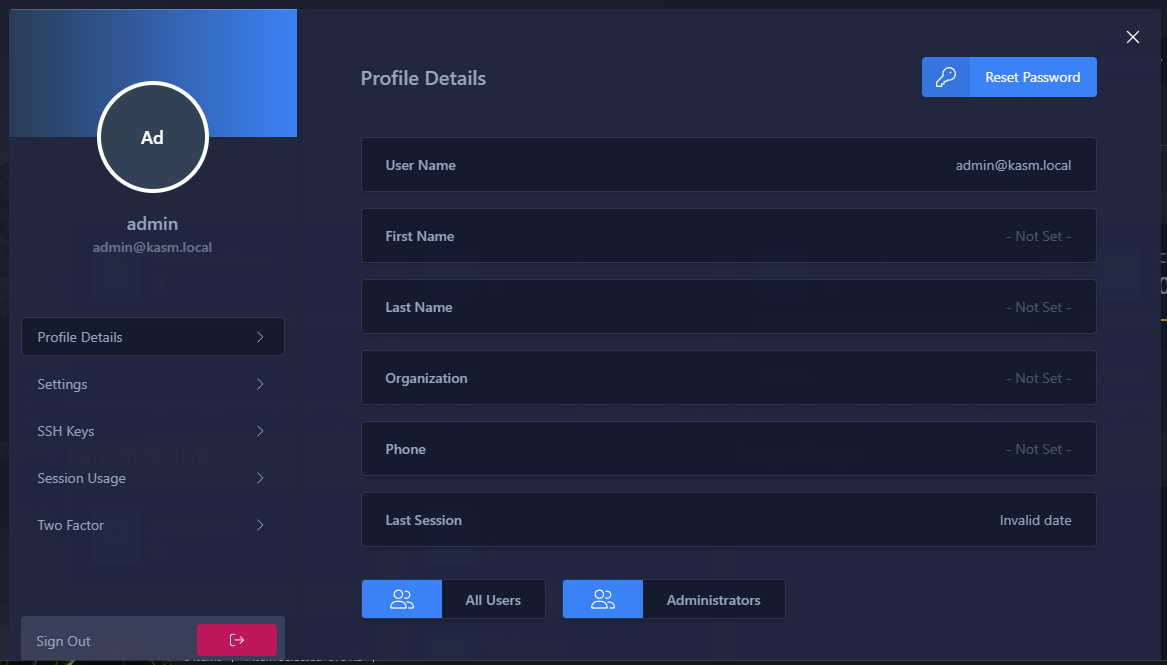
* If you ever forget the password you can always manually reset it as shown here in the documentation.
Next, if you can control the urge to jump right to the registry and begin installing every workspace that's available, I would explore the menu options and settings to get a feel for what Kasm has to offer.
I highly recommend going through Kasm's well written documentation, especially when you come across something you don't understand. They also have videos on their YouTube Channel that go over different features and updates.
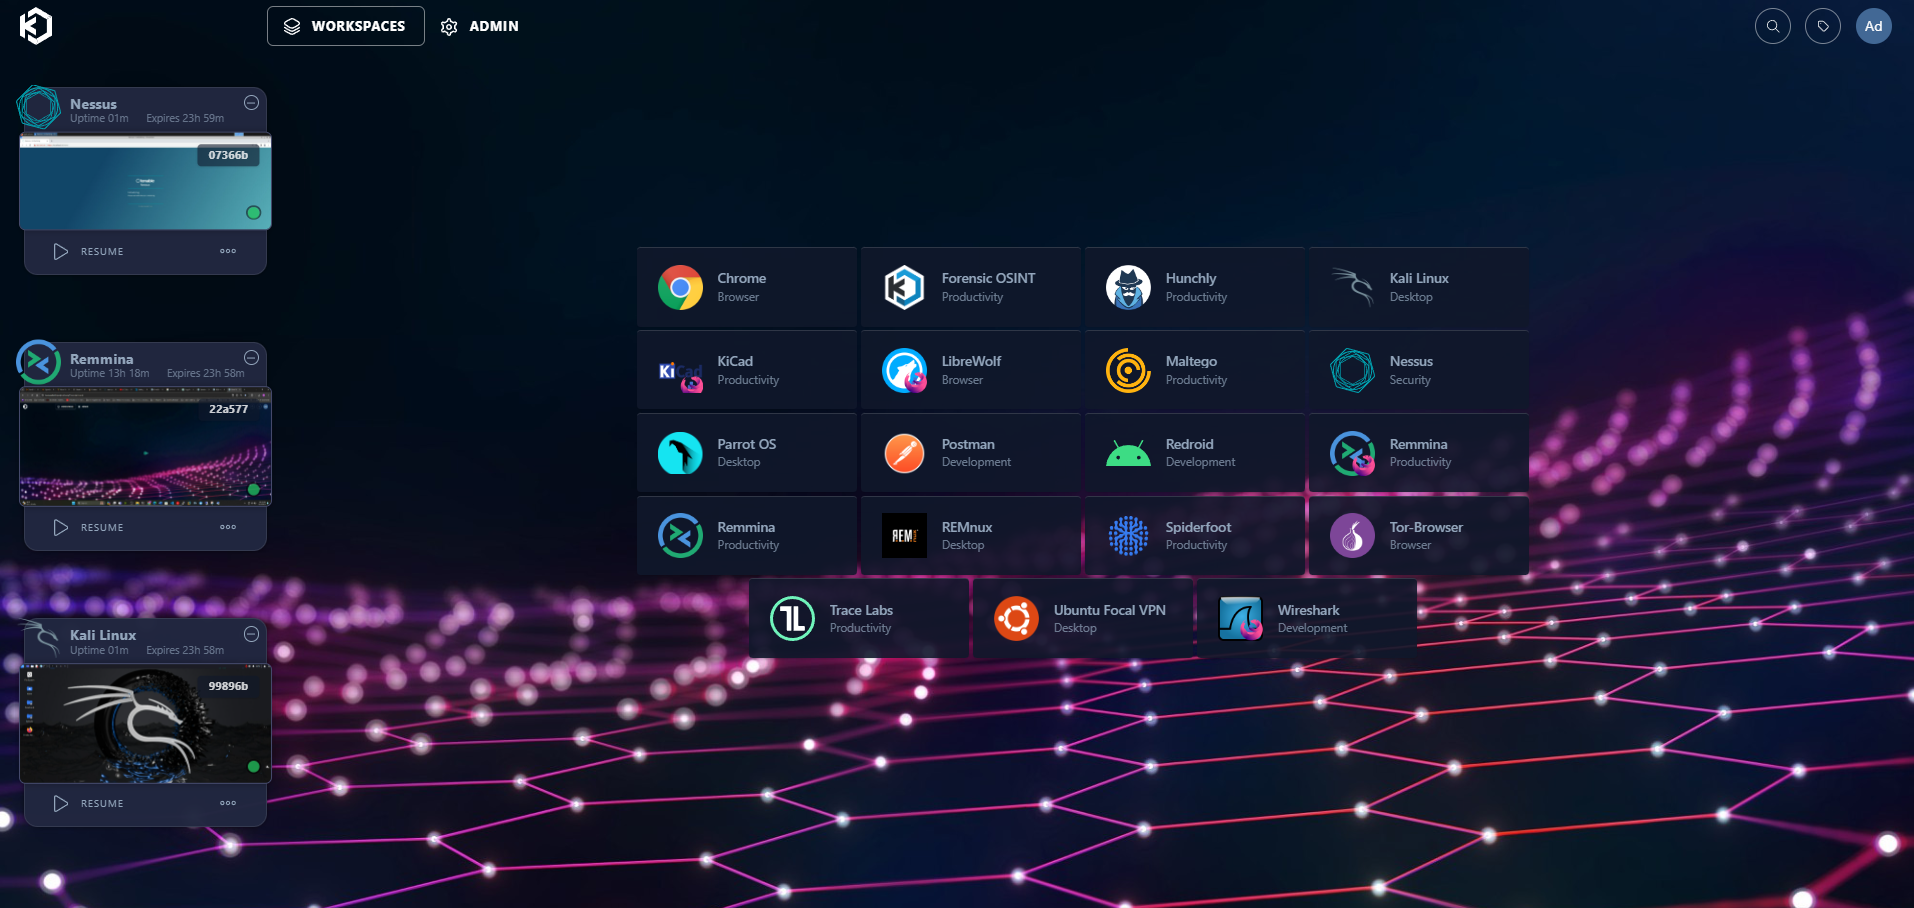
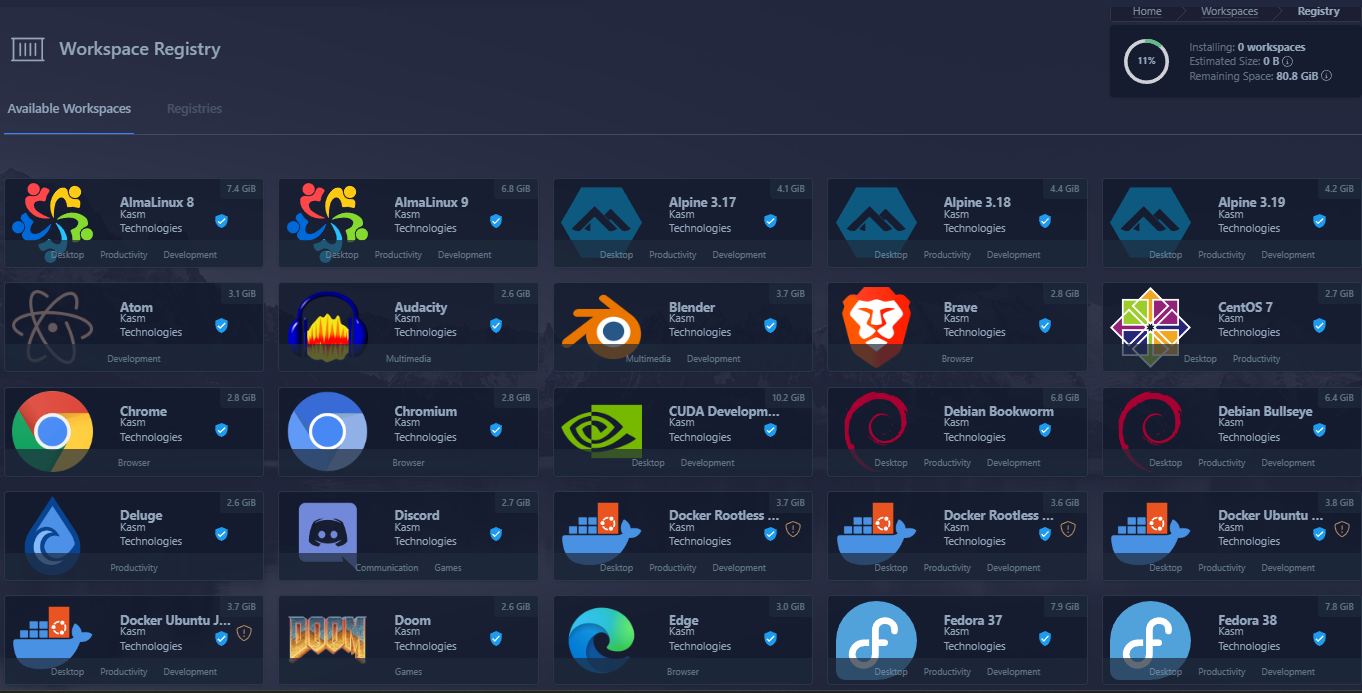
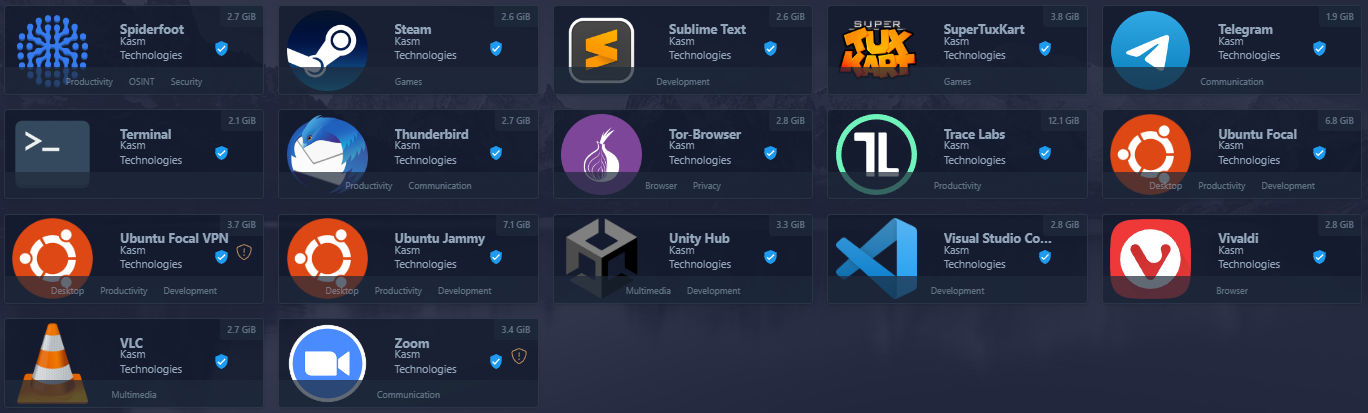
Workspaces
Now for the reason you did all this work, Workspaces! Head over to 'Workspaces > Registry > Available Workspaces' and enjoy testing out some of the offerings from Kasm's registry.

Once you install a Workspace, it will show up in the Workspaces section
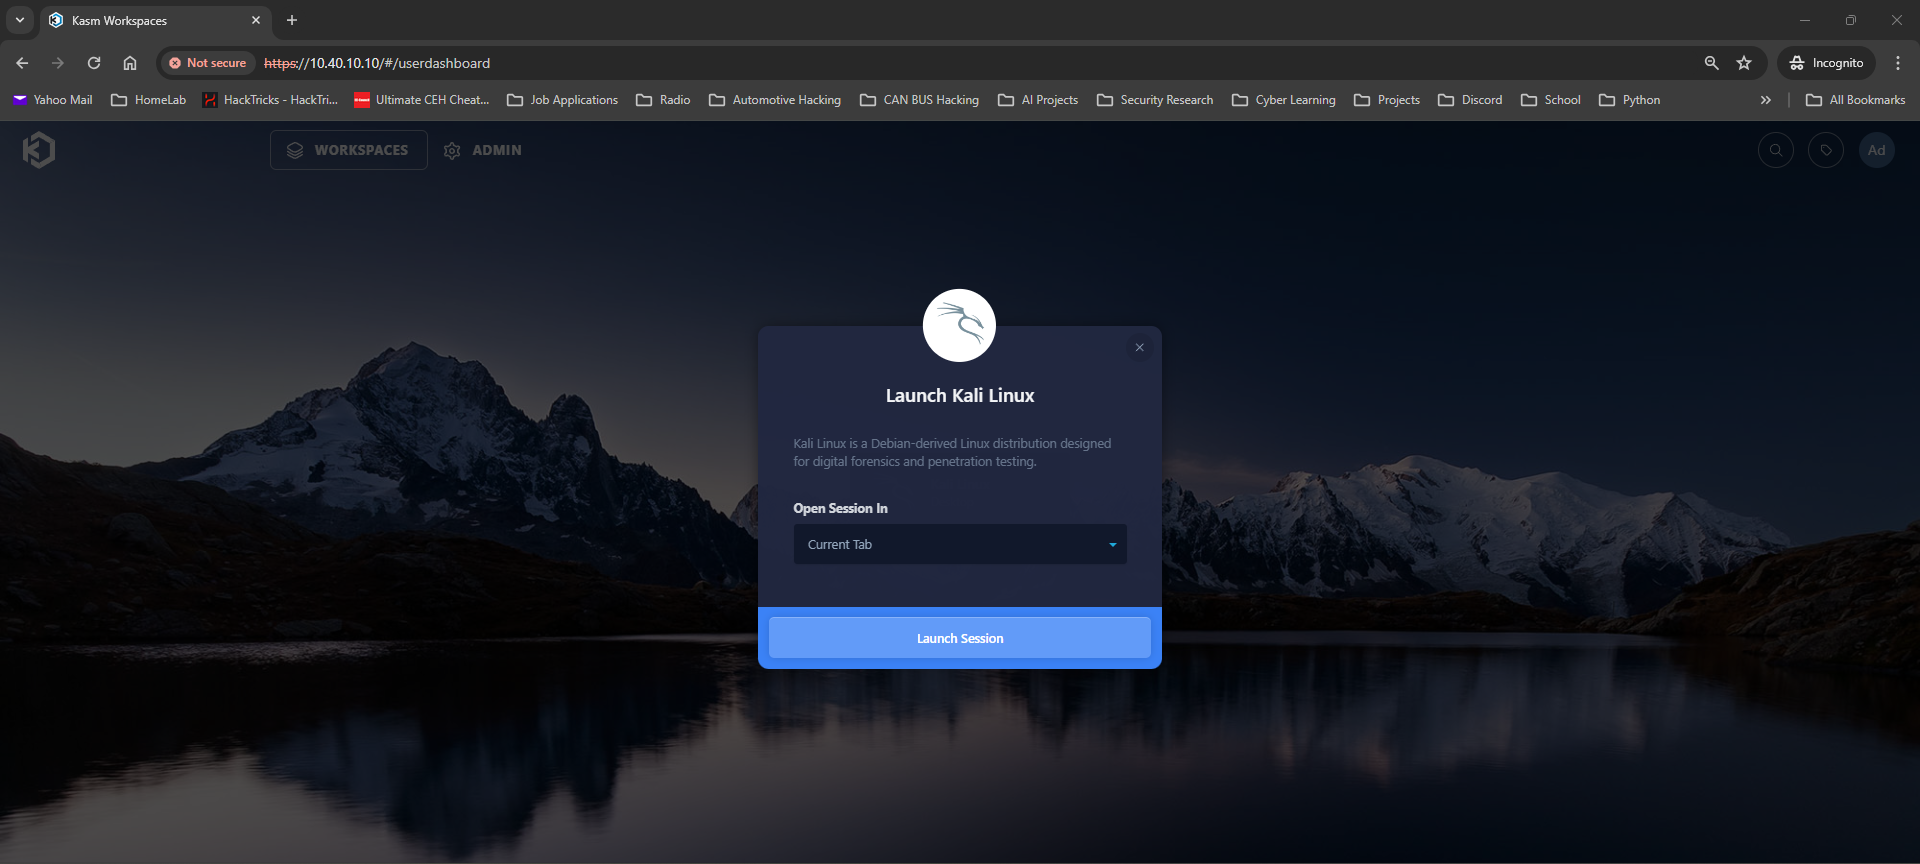
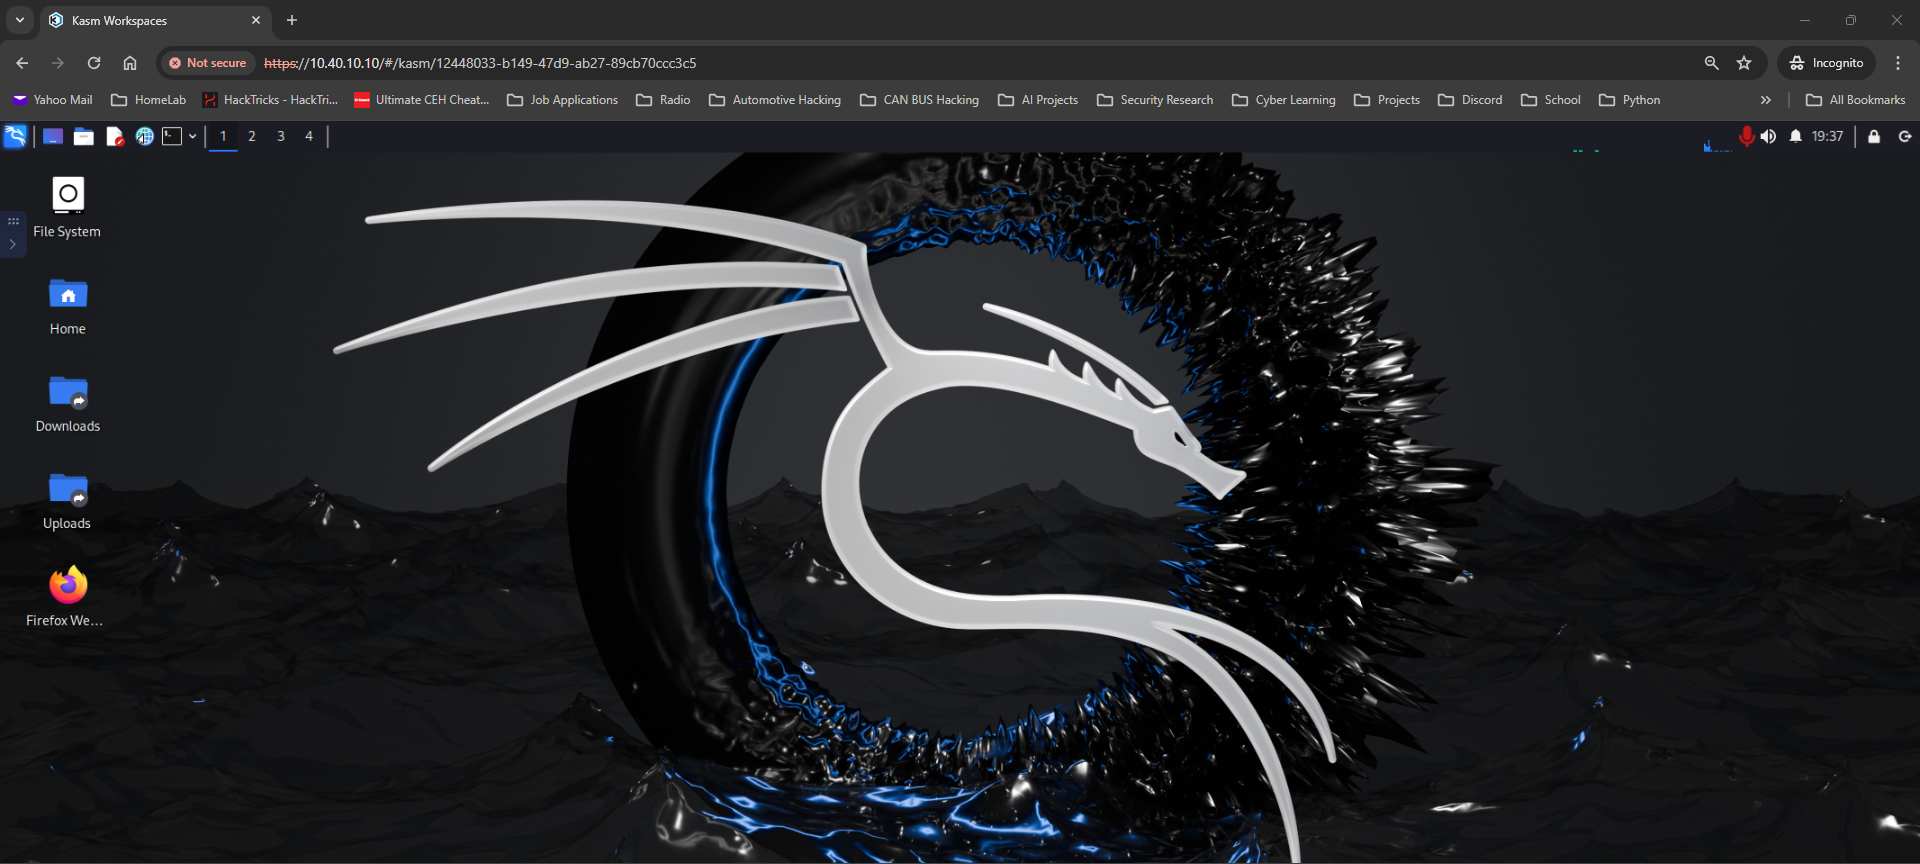
For this example, I've installed and opened the Kali Workspace which is a full blown Linux OS (all in a self contained docker image and accessible from your web browser) and it's just one of so many options.
When running any of the Linux Workspaces I would highly recommend giving this a read Running Workspaces as Root.
Persistent Data
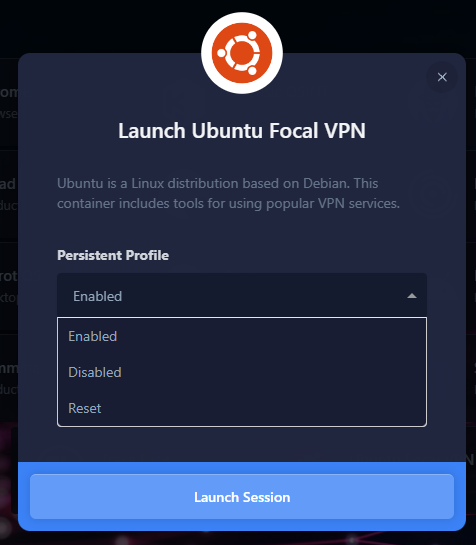
A useful option I use in my deployment of Kasm is Persistent Profiles. Kasm Workspaces are ephemeral by default and do not hold onto any data. There are however a few options to enable persistent data, which can be very useful for keeping and storing data between sessions depending on your needs.
Once Persistent Profiles are configured within each Workspace and you can choose to Enable, Disable, or Reset the persistent data every time you run it.
As I've mentioned many times so far, read through the Documentation! There are so many features to explore with Kasm.
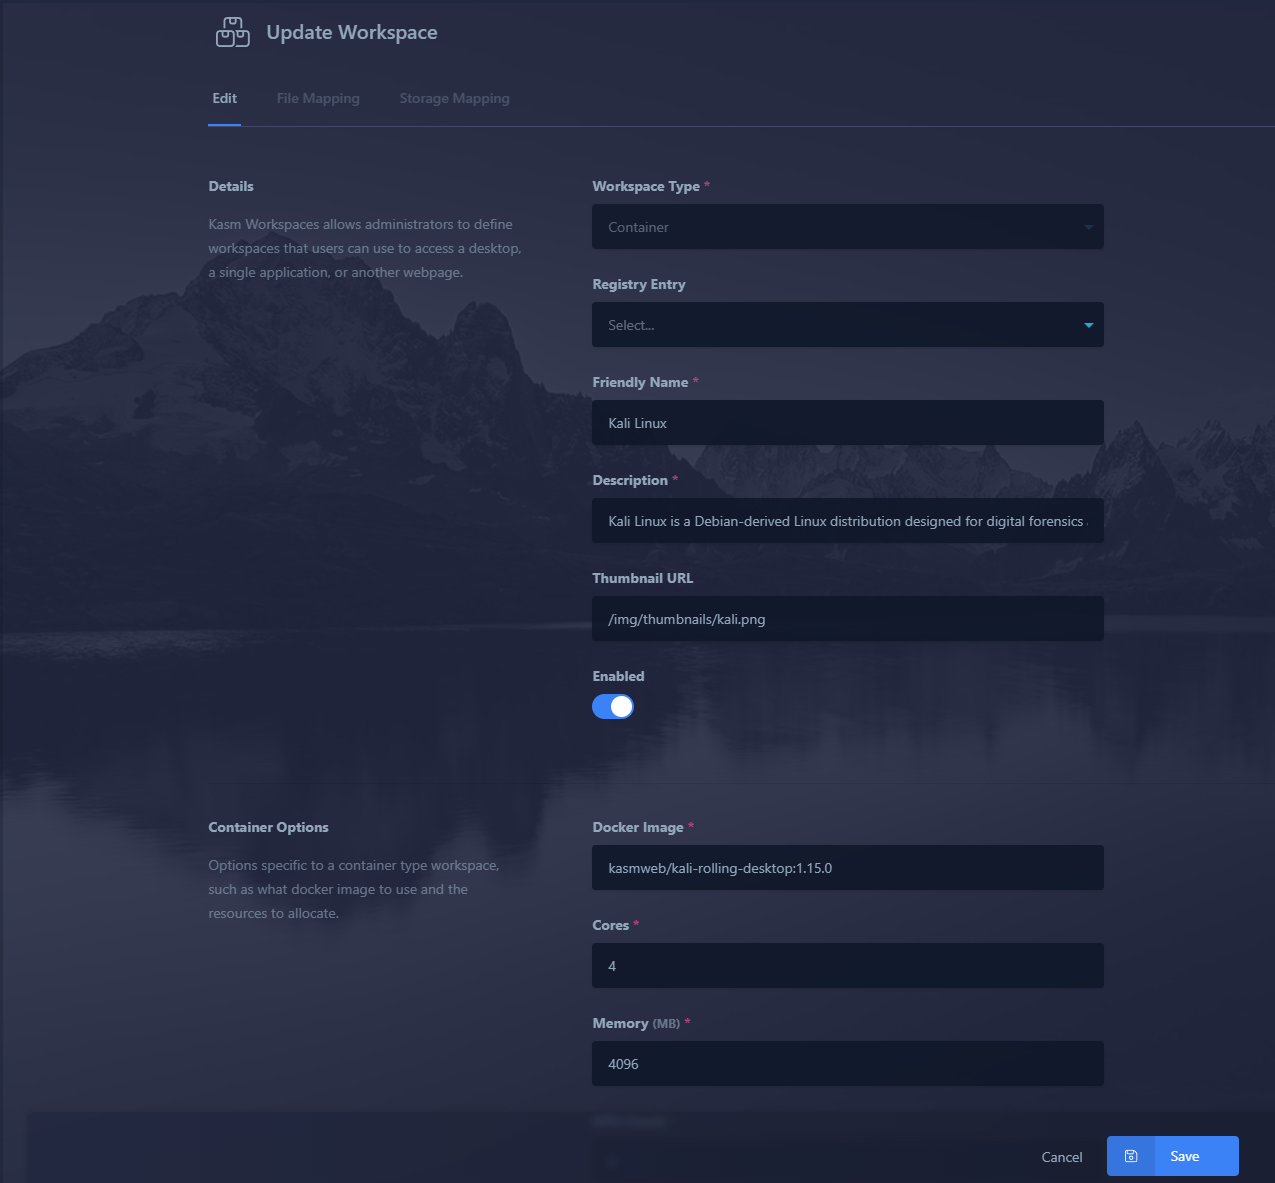
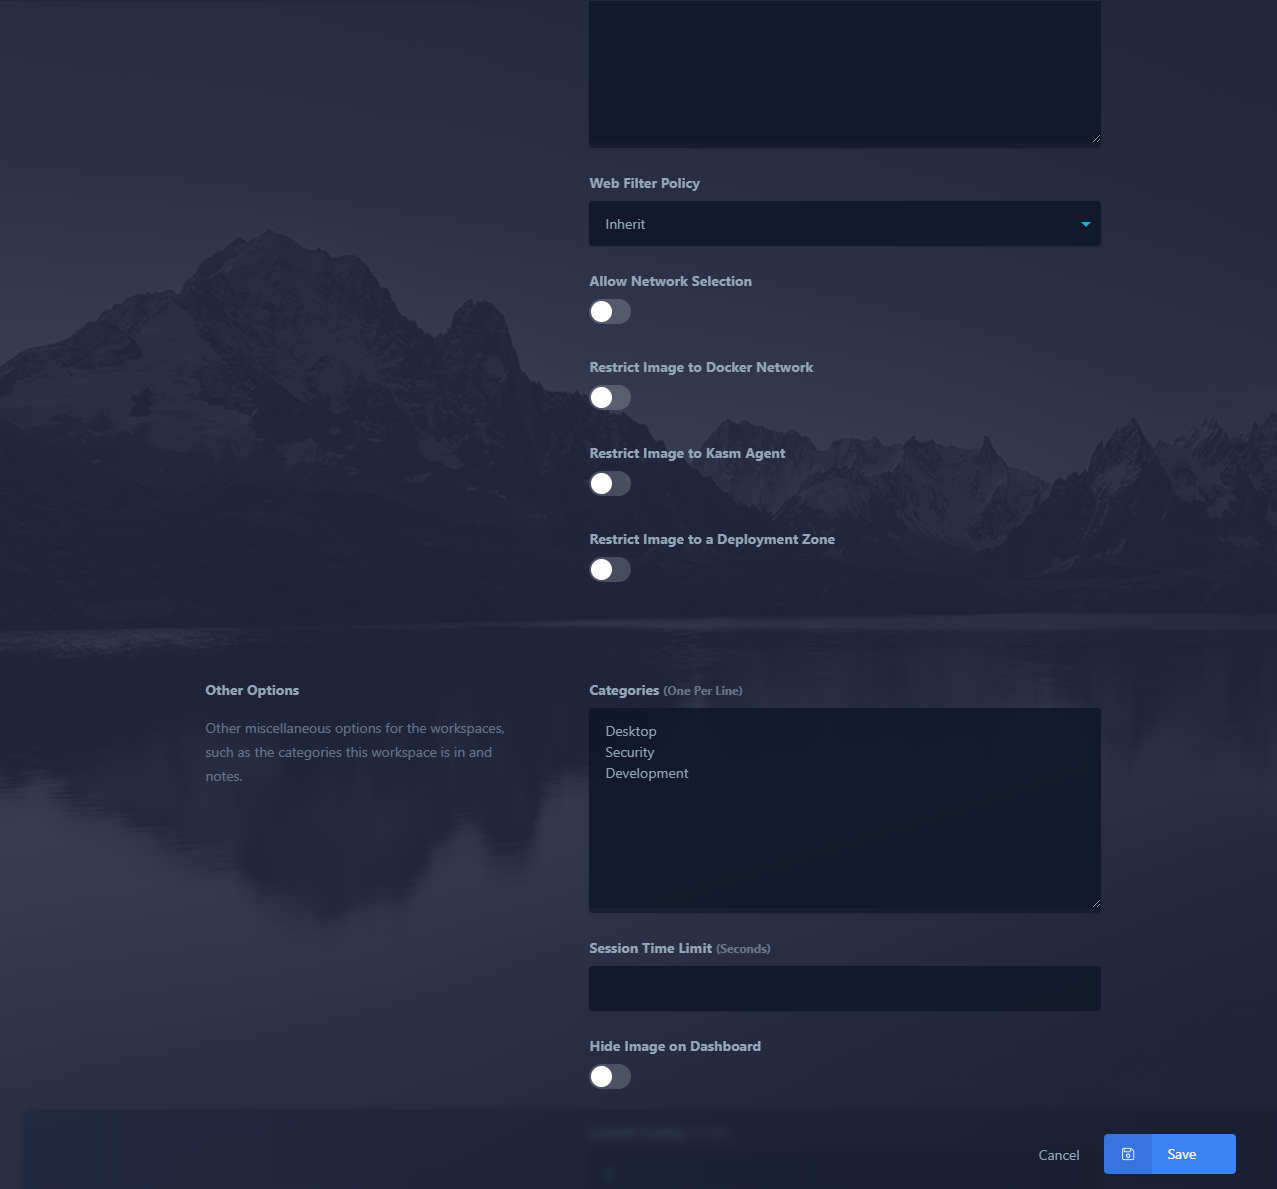
Make sure to also take a look at the settings of each Workspace as there are some great options and features to adjust.
3rd Party Registries
If you thought all of the Kasm maintained Workspaces were amazing, then get ready for even more fun! We have the option to add third party registries to pull Workspaces from.
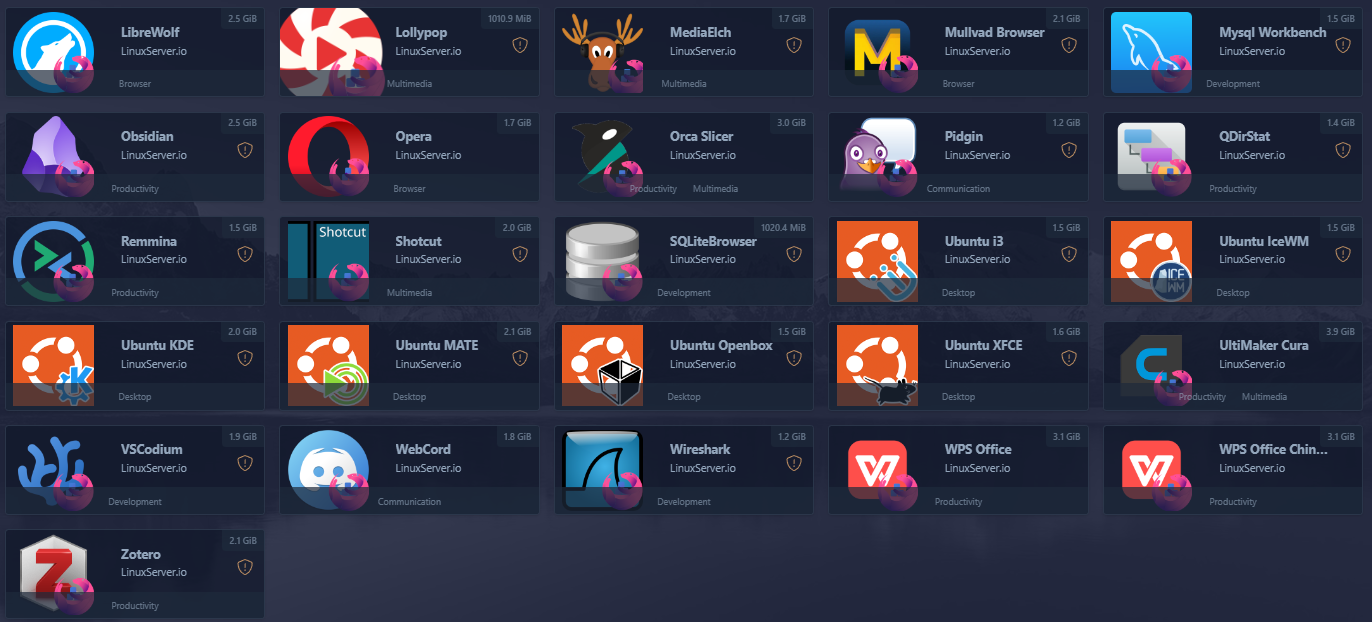
Here we'll add the registry from LinuxServer.io.
Go to 'Workspaces > Registry > Registries > Add New'
Enter the following into the 'Registry URL' field and click 'Add Registry':
https://kasmregistry.linuxserver.io/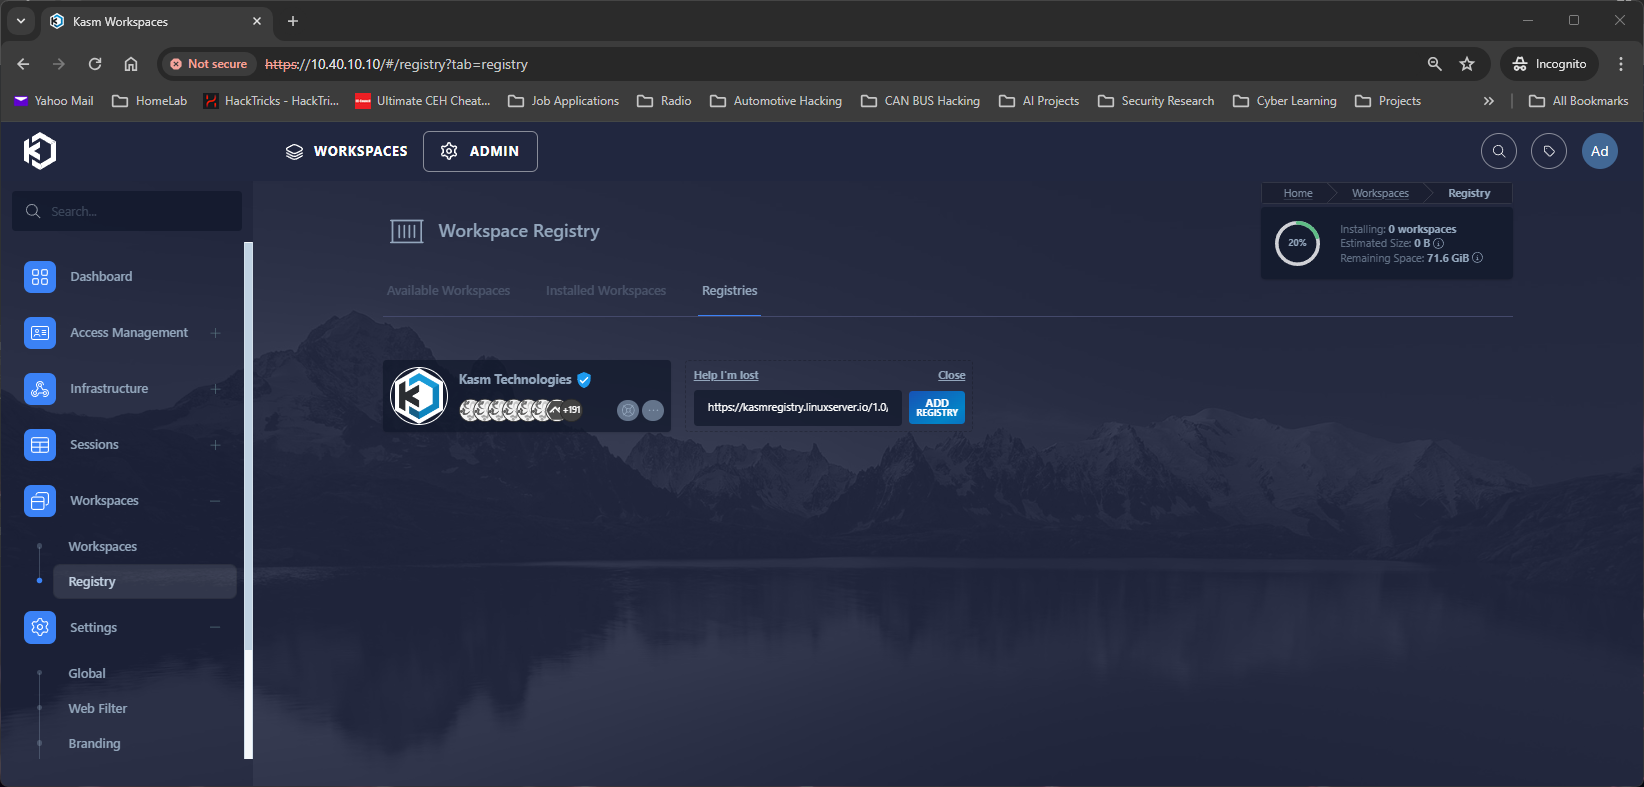
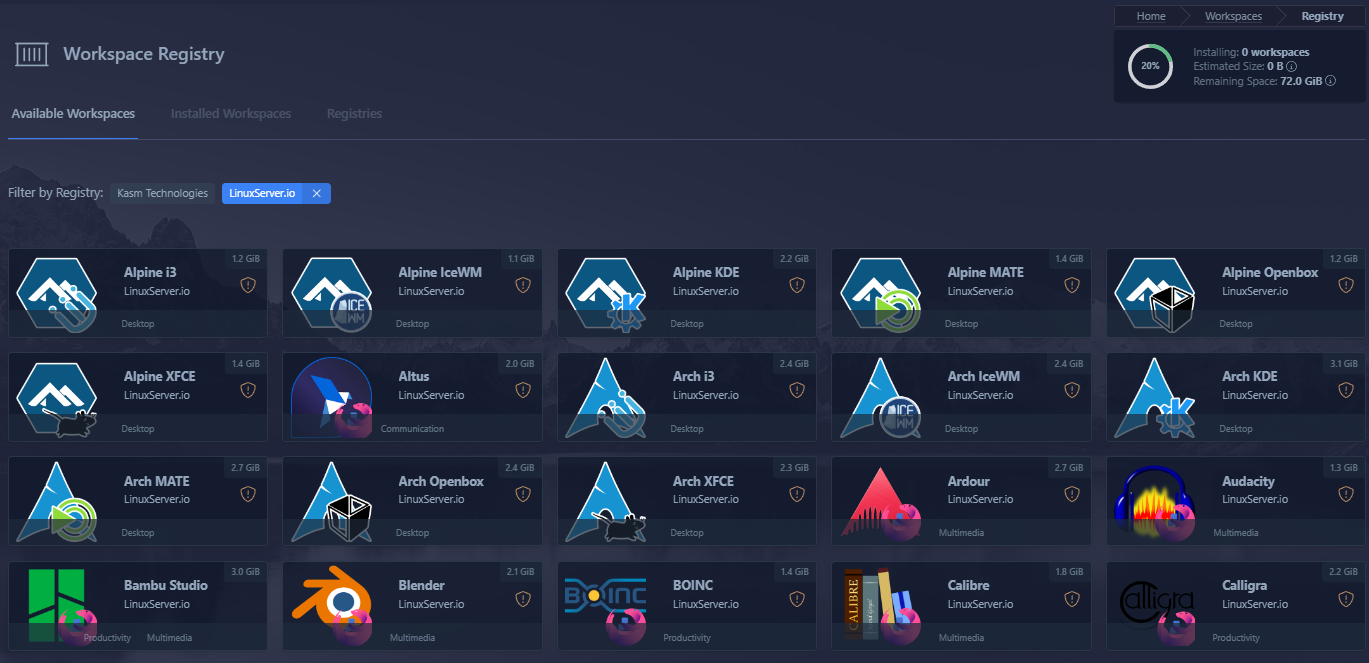
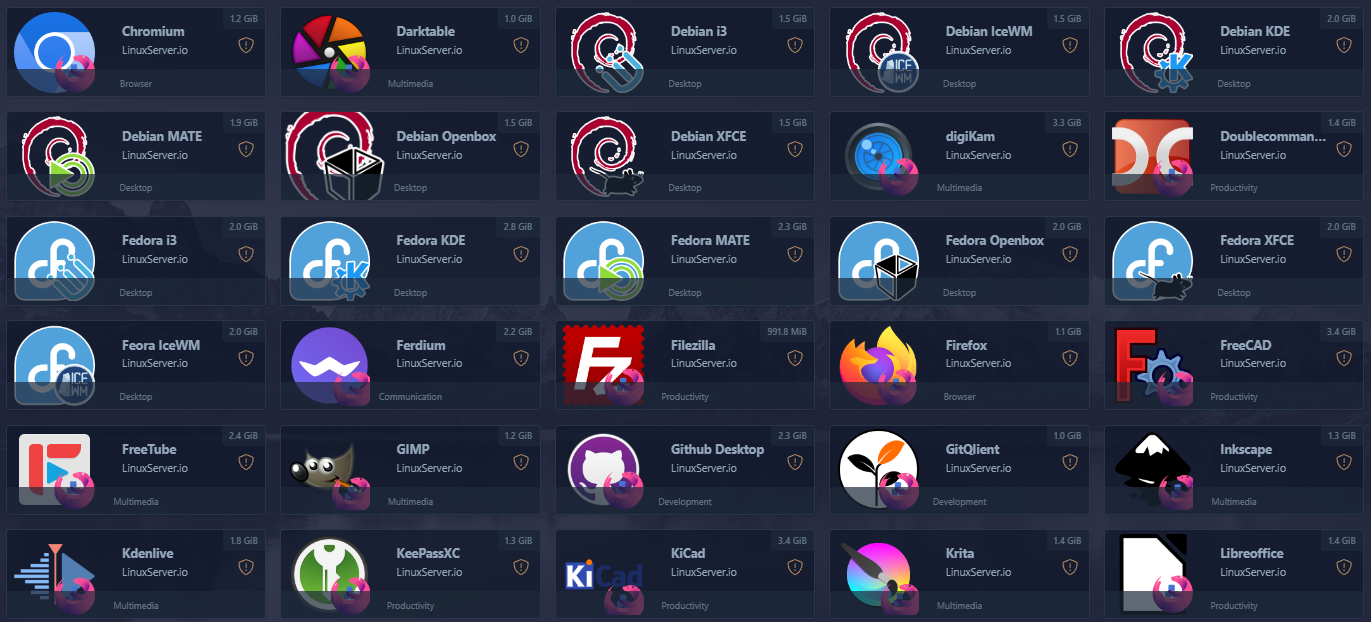
Here are the available Workspaces from the newly added LinuxServer.io registry.
Conclusion
I hope this has provided you with a solid foundation to begin exploring the capabilities of Kasm Workspaces. In upcoming posts, I'll delve into more topics such as:
- Configuring Cloudflare tunnels to access Kasm from a custom domain
- Exploring different VPN setups
- Leveraging Kasm for OSINT (Open-Source Intelligence)
- Discussing various secure access options for your HomeLab using Kasm
- Setting up RDS and Windows RemoteApps to access applications running on a Windows machine (Excited for this one!) and creating a Workspace to access them
Also check out my previous post about creating Custom Linux Images in Kasm where I go through the steps of creating a Docker Desktop environment and customizing my own version of Parrot OS and pushing to my Docker Hub Repo. This will provide you with the basics of customizing images to use within Kasm.
Thank you for taking the time to read through this content, and I hope you found it informative and insightful. If you have any questions or topics you'd like me to cover in future posts, feel free to reach out and let me know. Until next time, have a great day!